Tutorials
- USER GUIDES & VIDEO TUTORIALS
- ALL VIDEO TUTORIALS
- OVERVIEW
- ASSETS
- CREATE COURSE
- Getting Started with Creating Courses
- Create Course - Course Settings
- Course Builder (TOC)
- Build Lessons
- Lesson Settings
- Lesson Page Navigation
- Lesson Editor Overview
- Lesson Editor - File Options
- Add Content - Tools: Assets
- Add Content- Tools: Page Elements
- Add Content - Page Templates
- Add Content - Layout Templates
- Save As a Row, Column, Tool As a Template
- Tool Settings
- Row Effects
- MANAGE COURSES
- MANAGE TEMPLATES
- MANAGE XAPI
- ADMIN
- ACCOUNT
Save As a Row, Column, Tool As a Template
Table of Contents
SAVE A ROW, COLUMN, TOOL AS A TEMPLATE
OVERVIEW
When building your lessons, any rows, columns, and tools that you create can be easily saved as templates, allowing you to reuse these items in other lessons or courses.
When saving a tool, column, or row for reuse, you can choose whether to save it globally or not:
GLOBAL vs. NON GLOBAL TEMPLATES
When you save an item as a global item, any change you make to one instance of this item will update ALL instances of the item, so that the globally saved version can be easily added and managed across multiple courses or lessons. Templates not saved as global items are considered standard items. When working with standard items, each instance of this item across your courses/lessons can be independently changed and managed, without affecting any other instances.SAVE AS ROWS, COLUMNS, OR TOOLS FOR REUSE
This section outlines how to:
- Save existing items for reuse as templates from the Lesson Editor
- Create and save new rows or tools
SAVE AS FROM THE LESSON EDITOR
To save an existing row, column, or tool from the Lesson Editor:
- Access the lesson page containing the row, column, or tool you want to save for reuse.
- Click LESSON EDITOR from the top of the lesson page to turn editing on:

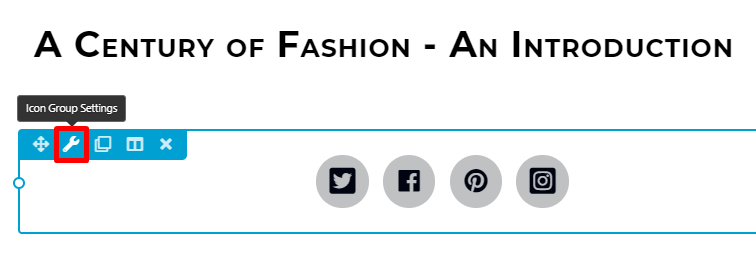
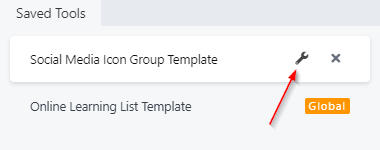
- Add a row, column, or tool onto the canvas or hover over an existing row, column, or tool that is already on the canvas, select the wrench icon to open its settings:
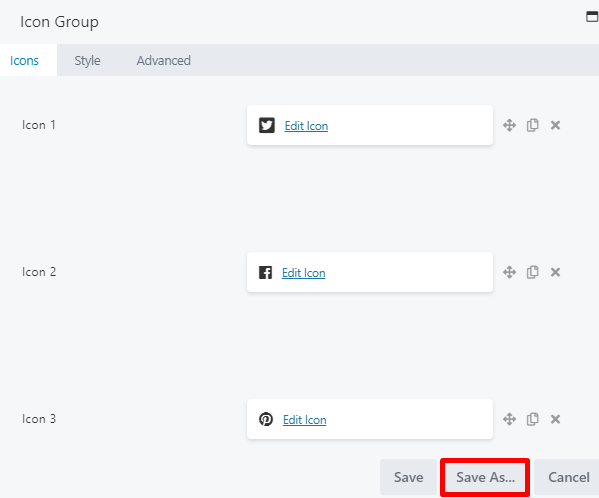
- From the settings panel, click SAVE AS:
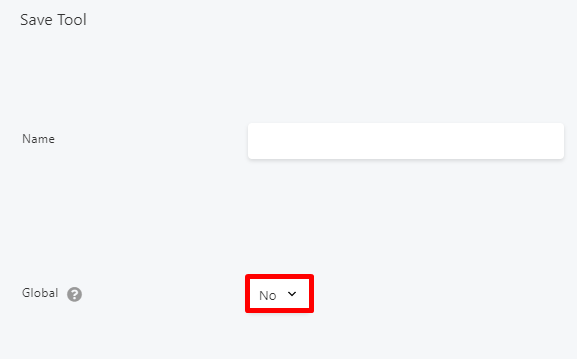
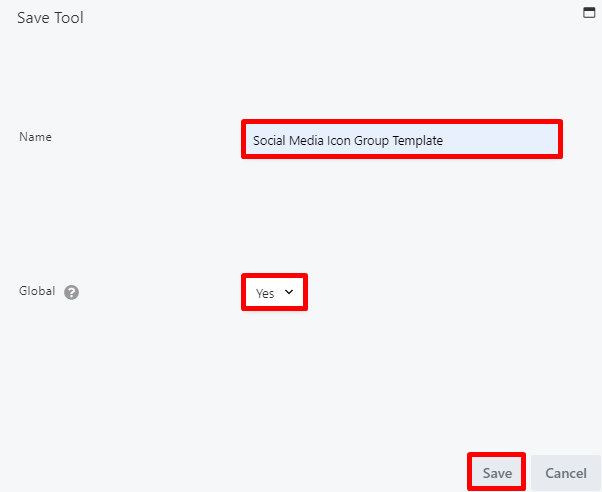
- Enter a name for this saved item, decide whether it should be saved as a global item, then click Save:
ADD A SAVED ITEM TO YOUR LESSON
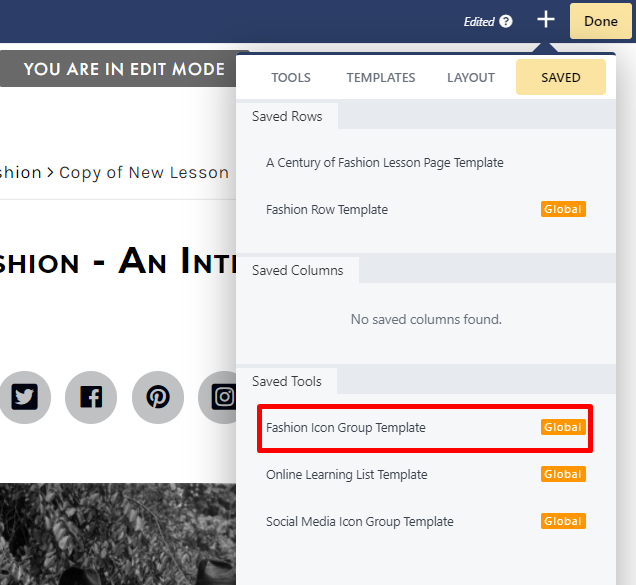
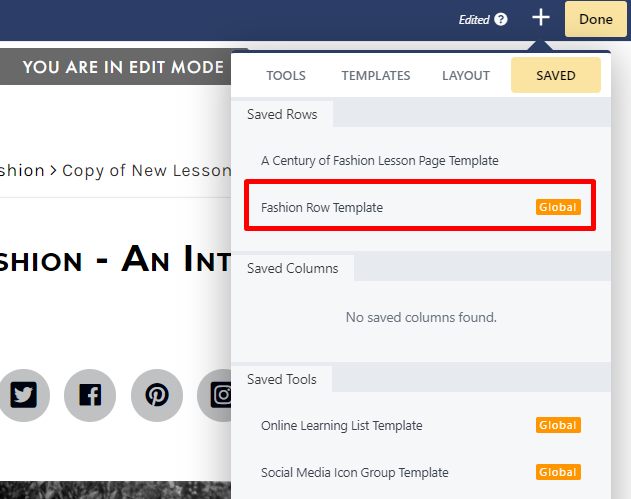
Once your item has been saved, you can access it from the Saved tab of the Add Content menu from any course or lesson: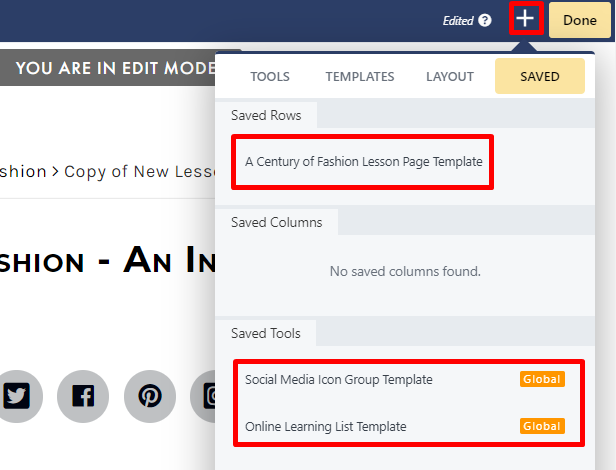
CREATE A NEW ROW OR TOOL TEMPLATE
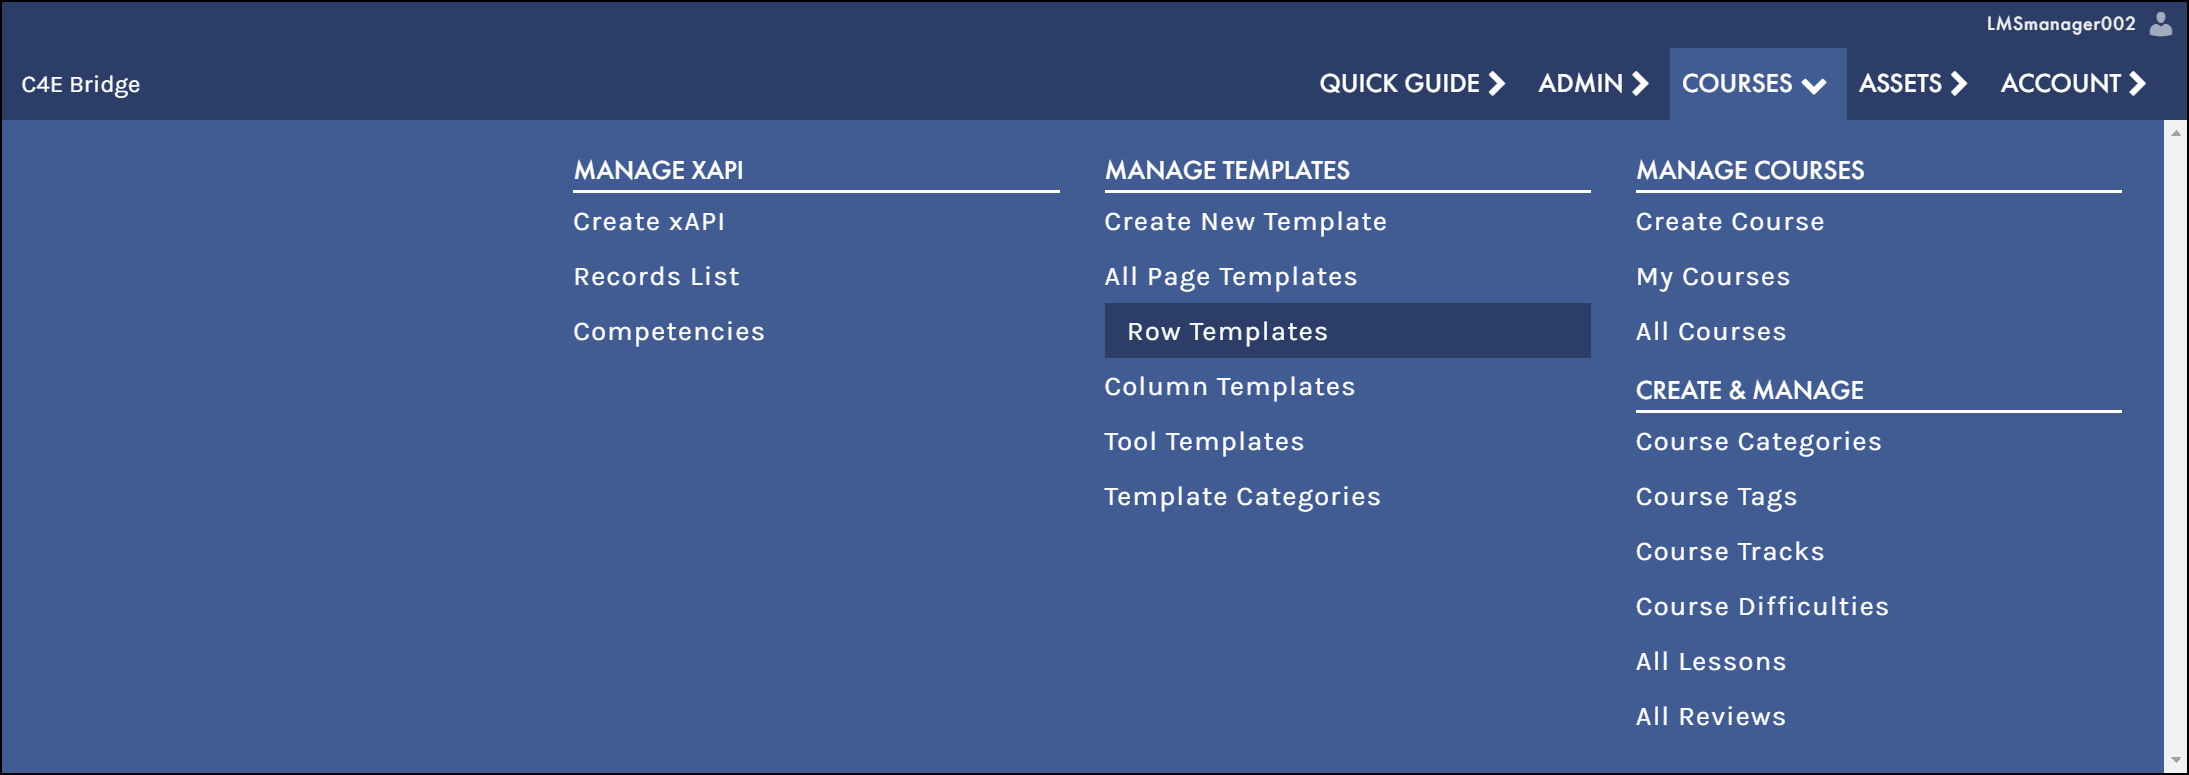
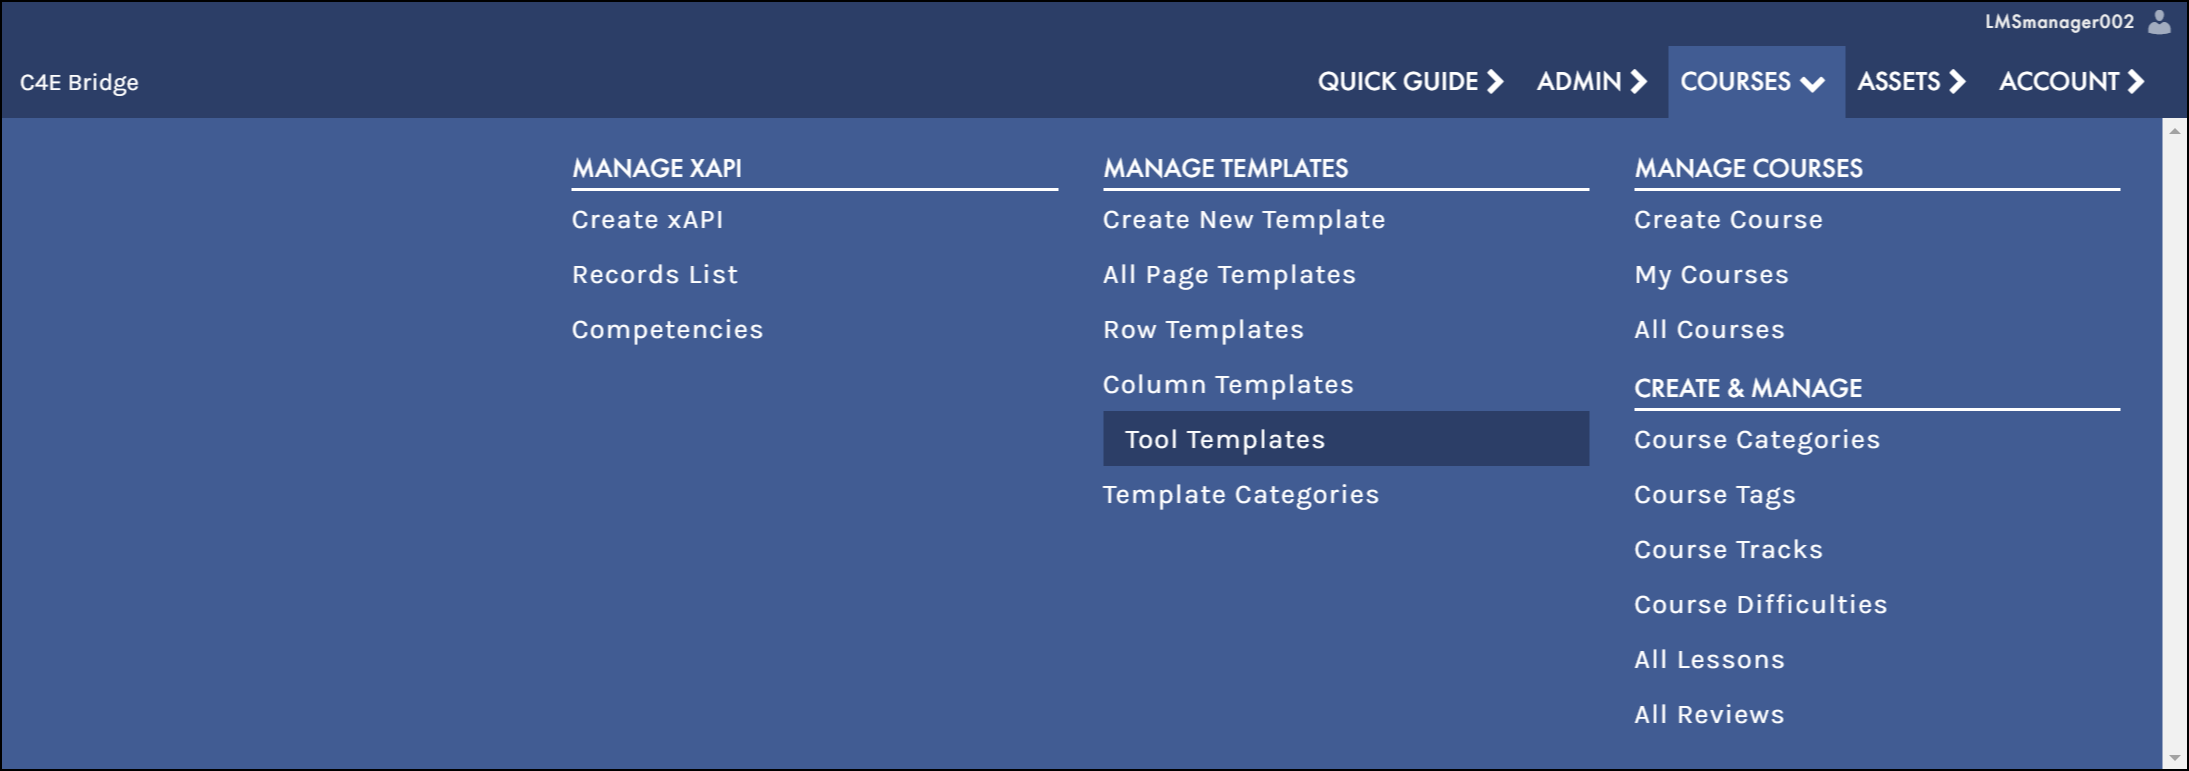
In C4EBridge, you may want to create a saved row or tool that is not currently related to a specific lesson, to be used on future lessons you plan on creating. You can create and edit saved rows and tools from the top navigation bar, by accessing the Page Templates menu via COURSES > PAGE TEMPLATES: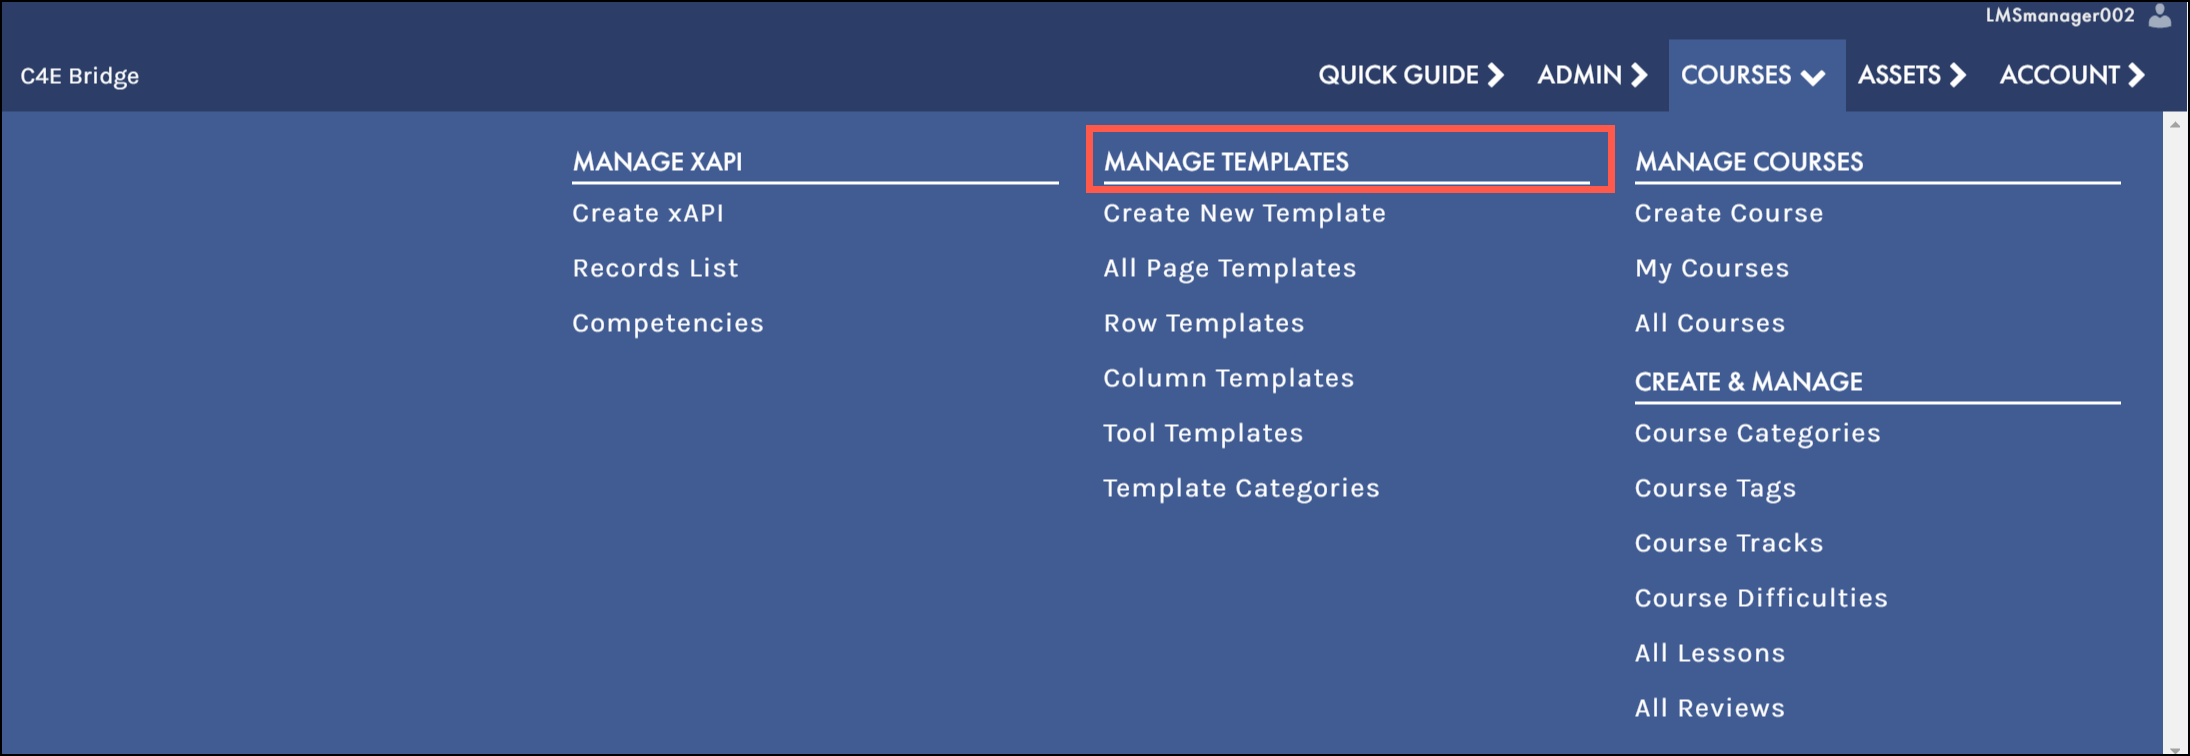
Create a Saved Row Template
Create a saved row from scratch with the following steps:-
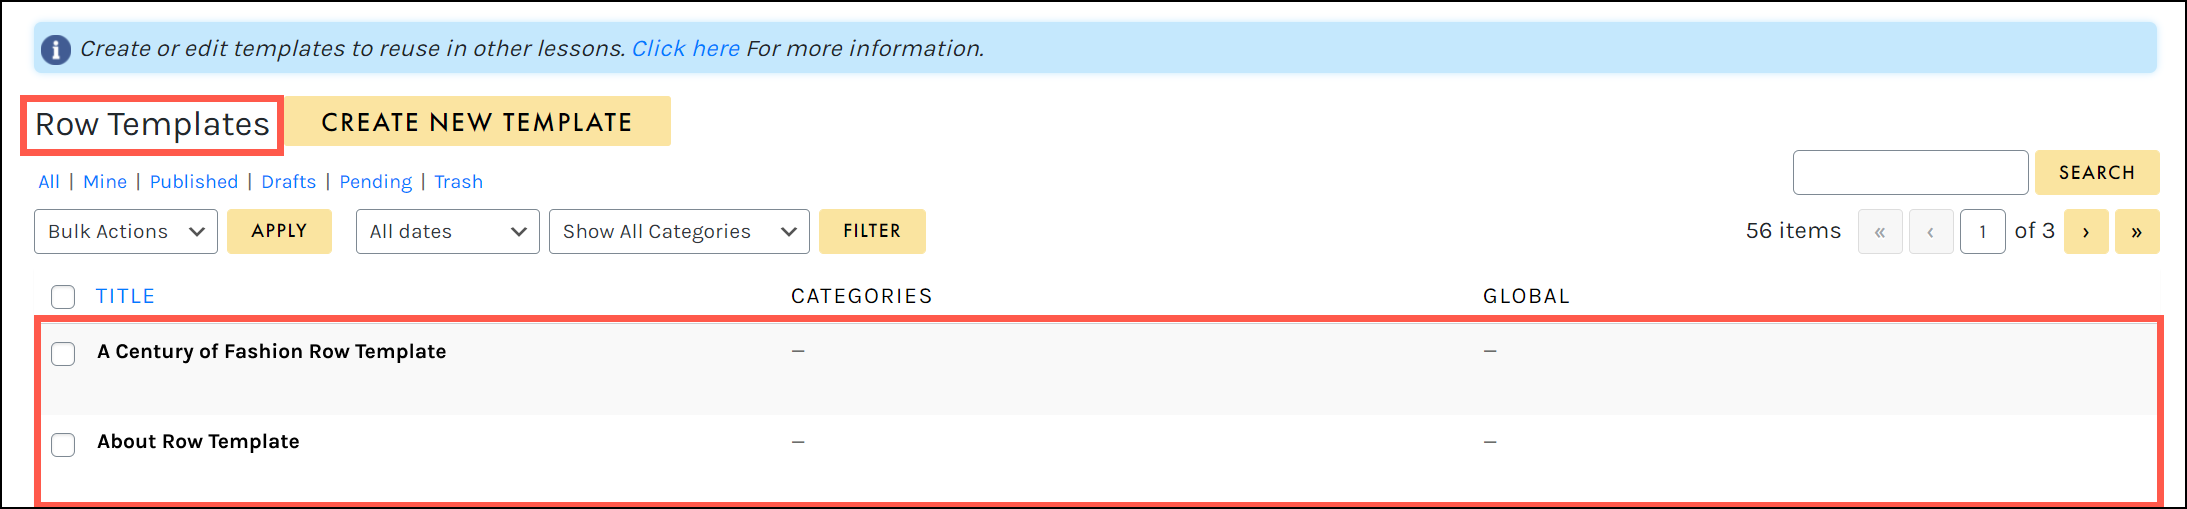
- Access the Saved Rows menu option to launch the Template Editor:
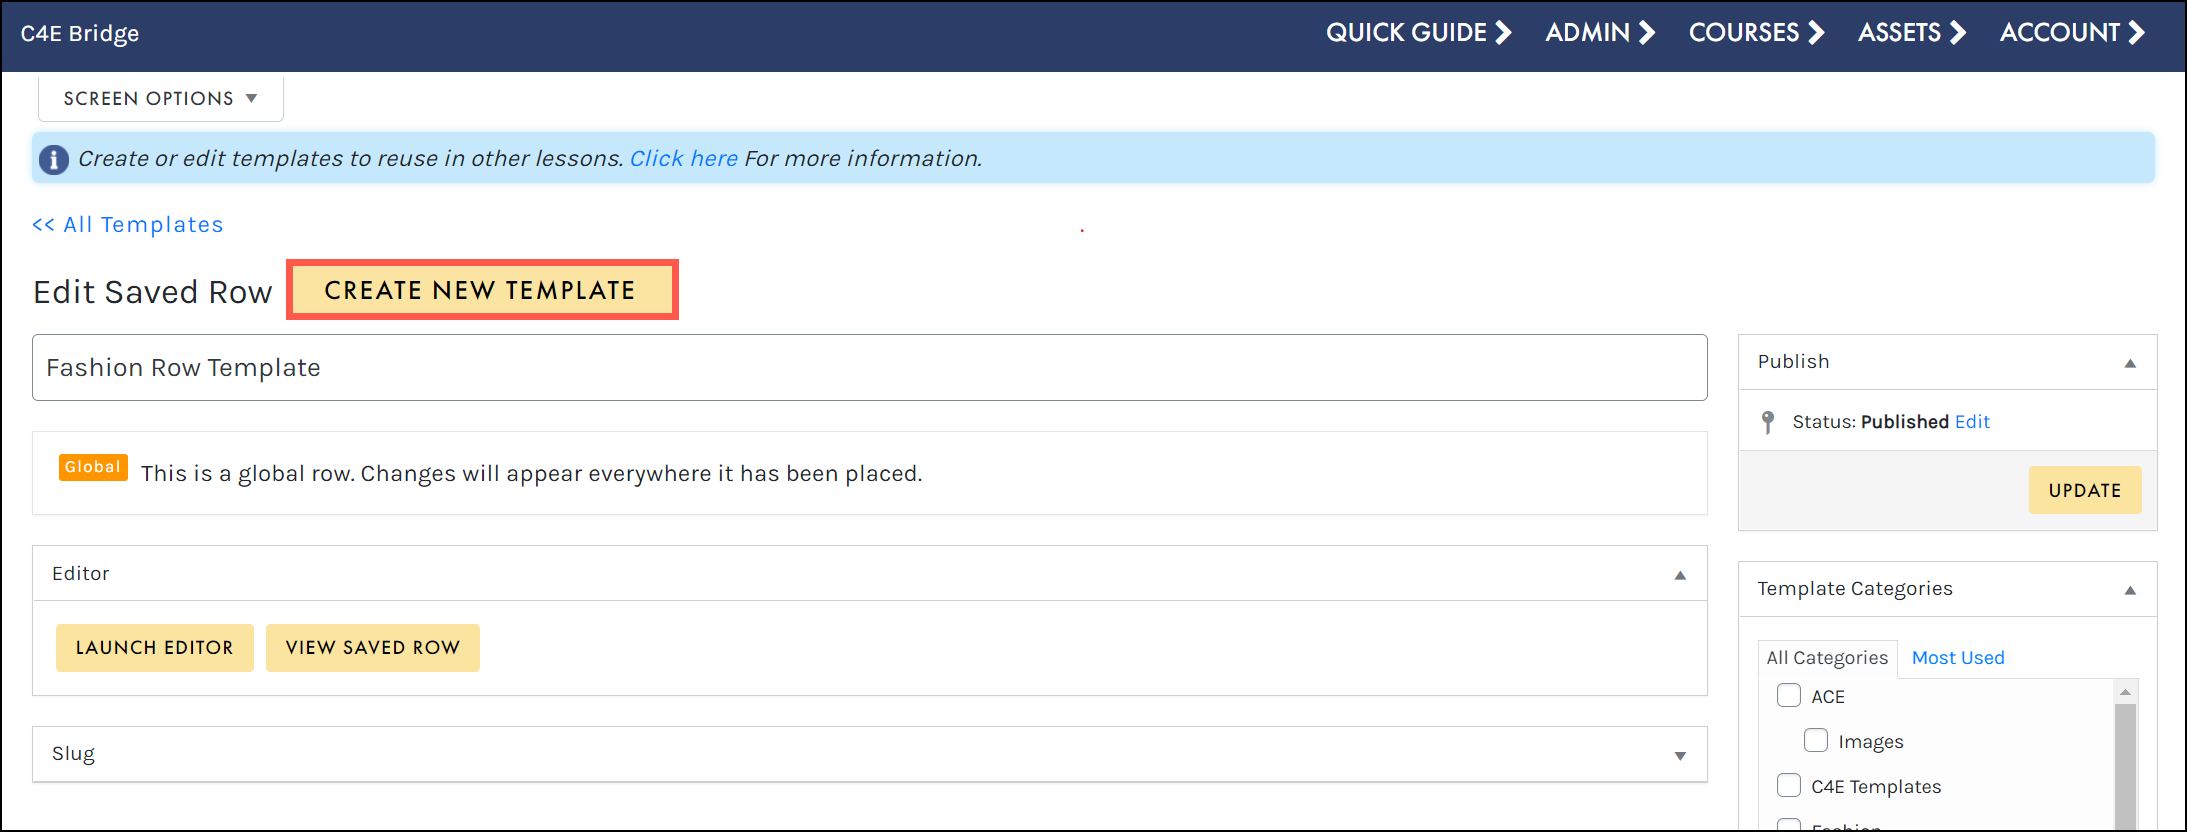
- Click the ADD NEW button:
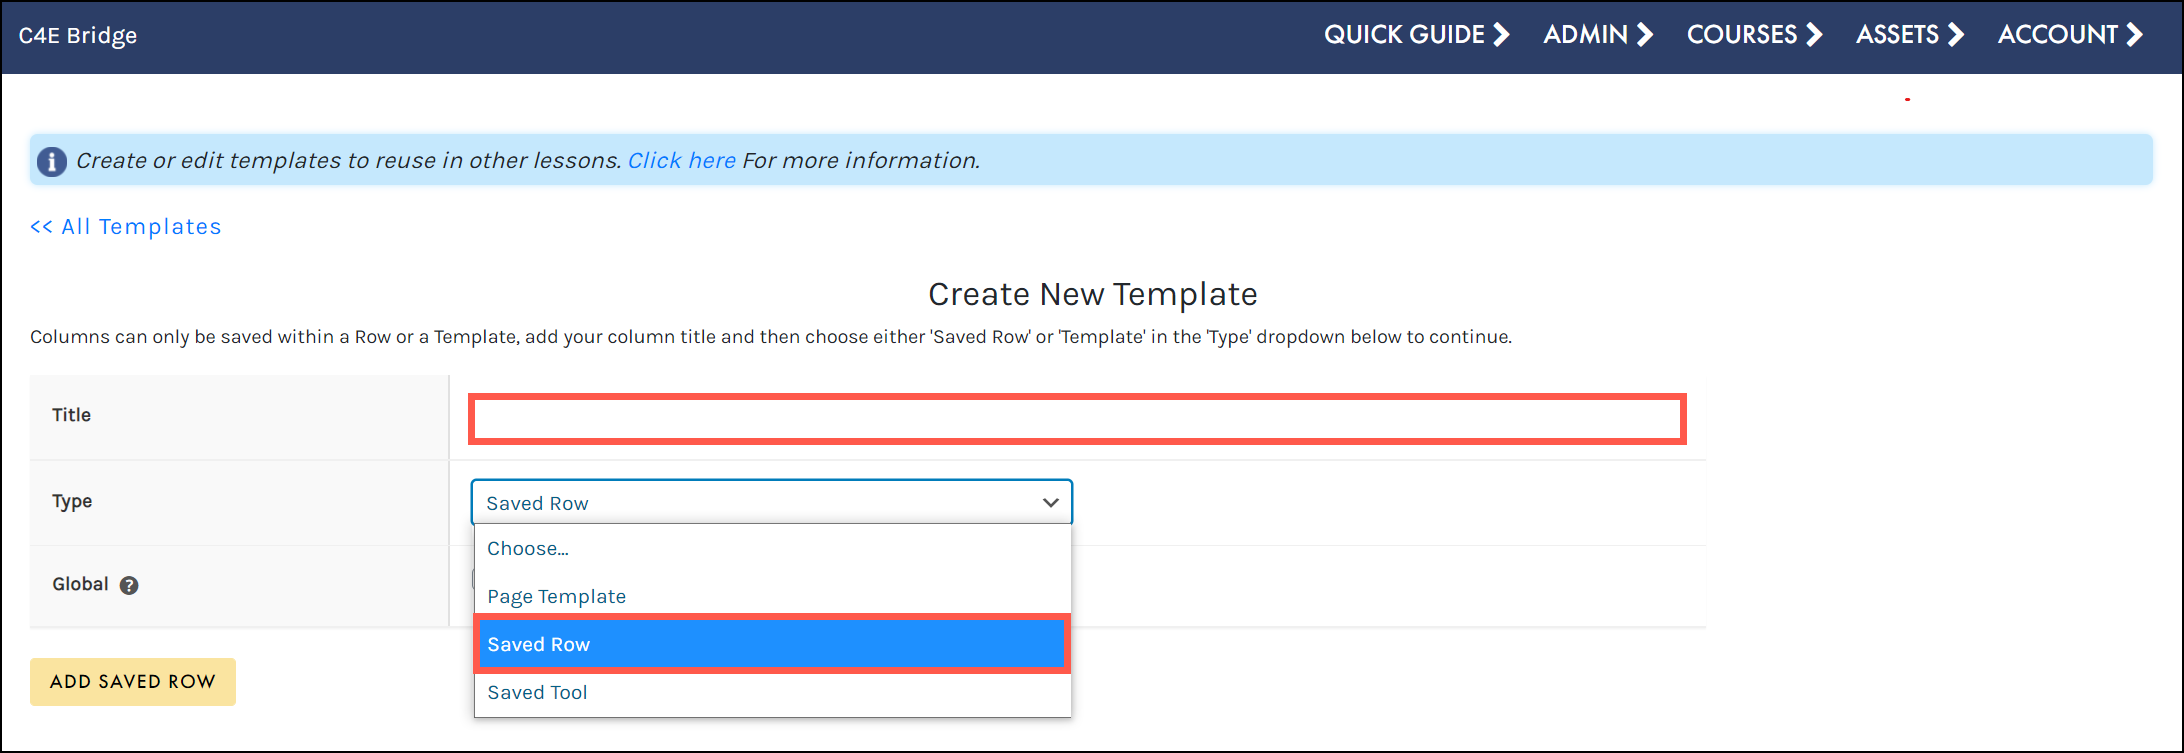
- Enter a title for your template, then select Saved Row as the type:
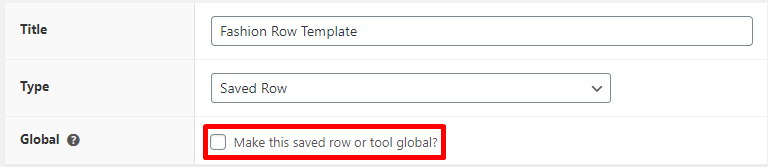
- Select the checkbox if you want to make the saved row global:
- Click ADD SAVED ROW.
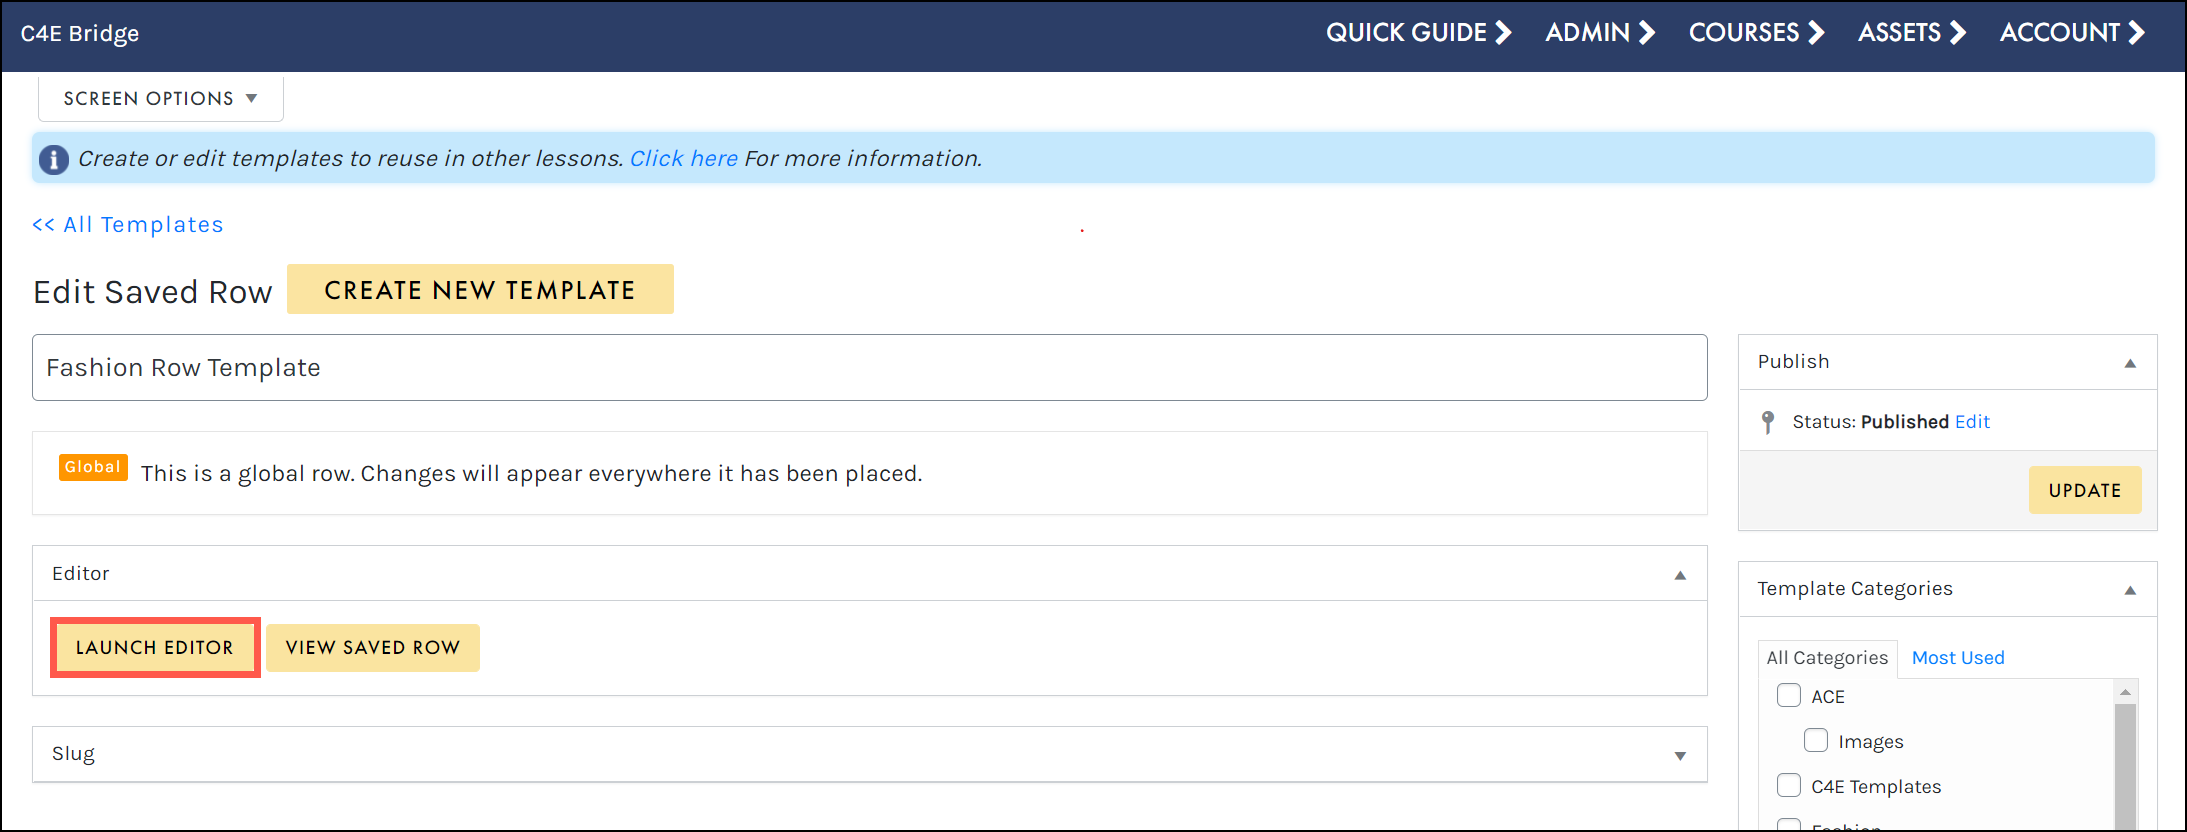
- From the editing window, you can make any desired changes to your saved row by clicking LAUNCH EDITOR:
- Access the Saved Rows menu option to launch the Template Editor:
 Global rows, columns, tools can be added to multiple pages and courses and edited in one place.
- From the Row Editor, you will see the newly created row (this will be an empty shell, ready for your customizations):
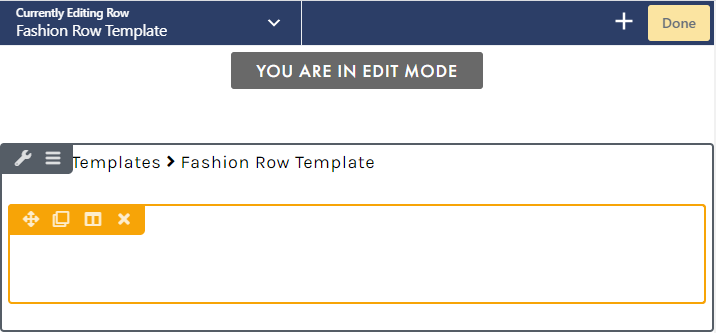
- Customize your saved row template by adding tools (assets and page elements), adding additional columns, or modifying the row and column settings.
 You can add multiple layers of columns, but you can only create one row.
- Once your changes are complete, click DONE and select PUBLISH to save the row:

Create a Saved Tool Template
From the Templates menu (COURSES > PAGE TEMPLATES: ), you can create a saved tool template with the following steps:- Access the Saved Tools menu option to launch the Template Editor:
- Click the ADD NEW button:
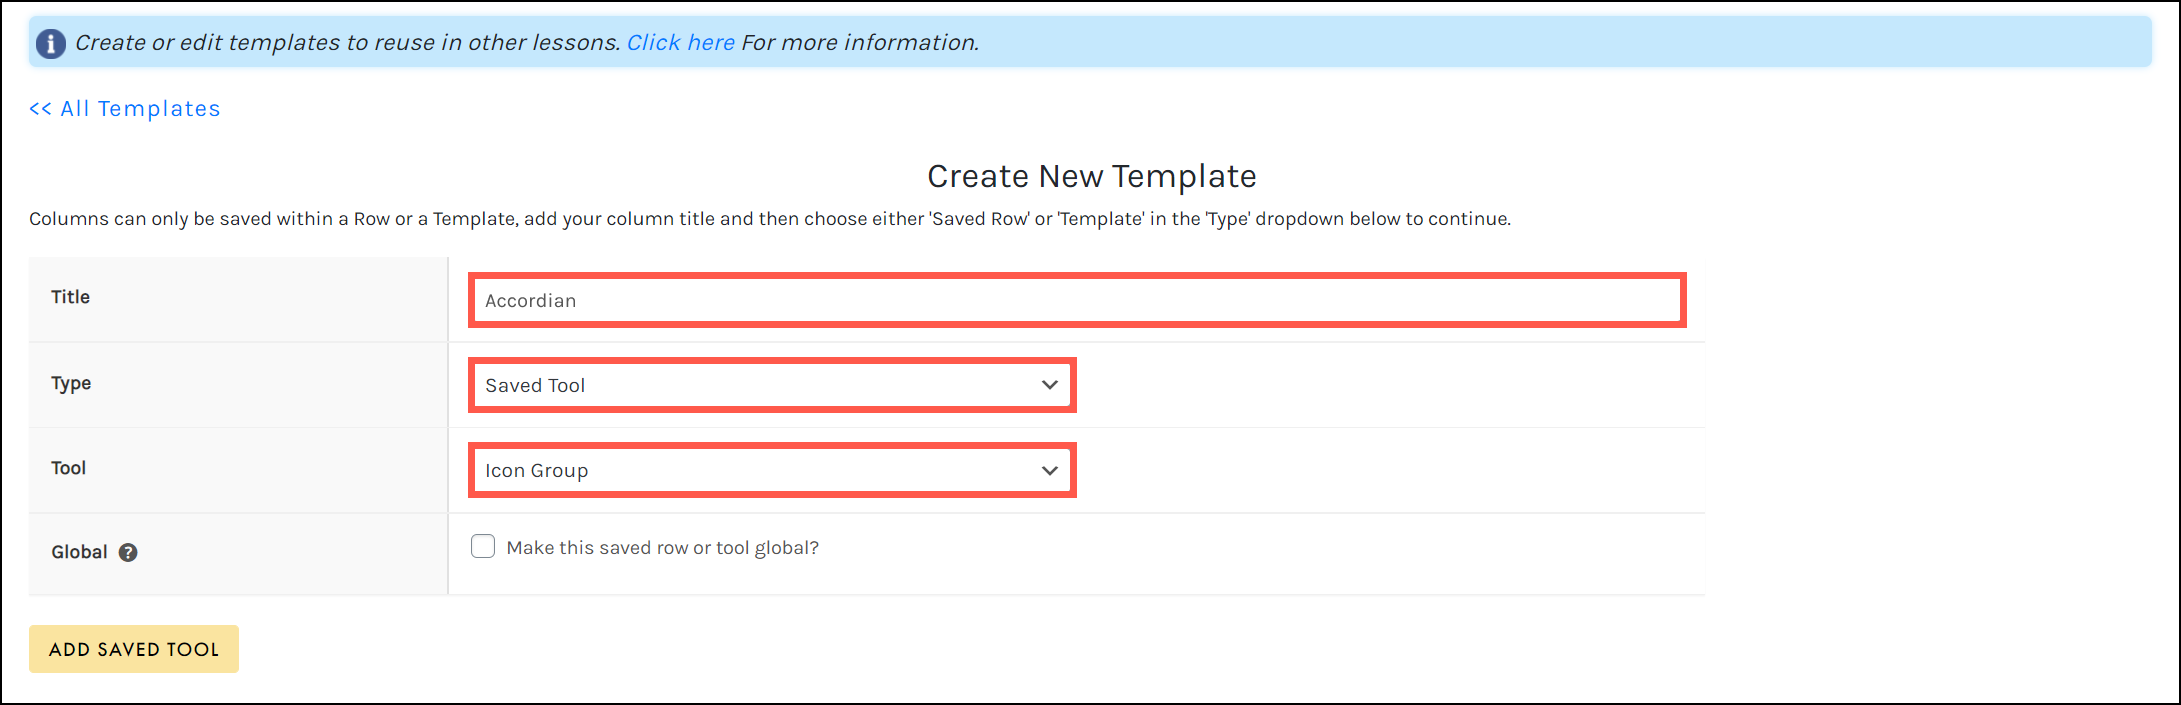
Enter a title for your template, select Saved Tool as the type, and select the tool you want to use:
- Select the checkbox if you want to make the saved tool global:
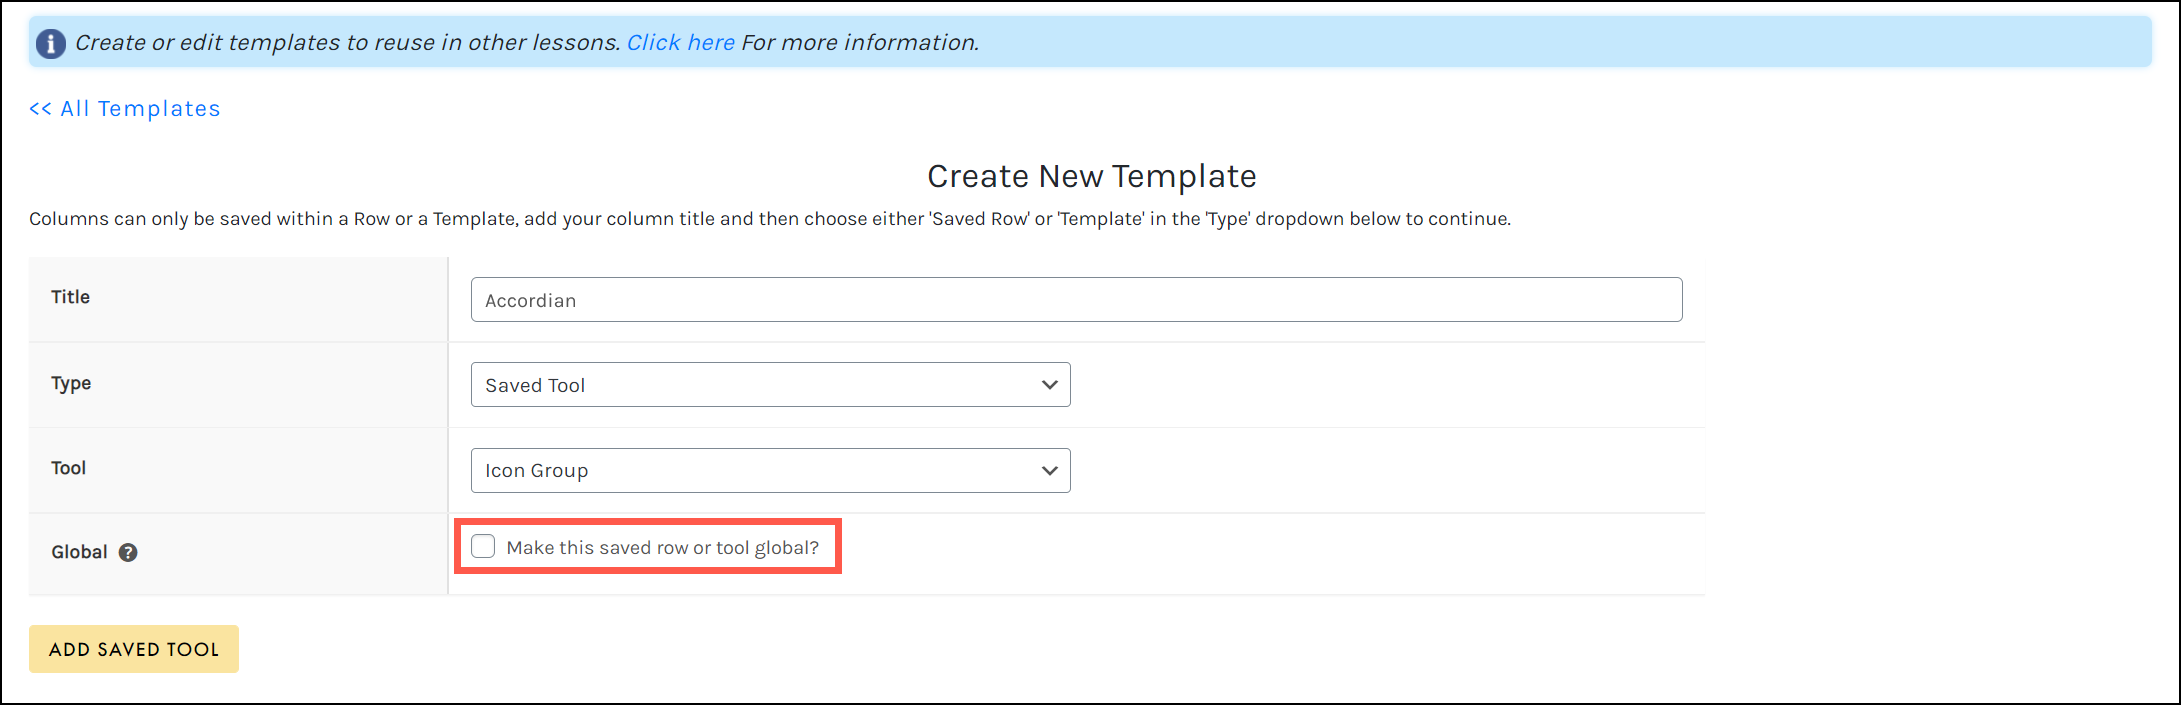
- Click ADD SAVED TOOL.
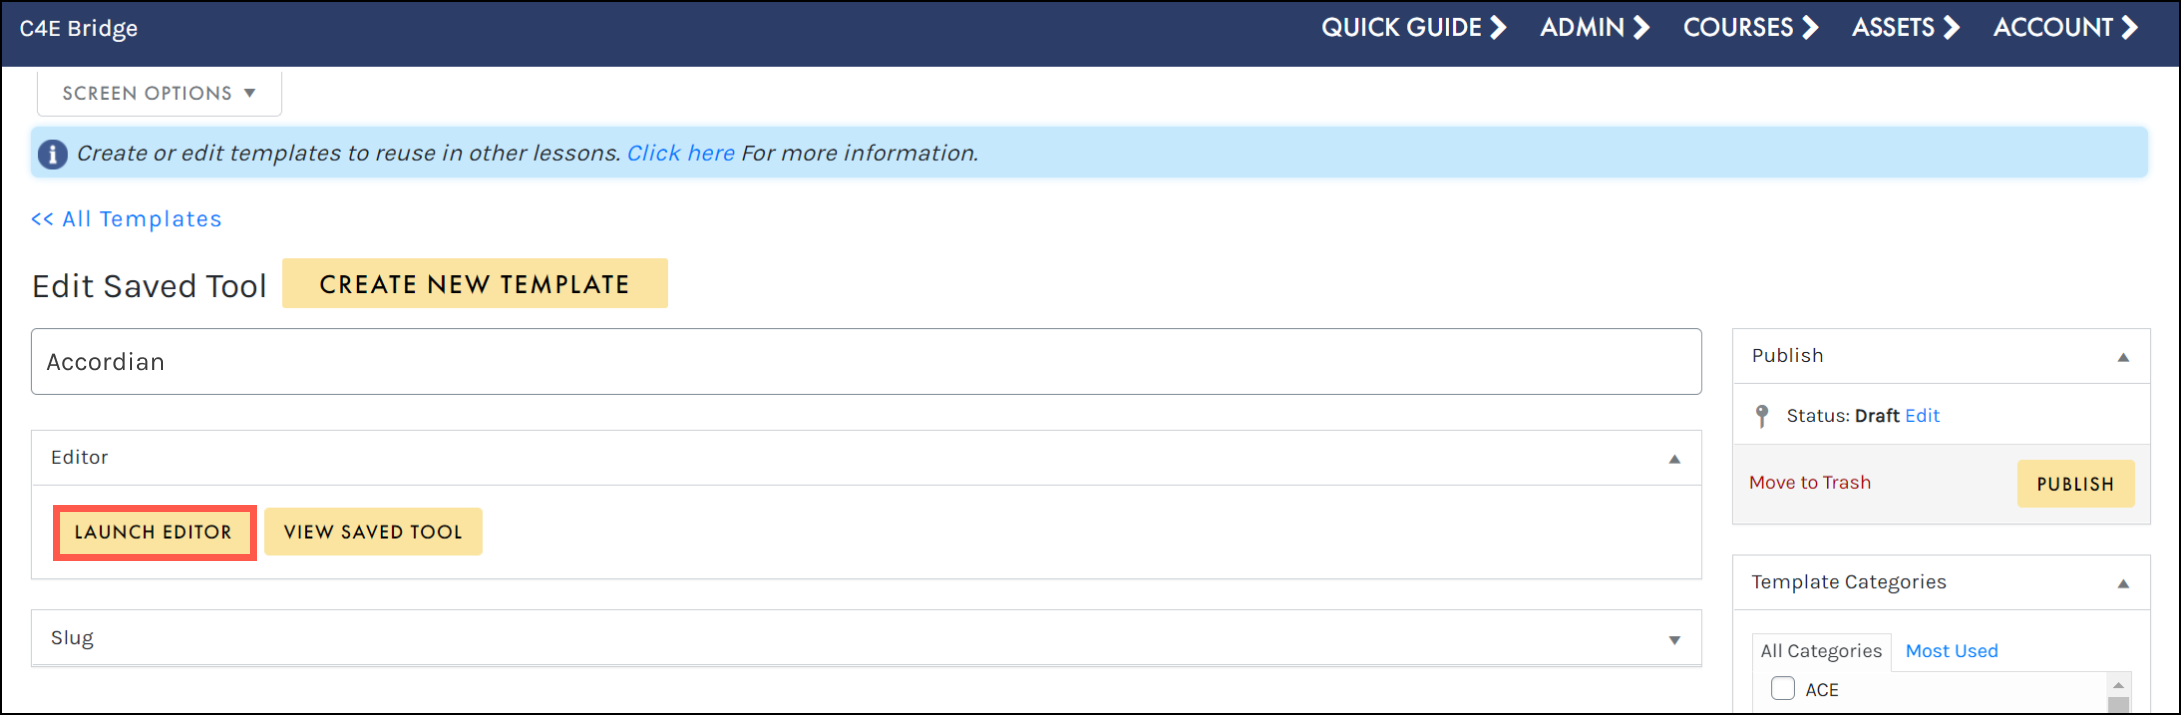
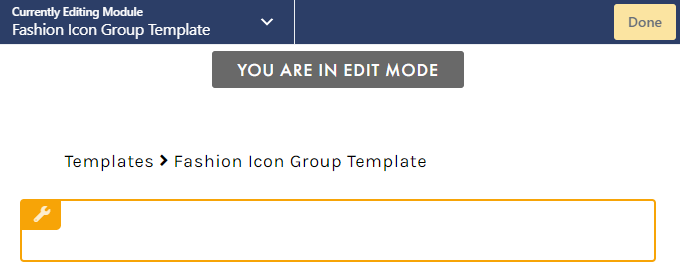
- From the editing window, you can make any desired changes to your saved tool by clicking LAUNCH EDITOR:
- From the Tool Editor, you will see the newly created tool (this will be an empty shell, ready for your customizations). Hover and select the wrench icon to open the tool settings and customize your saved tool template:
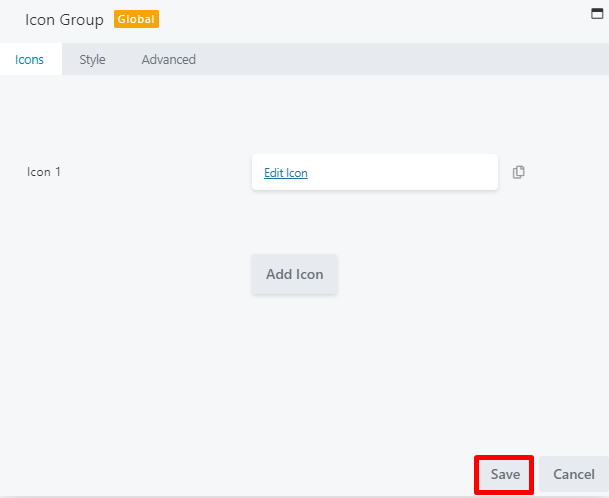
- Modify your tool settings as necessary, then click SAVE on the tool’s settings panel:
- Once your changes are complete, click DONE and select PUBLISH to save the tool: