Tutorials
- USER GUIDES & VIDEO TUTORIALS
- ALL VIDEO TUTORIALS
- OVERVIEW
- ASSETS
- CREATE COURSE
- MANAGE COURSES
- MANAGE TEMPLATES
- MANAGE XAPI
- ADMIN
- Getting Started with Administrative Tasks
- Reporting
- Vouchers
- Users
- Forums
- Engagements
- Memberships
- ACCOUNT
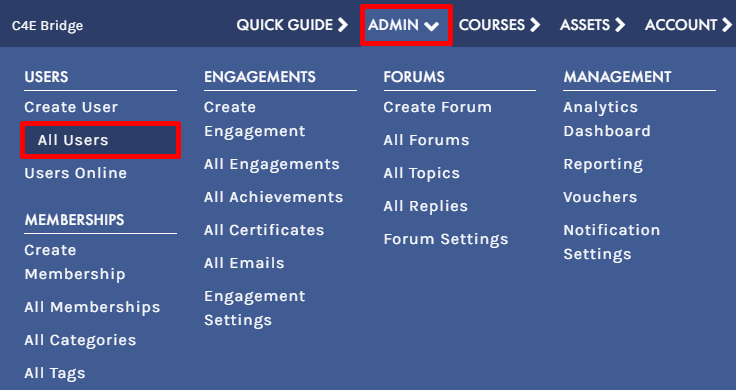
All Users
Table of Contents
ALL USERS
 All Users are for Premier and Enterprise account holders.
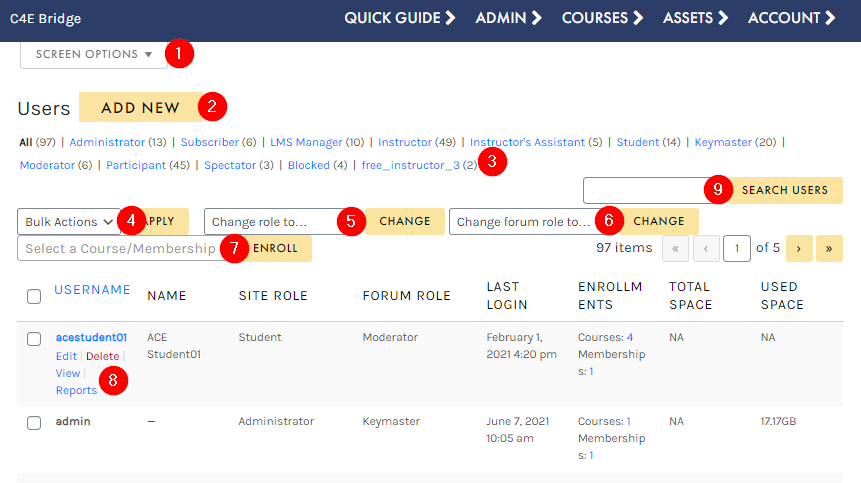
- Access your Screen Options menu.
- Add a new user from scratch.
- Filter using the role filters.
- Apply a bulk action to selected users.
- Adjust the role for selected users.
- Adjust the forum role for selected users.
- Enroll selected users in a course/membership.
- Hover to access a user’s actions menu.
- Search for a specific user.
SCREEN OPTIONS
Use the Screen Options menu to tailor your display on the All Users table, choosing to hide/display specific columns and set your number of items per screen: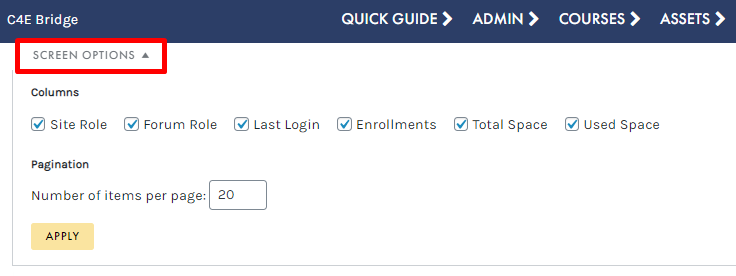
ADD NEW
The ADD NEW button allows you to easily create a new user directly from the All Users table. On the Add New User screen, enter your user details, then click ADD NEW USER to create your user.To learn more about creating users, visit the Create Users section.
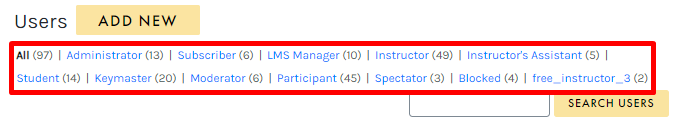
ROLE FILTERS
Filter by All roles, or any of the specific roles available, such as Administrator, Subscriber, or LMS Manager:
BULK ACTIONS
The Bulk Actions menu allows you to apply a bulk action to selected users. Simply click the check box to select multiple users, choose DELETE from the BULK ACTIONS dropdown, then click APPLY then click APPLY to perform your bulk action and delete these users: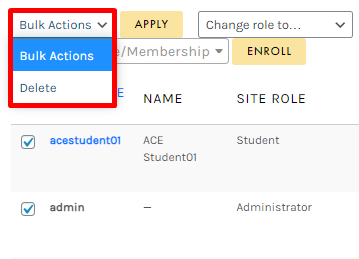
CHANGE ROLE TO
The CHANGE ROLE TO dropdown allows you to assign a different role to selected users. Click the check box to select your users, choose the desired role from the CHANGE ROLE TO dropdown, then click CHANGE: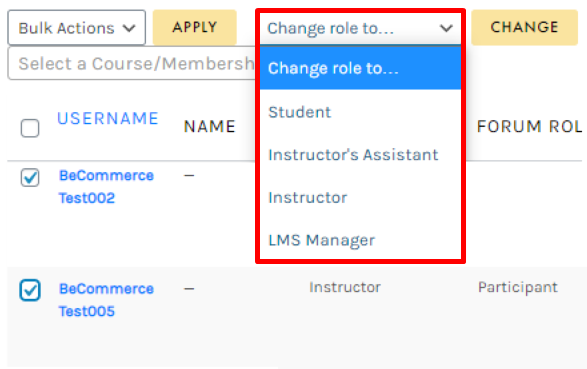
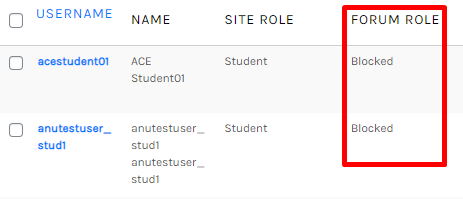
CHANGE FORUM ROLE TO
The CHANGE FORUM ROLE TO dropdown allows you to assign a different forum role to selected users. Click the check box to select your users, choose the desired role from the CHANGE FORUM ROLE TO dropdown, then click CHANGE:
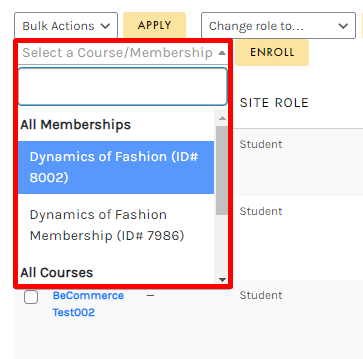
Click the check box to select your users, choose the desired course or membership from the SELECT A COURSE/MEMBERSHIP dropdown, then click ENROLL:

SELECT A COURSE/MEMBERSHIP
The SELECT A COURSE/MEMBERSHIP dropdown allows you to enroll selected users to a course or membership from the All Users table. As users are not enrolled in a course/membership during the new user creation process, this is a necessary step to add users to courses and memberships.Users can also be enrolled to courses from the Student Management pane on the Edit Course Settings page, or enrolled in memberships from the Student Management pane on the Add New Membership or Edit Membership windows. To learn more, visit the Edit Course Settings Panel or Create Memberships sections.
ACTIONS MENU
When hovering over any user, that user’s actions menu will appear, allowing you to edit, delete, view, or access their reports: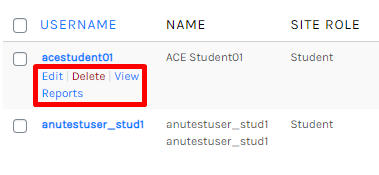
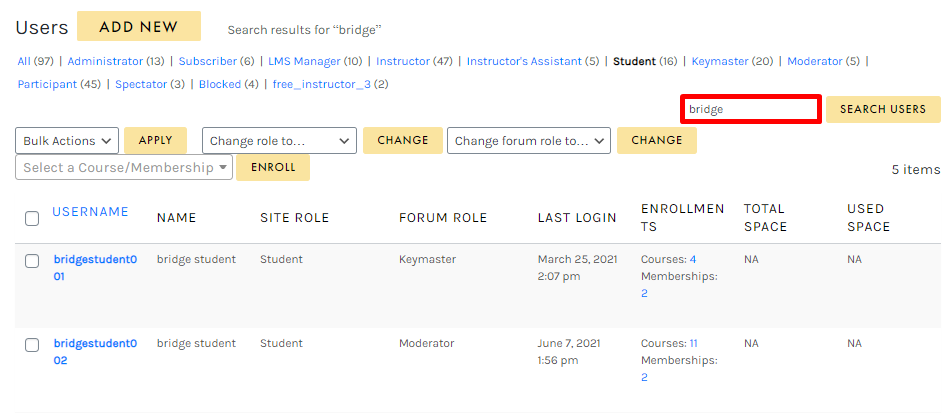
SEARCH
Search for a specific user by typing in the search field and selecting the SEARCH USERS button: