Tutorials
- USER GUIDES & VIDEO TUTORIALS
- ALL VIDEO TUTORIALS
- OVERVIEW
- ASSETS
- Getting Started with Assets
- Creating Collections
- Uploading Image Assets
- Upload Audio Assets
- Uploading Document Assets
- Uploading Video Assets
- Bulk Uploading Assets
- Asset Details
- Categories And Tags
- CREATE COURSE
- MANAGE COURSES
- MANAGE TEMPLATES
- MANAGE XAPI
- ADMIN
- ACCOUNT
Uploading Image Assets
Table of Contents
UPLOADING IMAGE ASSETS
QUICK START VIDEO TUTORIAL
Watch this short video, and start Uploading Images: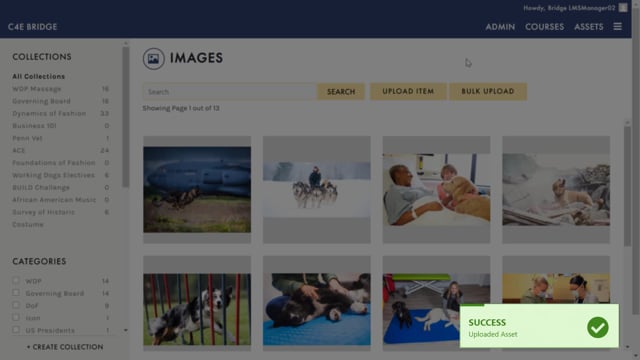
Uploading Images
2.27
UPLOADING INDIVIDUAL IMAGES
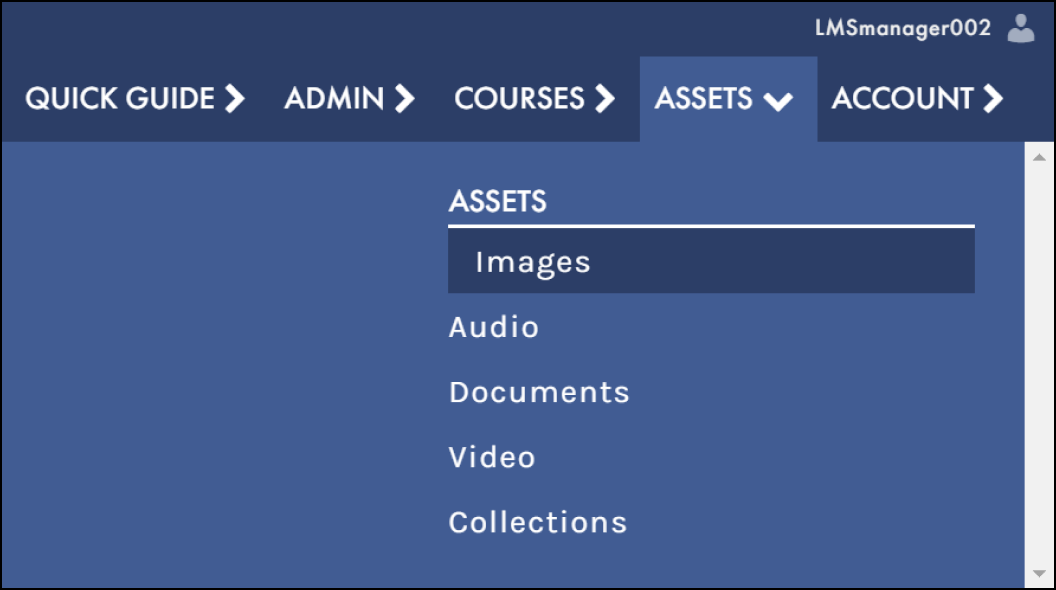
Image assets can be uploaded from your computer or saved from the Web using the steps outlined below.- From the top navigation, select ASSETS > IMAGES:
- Select the UPLOAD ITEM button:

- From the SOURCE dropdown, choose FILE, WEB SEARCH, or URL:
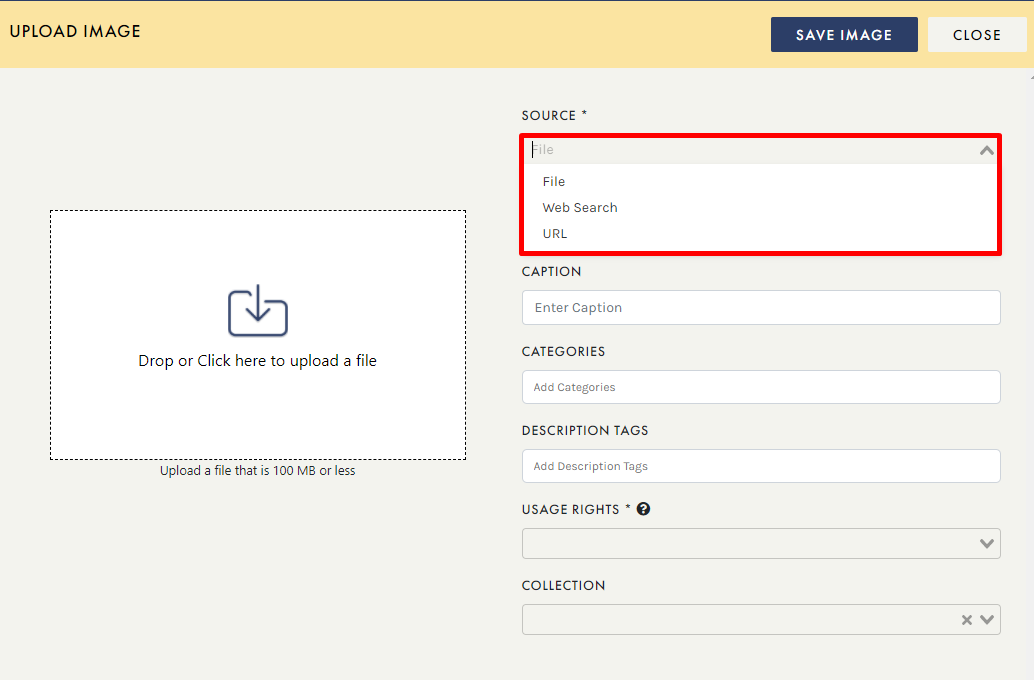
- FILE : To upload an image from your computer, select FILE and simply drag and drop your locally saved file, or select the CLICK HERE option in the DROP OR CLICK HERE TO UPLOAD A FILE field to locate and select your desired image. Once your image has populated, add any additional details (including the Title and Usage Rights), and select the SAVE IMAGE button to save your image to your library.
- WEB SEARCH : This option allows you to quickly find assets you need on the Web without ever leaving the system. Simply select WEB SEARCH from the SOURCE dropdown, click the SEARCH WEB button, and enter a search topic. Once your search results have populated, hover over any image to preview it (using the ENLARGE icon) or add it to your image library (using the + icon). After you’ve clicked the + icon to add an image to your library, you can add descriptive details, including the Title, Usage Rights, Caption, and more.
- URL : To add an image from the Web using a URL, select URL from the SOURCE dropdown. A new field will display beneath SOURCE, allowing you to add your desired URL. Once your image has populated, add any additional details (including the Title and Usage Rights), and select the SAVE IMAGE button to save your image to your library.
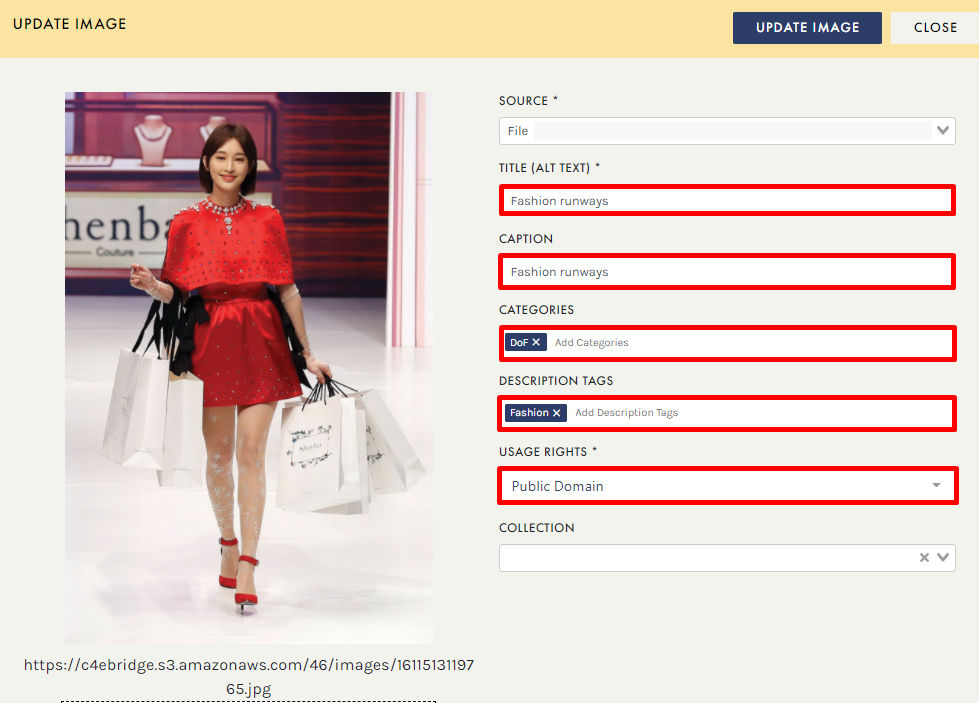
Definitions:
- CAPTION : A brief description of the content featured in your asset
- CATEGORIES : Specific classifications for assets having definitive shared characteristics
- DESCRIPTION TAGS : Labels attached to an asset for the purpose of identification
 Return to any image at any time to replace it or update its details. This is discussed in further detail later in this section.