Tutorials
- USER GUIDES & VIDEO TUTORIALS
- ALL VIDEO TUTORIALS
- OVERVIEW
- ASSETS
- CREATE COURSE
- MANAGE COURSES
- MANAGE TEMPLATES
- MANAGE XAPI
- ADMIN
- Getting Started with Administrative Tasks
- Reporting
- Vouchers
- Users
- Forums
- Engagements
- Memberships
- ACCOUNT
Create Memberships
Table of Contents
MEMBERSHIP
OVERVIEW
Memberships are helpful tools that allow you to group specific users together, which is ideal when needing to bulk enroll users into a course or give certain users access to specific courses or forums. Memberships may also be useful when wanting to offer a bundle of courses at a discounted price.
CREATE MEMBERSHIPS
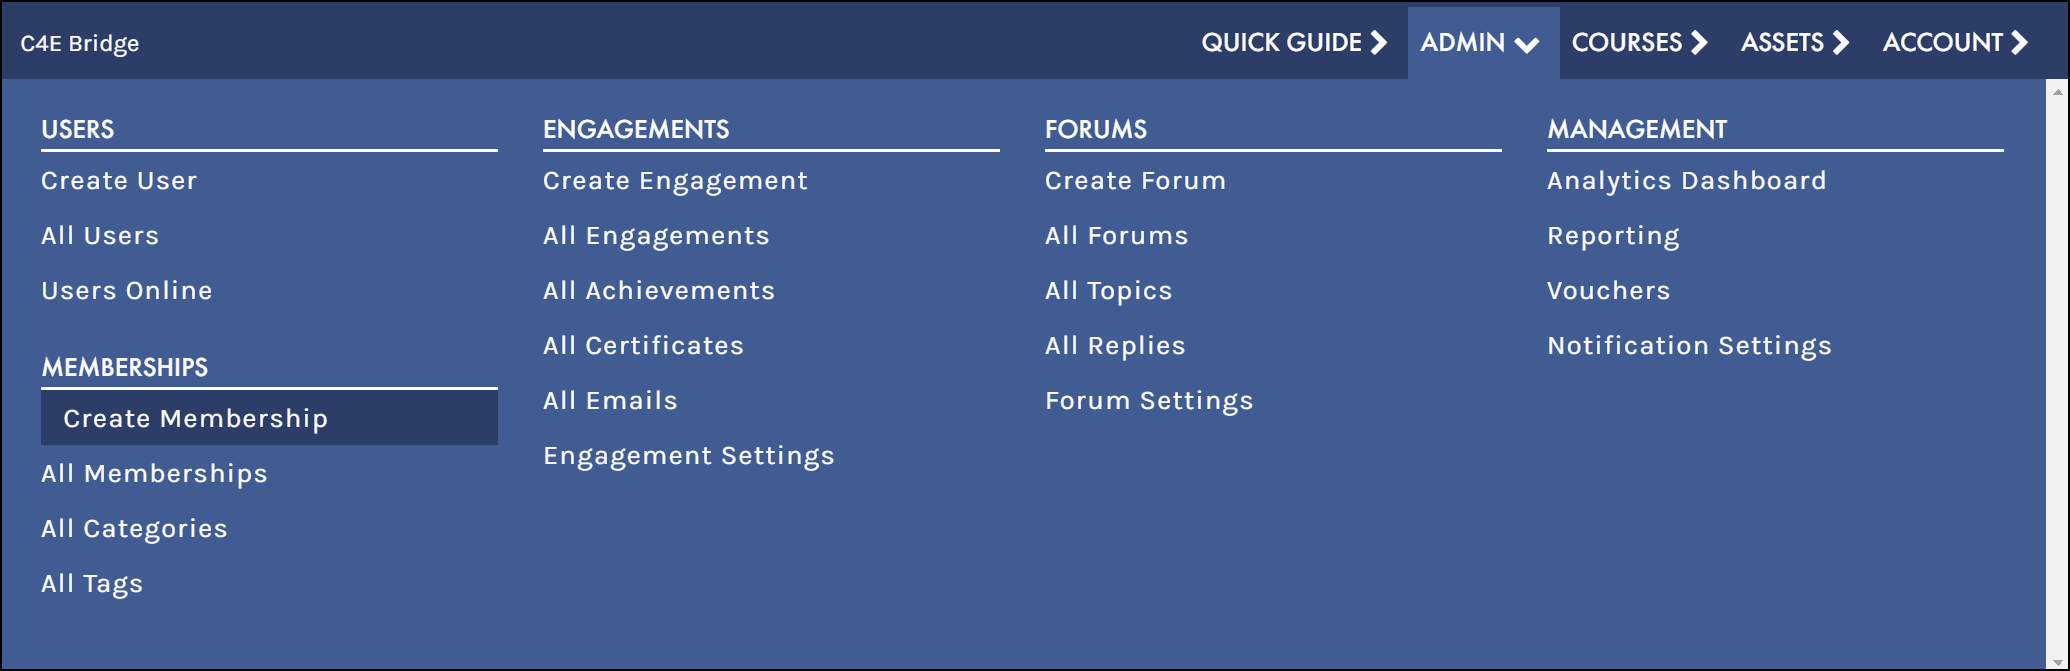
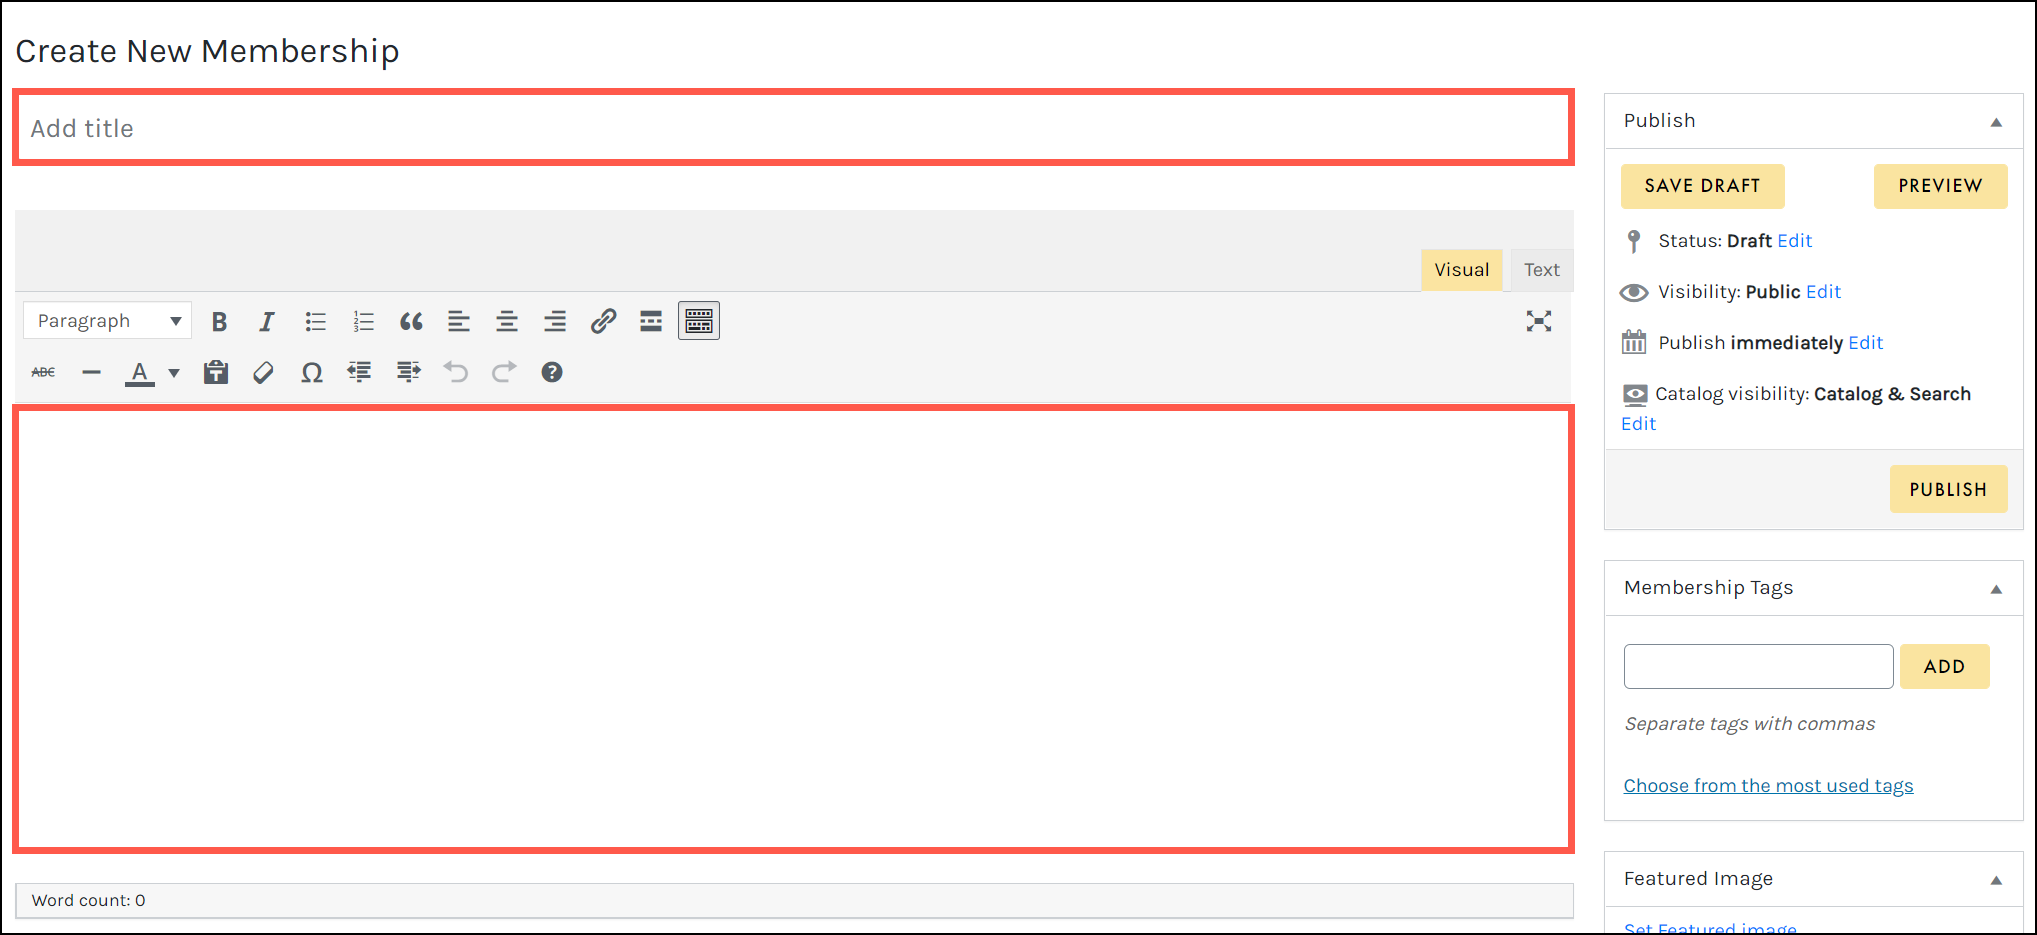
To create a new membership, access ADMIN > MEMBERSHIP > CREATE MEMBERSHIP from the top navigation:
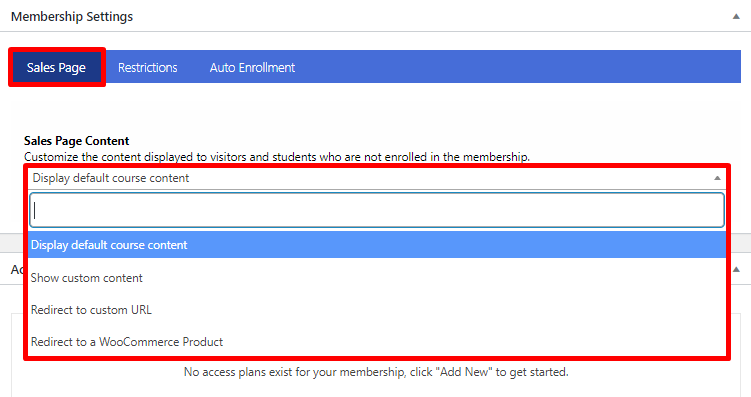
- Use the Sales Page tab on the Membership Settings pane to customize the content displayed to those visitors and students not enrolled in the membership:
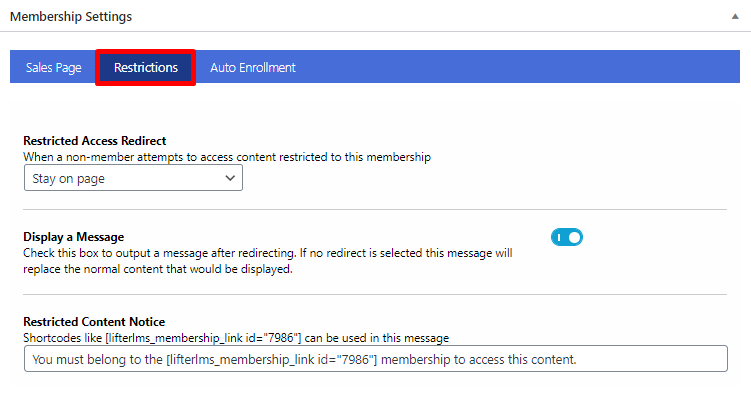
- Use the Restrictions tab on the Membership Settings pane to adjust any restriction settings for your membership:
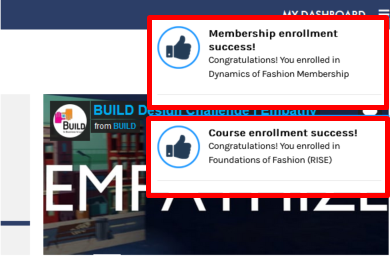
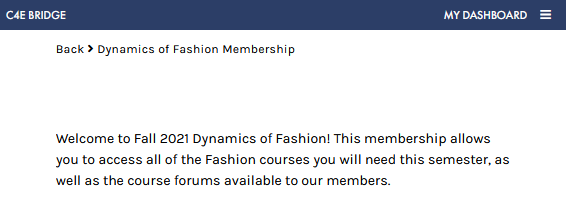
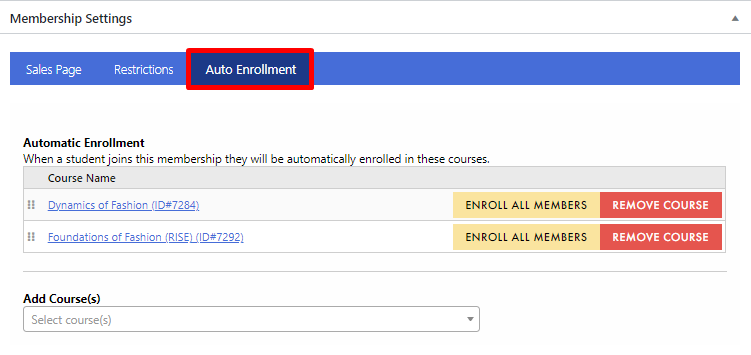
- Use the Auto Enrollment tab on the Membership Settings pane to define which courses students will be enrolled in when they join the membership. In the example below, the Dynamics of Fashion and Foundations of Fashion courses are selected:
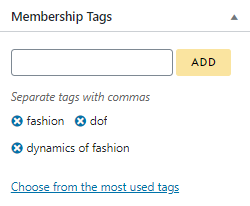
- Use the Membership Tags pane to add tags to help with organizing and managing your memberships:
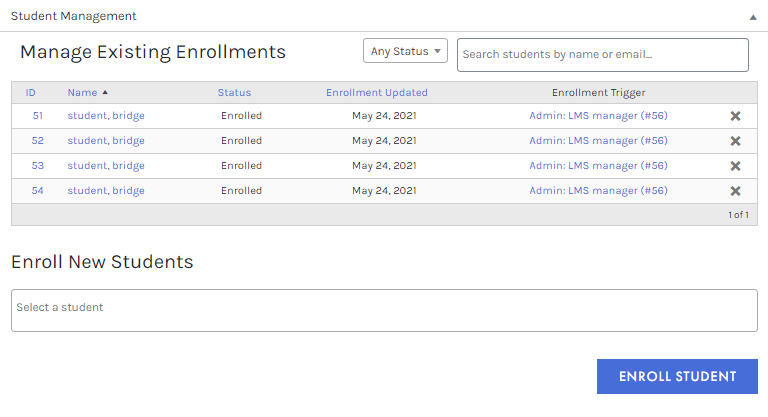
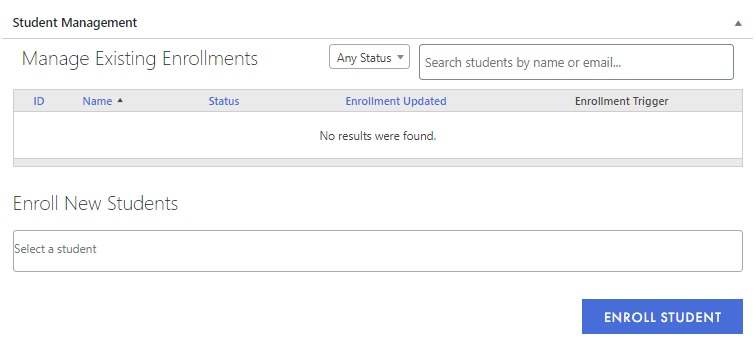
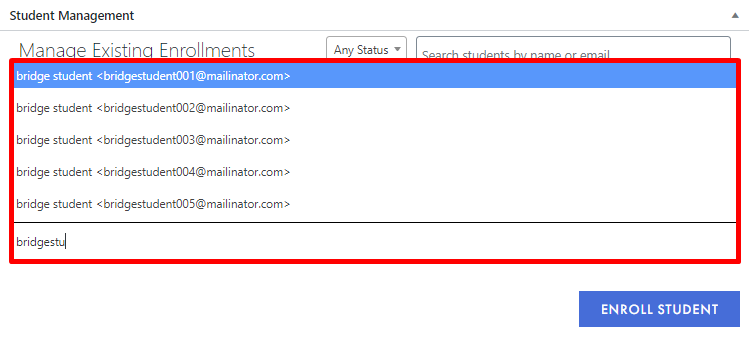
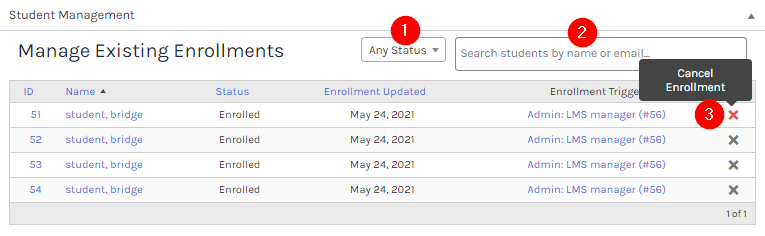
- Use the Student Management pane to view and manage your enrolled students, or manually enroll new students:
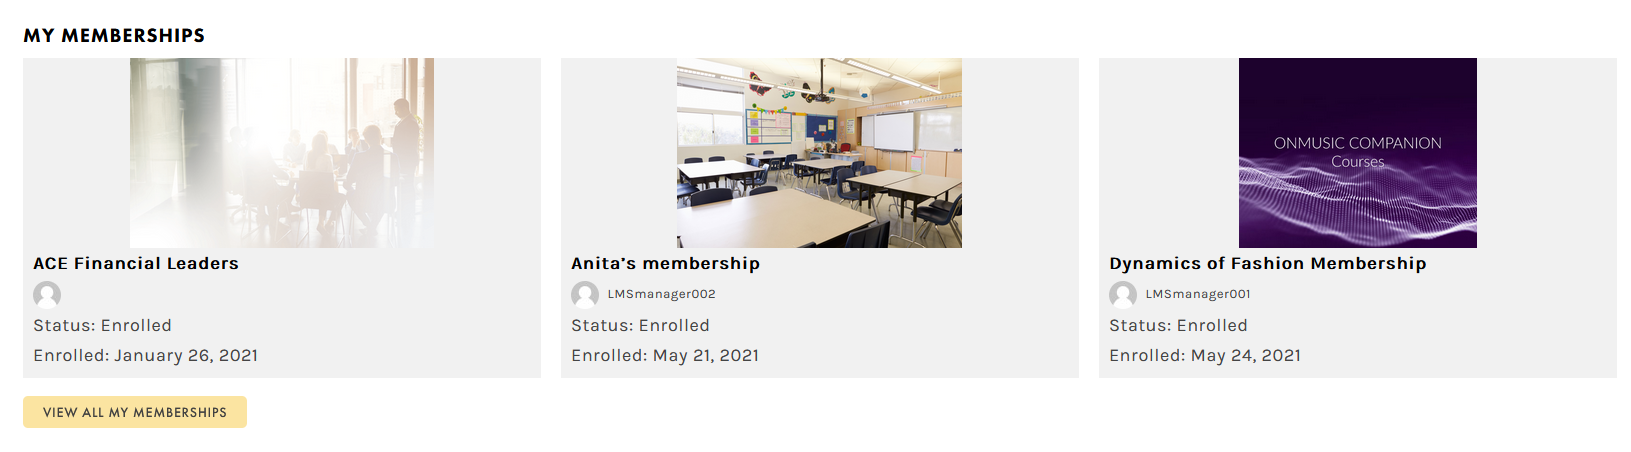
- Use the Featured Image pane to set a featured image for this membership, which will appear on students’ dashboards:

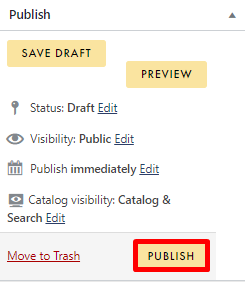
 Your membership must first be published before you are able to manage your students from the Student Management pane.
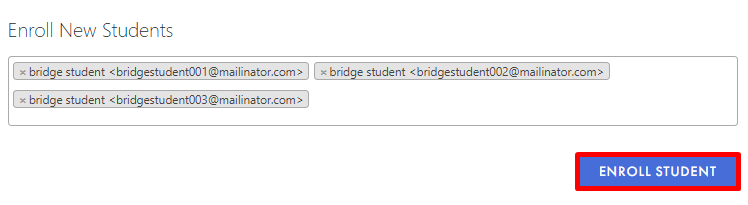
ENROLLING STUDENTS TO YOUR MEMBERSHIP
Students can be enrolled to your membership using the Student Management pane on the Add New Membership page:

 Instructors do not have permissions to enroll students using memberships.