Tutorials
- USER GUIDES & VIDEO TUTORIALS
- ALL VIDEO TUTORIALS
- OVERVIEW
- ASSETS
- Getting Started with Assets
- Creating Collections
- Uploading Image Assets
- Upload Audio Assets
- Uploading Document Assets
- Uploading Video Assets
- Bulk Uploading Assets
- Asset Details
- Categories And Tags
- CREATE COURSE
- MANAGE COURSES
- MANAGE TEMPLATES
- MANAGE XAPI
- ADMIN
- ACCOUNT
Creating Collections
Table of Contents
CREATING COLLECTIONS
QUICK START VIDEO
Watch this short video, and start mastering Collections:
Collections
2.27
GROUP AND MANAGE ASSETS
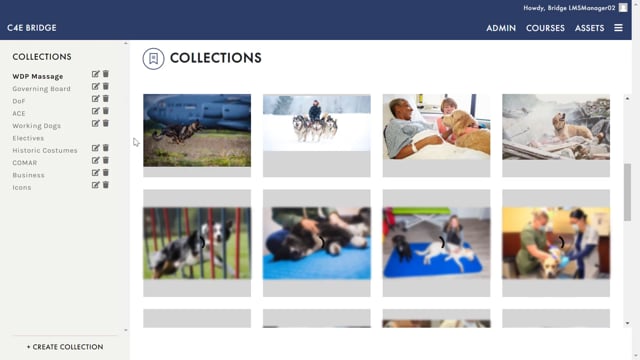
As you begin to create courses, you will discover the importance of Collections, which help you group and manage digital assets according to specific courses you are developing. Taking the time to add your assets to Collections early on allows for easy organization, helping to make the course-building process even more efficient!
There are two ways to create Collections:
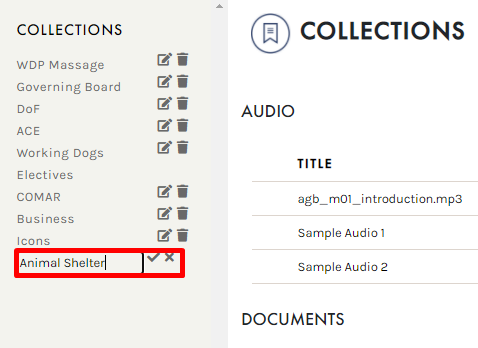
- Creating a Collection from your library: From any asset library, select the + CREATE COLLECTION button from the panel on the left of your library:
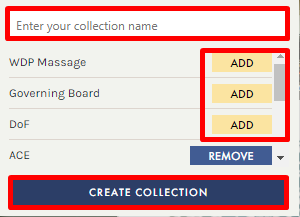
Enter a name for your Collection and click CREATE COLLECTION: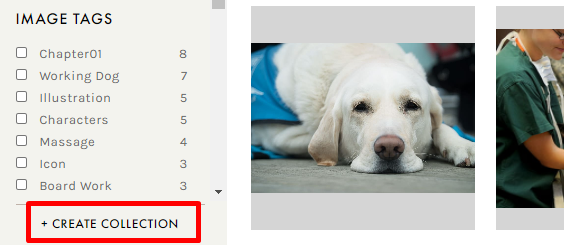
A green ‘Success’ message will appear in the bottom right corner, indicating your Collection has been created.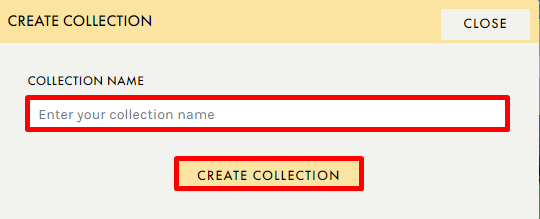
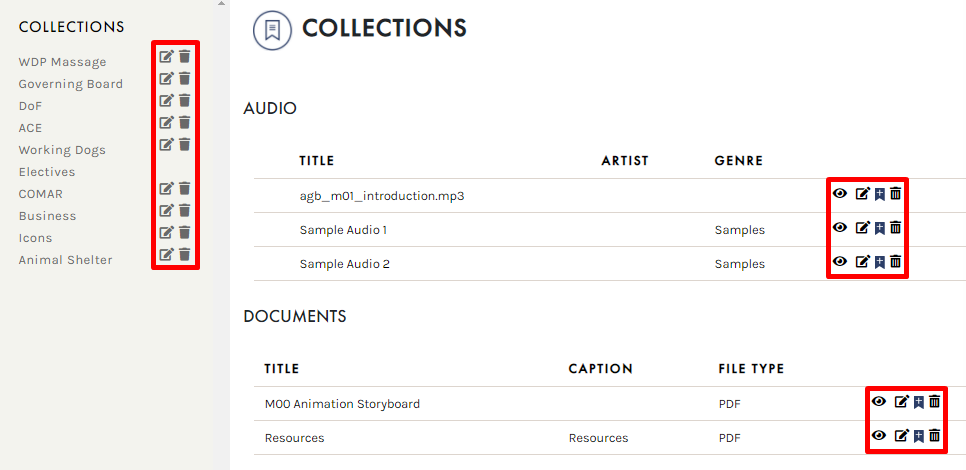
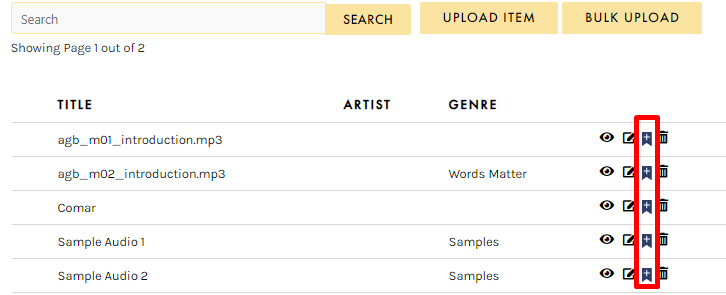
- Creating a Collection using the ADD TO COLLECTION button: From any asset library, click the BOOKMARK icon located over an image, or to the right of audio files, videos, or documents:
Enter a name for your Collection and click CREATE COLLECTION: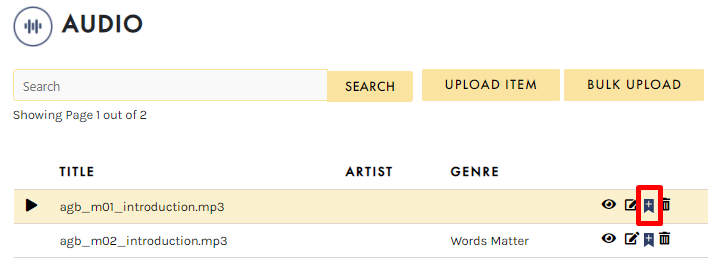
 When using this method, your selected asset will be added to your new Collection.
ADDING ASSETS TO COLLECTIONS
Assets can be easily added to Collections from the asset library, or from the editing screen:
- Adding to Collections from the asset library : From any asset library, click the BOOKMARK icon over an image, or to the right of audio files, videos, or documents:
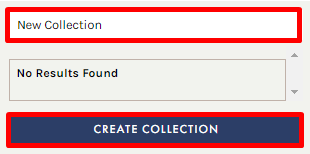
Search for a specific Collection using the search bar, select from the list of available Collections, or create a new Collection using the CREATE COLLECTION button.
Once you have selected your desired Collection, click ADD to add your file to that Collection:
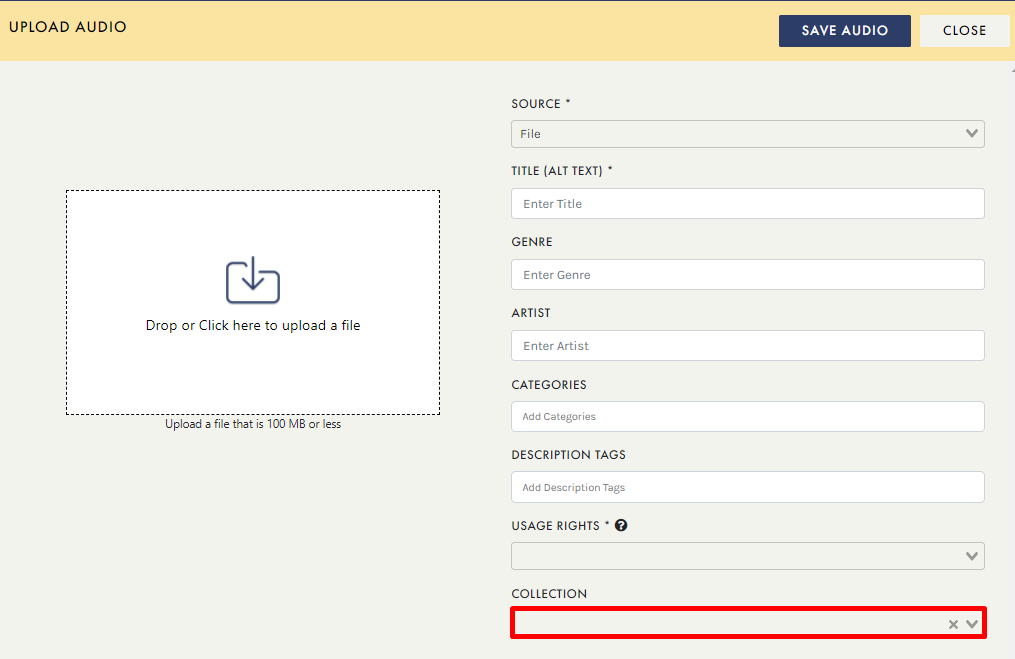
- Adding to Collections from the editing window : When editing any asset/asset details, you may also select or change the Collection this asset belongs in:
Assets can be removed from an existing Collection by clicking REMOVE (present only when an asset already belongs to an existing Collection).
MANAGING COLLECTIONS
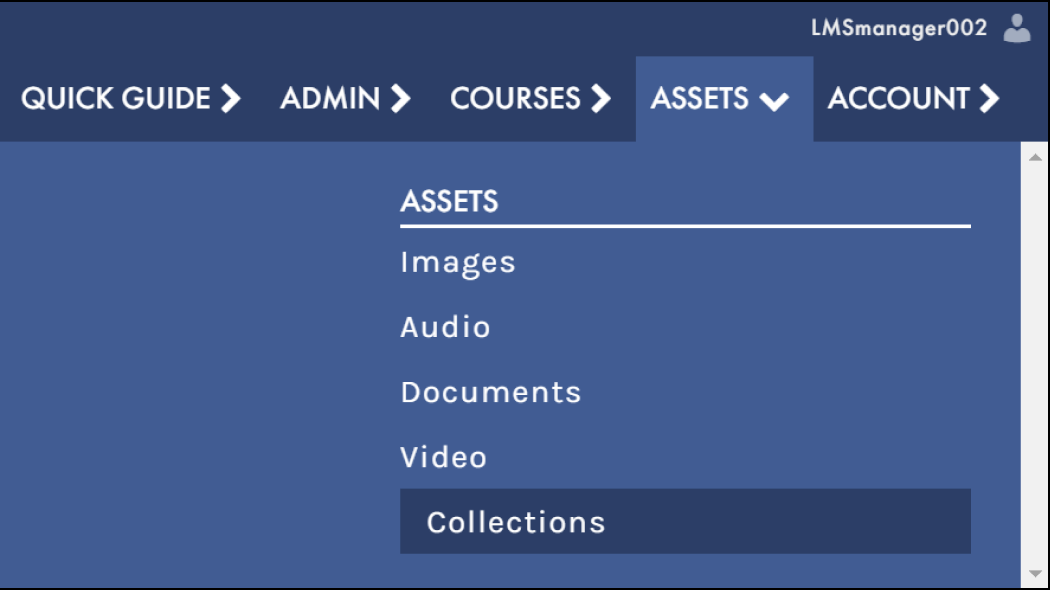
To quickly review all of your created Collections, select ASSETS > COLLECTIONS from the top navigation: