Tutorials
- USER GUIDES & VIDEO TUTORIALS
- ALL VIDEO TUTORIALS
- OVERVIEW
- ASSETS
- CREATE COURSE
- Getting Started with Creating Courses
- Create Course - Course Settings
- Course Builder (TOC)
- Build Lessons
- Lesson Settings
- Lesson Page Navigation
- Lesson Editor Overview
- Lesson Editor - File Options
- Add Content - Tools: Assets
- Add Content- Tools: Page Elements
- Add Content - Page Templates
- Add Content - Layout Templates
- Save As a Row, Column, Tool As a Template
- Tool Settings
- Row Effects
- MANAGE COURSES
- MANAGE TEMPLATES
- MANAGE XAPI
- ADMIN
- ACCOUNT
Lesson Editor Overview
QUICK START VIDEO TUTORIAL – LESSON EDITOR OVERVIEW

2.27
LESSON EDITOR OVERVIEW
To add or edit your lesson content, you may use the Lesson Editor. This section provides instructions on accessing the Lesson Editor and a brief overview of each menu.
The Lesson Editor can be accessed from either of the following ways:
- Via the Course Summary page: Open the Course Summary page for your course (COURSES > MY COURSES > VIEW COURSE SUMMARY), select your desired lesson from the TOC, then click Lesson Editor from the top of the screen:

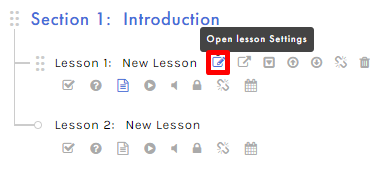
- Via the Edit Lesson Settings page: Open the Course Builder window (COURSES > MANAGE COURSES > COURSE > BUILD TOC), expand the section, hover over the lesson you wish to add content to (if needed, you may add a new lesson first), then select OPEN LESSON SETTINGS from the right-side tools:
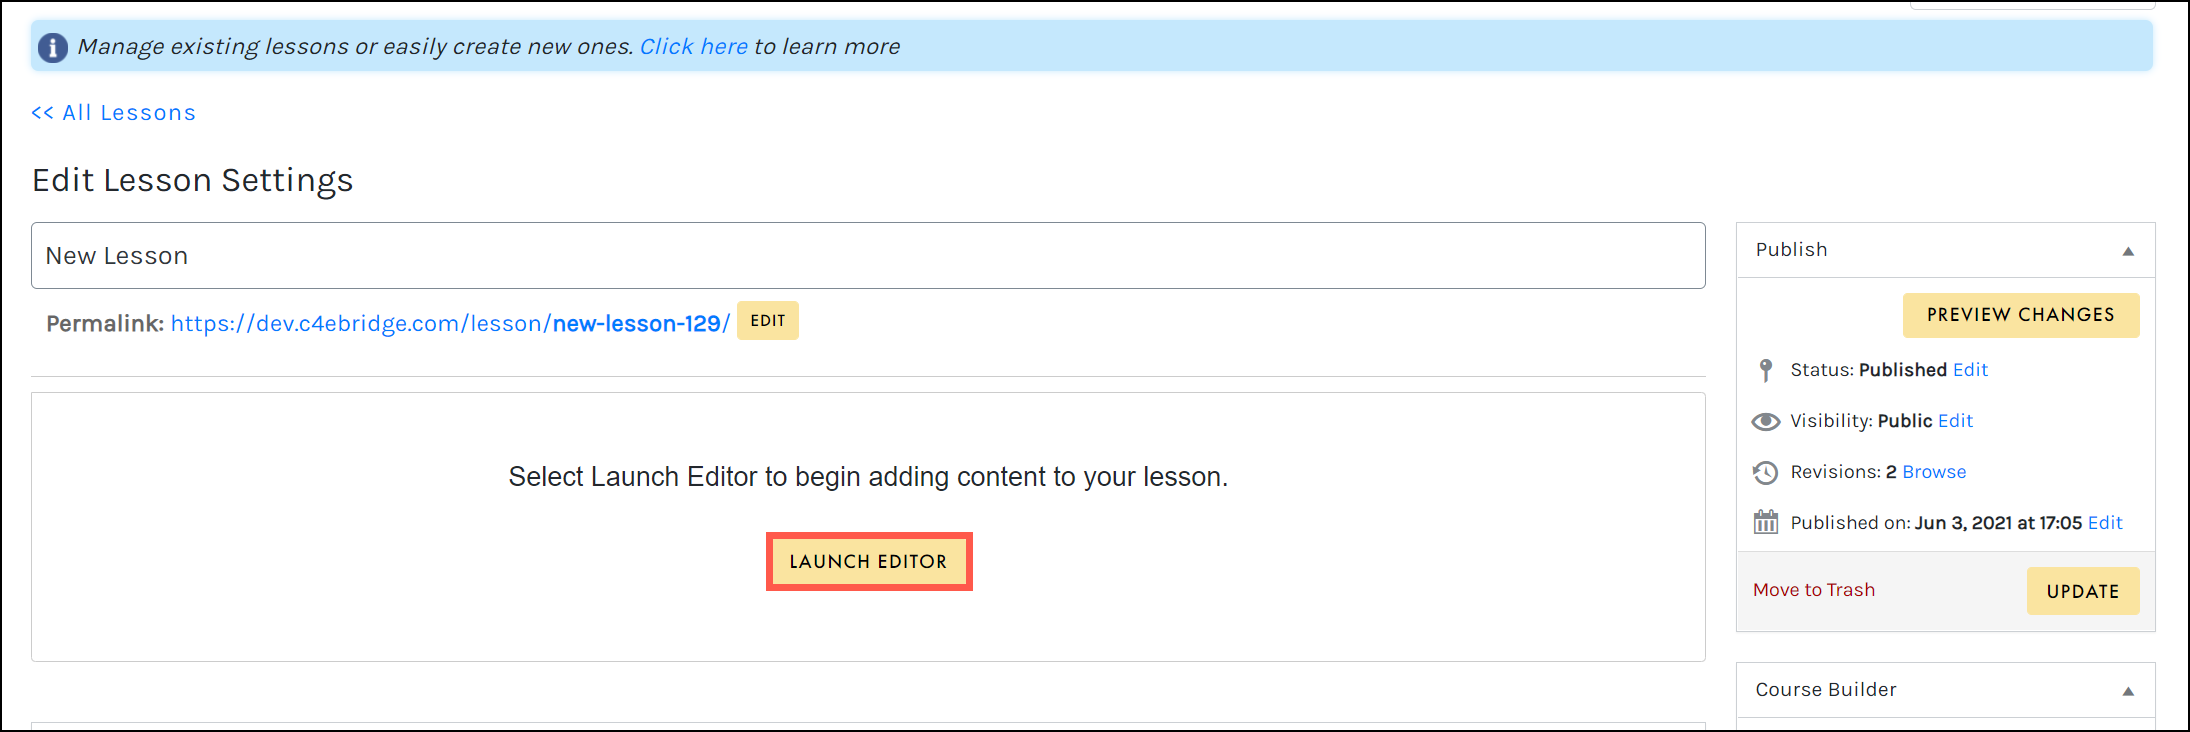
From the Edit Lesson Settings page, select LAUNCH EDITOR to open the Lesson Editor:
The Lesson Editor is comprised of three main navigation panes:
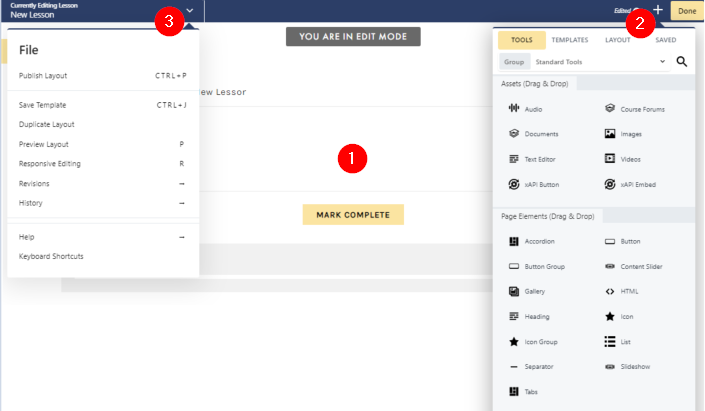
Page Canvas
Add Content Menu
File Dropdown
To better understand the process and tools available to you when adding content, each of these navigation panes are discussed in greater detail in the next sections.
PAGE CANVAS
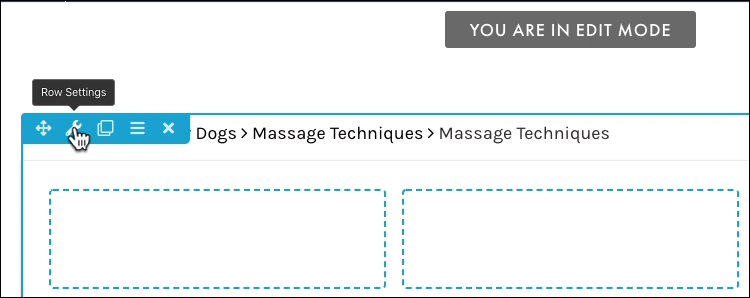
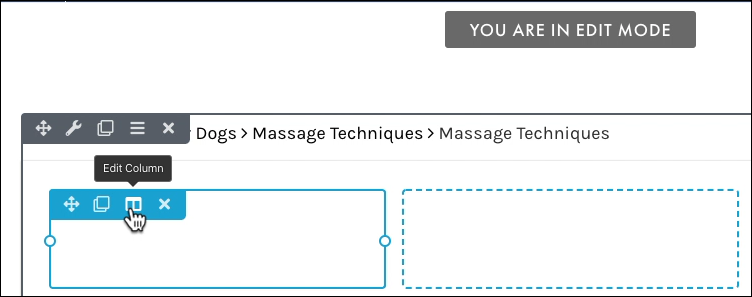
From the Lesson Editor window, the YOU ARE IN EDIT MODE notification at the top of the screen indicates that you may edit your lesson by adding or editing your content using the Page Canvas:
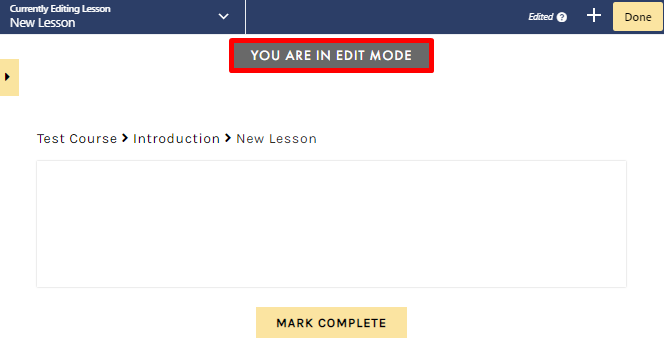
 When opening the Lesson Editor from a newly-created lesson, the Page Canvas will be blank.
ADD CONTENT MENU
OVERVIEW
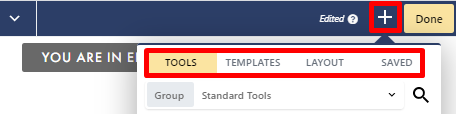
Once expanded, the Add Content menu (+ icon in top right corner) allows you to add content by dragging and dropping tools (assets and page elements), selecting templates, defining your lesson layouts, or accessing your saved rows, columns, and tools:
TOOLS OVERVIEW
Tools are comprised of the standard tools, which can be moved to the Page Canvas by dragging and dropping:

 Images, Documents, Videos, and Audio files are pathed to your Asset Libraries.
Page Elements are additional ‘widgets’ that add interactivity or other visual elements to your lesson, such as accordions, tabs, buttons, content and image sliders, galleries, lists, icons and separators:
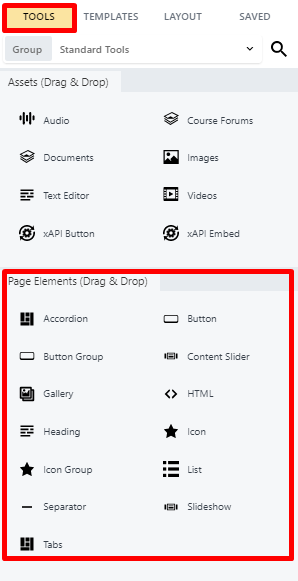
You may drag and drop any of the Page Elements onto the Page Canvas.
Each of these assets and page elements have their own settings. To learn more about these settings, visit Layouts, Styles, and Advanced in the User Guide.
TEMPLATES OVERVIEW
Templates are prebuilt content lesson pages that can be applied to your lesson with a single click! From the Templates tab, you can select a blank layout to build your lesson page from scratch, or choose an existing layout from the template library:
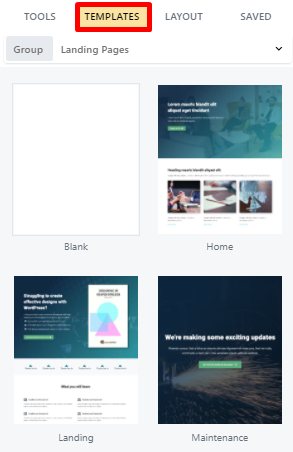
 Simply click the template you wish to add, templates are NOT draggable.
When selecting a template, you must confirm whether you’d like to REPLACE EXISTING LAYOUT or APPEND NEW LAYOUT:
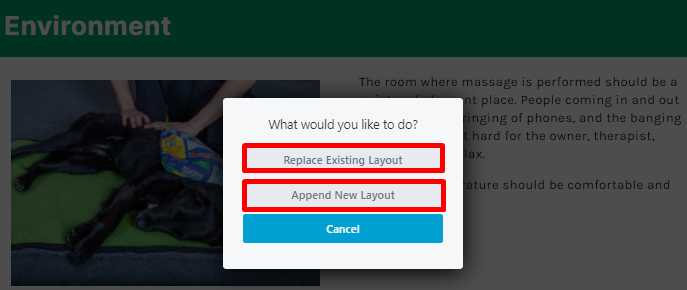
When APPEND NEW LAYOUT is selected, the template will be placed below the current lesson content, allowing you to customize the added template and add on to your lesson. Conversely, when REPLACE EXISTING LAYOUT is selected, the template will completely overwrite the existing content (which may be ideal if you’d like to start from scratch with your new template).
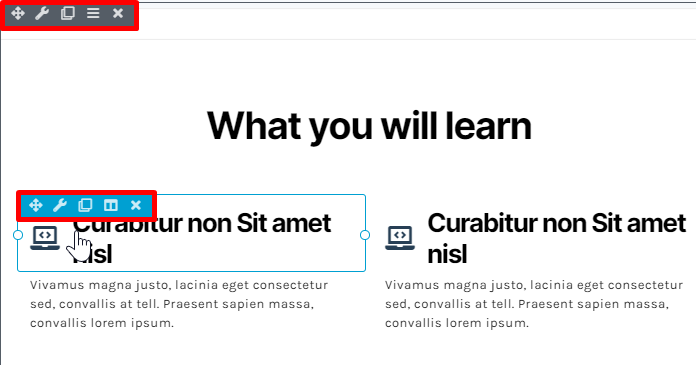
Once a layout template has been applied, you can mouse over rows, columns or tools to quickly edit/add your own content, text, and images:
LAYOUT OVERVIEW
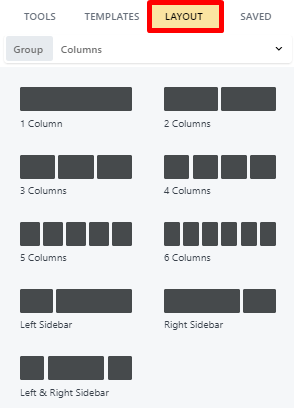
Layouts are columns that help you structure your lesson page. From the Layouts tab, you can add single column (for backgrounds) or multi-columns, adjust spacing, and more by dragging and dropping row layouts onto the Page Canvas:
 Adding a column automatically adds a row.
In any row, you can have multiple vertical layers of parent columns, child columns, and tools.
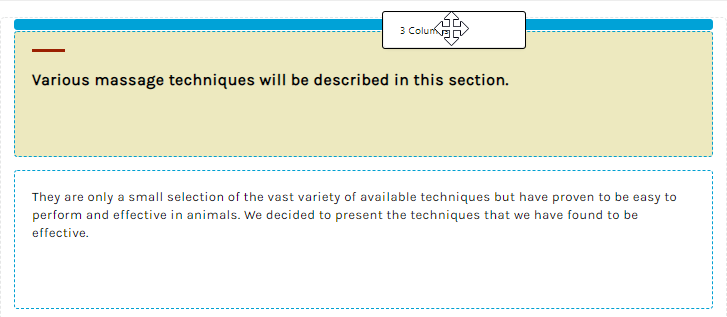
Layouts can be dragged-and-dropped to the desired location on the page. As you drag, a blue guide will appear, marking spots where you can drop your layout:
Once you have added your layouts, you can manage your row or column settings using the tool icons in the top left of the row and column:
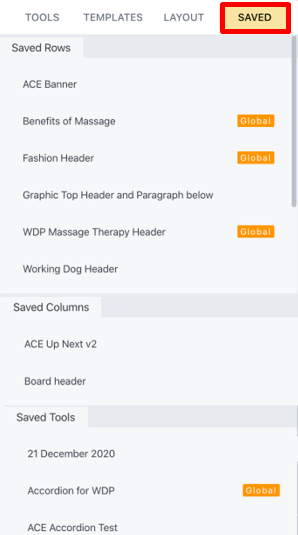
SAVED OVERVIEW
The Saved tab contains all your saved tools, columns, and rows as templates and can be applied to the Page Canvas in any other lesson or course:
 To learn more about Templates and Saved Tools, Rows, and Columns, visit the Template Builder section.