Tutorials
- USER GUIDES & VIDEO TUTORIALS
- ALL VIDEO TUTORIALS
- OVERVIEW
- ASSETS
- CREATE COURSE
- Getting Started with Creating Courses
- Create Course - Course Settings
- Course Builder (TOC)
- Build Lessons
- Lesson Settings
- Lesson Page Navigation
- Lesson Editor Overview
- Lesson Editor - File Options
- Add Content - Tools: Assets
- Add Content- Tools: Page Elements
- Add Content - Page Templates
- Add Content - Layout Templates
- Save As a Row, Column, Tool As a Template
- Tool Settings
- Row Effects
- MANAGE COURSES
- MANAGE TEMPLATES
- MANAGE XAPI
- ADMIN
- ACCOUNT
Lesson Editor – File Options
Table of Contents
QUICK START VIDEO TUTORIAL – LESSON EDITOR > FILE OPTIONS
Watch this short video, and start mastering Lesson Editor – File Options:
File Options
2.27
LESSON EDITOR OVERVIEW
FILE MENU
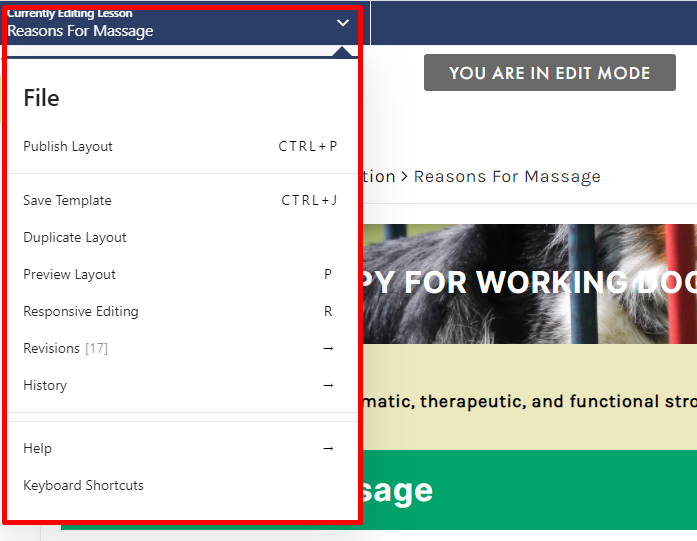
In Edit mode, the File menu can be accessed from the Lesson Editor window by selecting the downward-facing arrow in the top left of this screen:
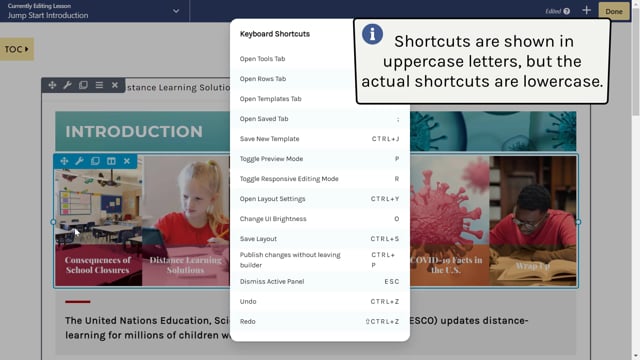
 From the File menu, shortcut keys are shown to the right of some menu options.
PUBLISH LAYOUT
As you create your lesson pages, you can easily publish from the Lesson Editor window, by:- Selecting Publish Layout from the File menu: Select the downward-facing arrow (top left) to expand the File menu, then select Publish Layout. This publishes your lesson while keeping you in Edit mode.
- Using the keyboard shortcut: PC users can select CTRL + P, while Mac users can select Command + P to publish.
- Clicking the Done button: Select the DONE button (top right):
Then select PUBLISH:


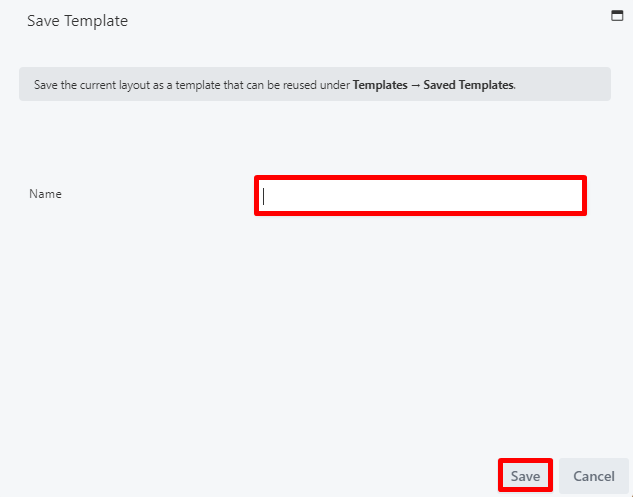
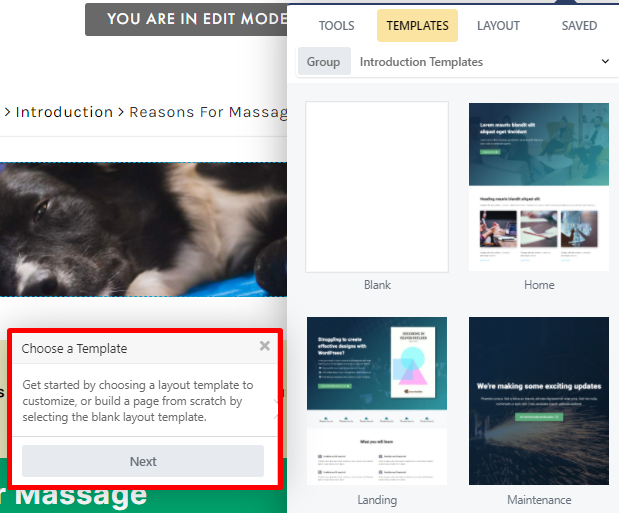
SAVE TEMPLATE
The SAVE TEMPLATE option on the File menu allows you to save a finished lesson page as a template, letting you reuse this lesson in other lessons or courses.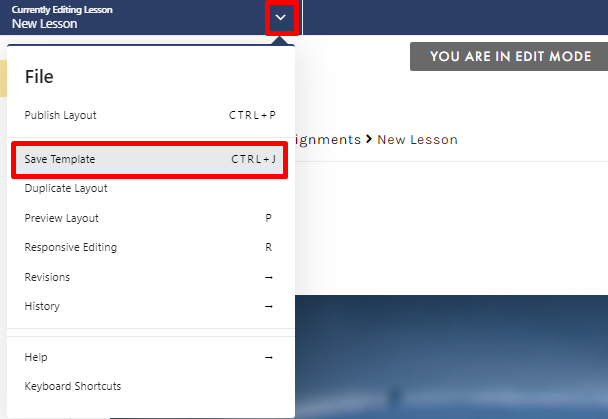
To learn more about Templates, visit the Template Builder section.
DUPLICATE LAYOUT
The DUPLICATE LAYOUT option on the File menu allows you to duplicate a lesson layout, easily letting you copy and add this lesson to another section in your course. To duplicate a lesson layout, access the File menu from the Lesson Editor window, then select DUPLICATE LAYOUT: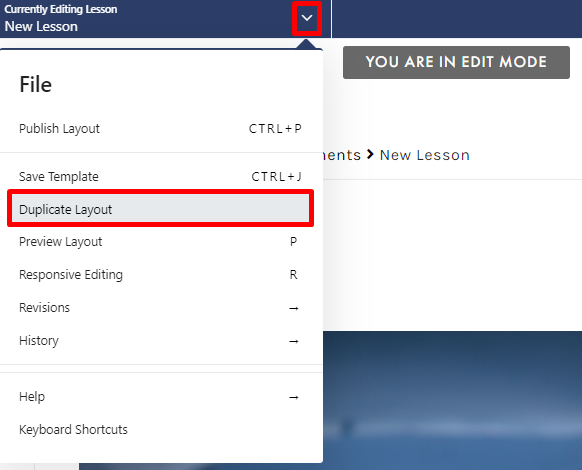
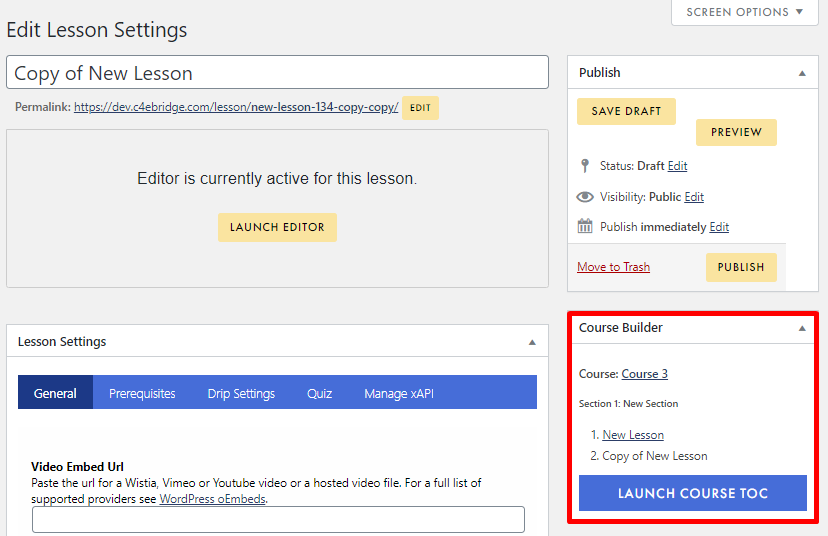
To learn more about the Edit Lesson Settings page, visit the Edit Lesson Settings section.
PREVIEW LAYOUT
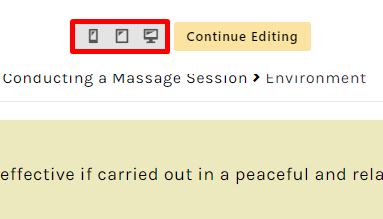
The Preview Layout option on the File menu (or keyboard shortcut: P) allows you to preview how this lesson page would appear on small devices (like phones), medium devices (like iPads), or large devices (like laptops or desktop computers):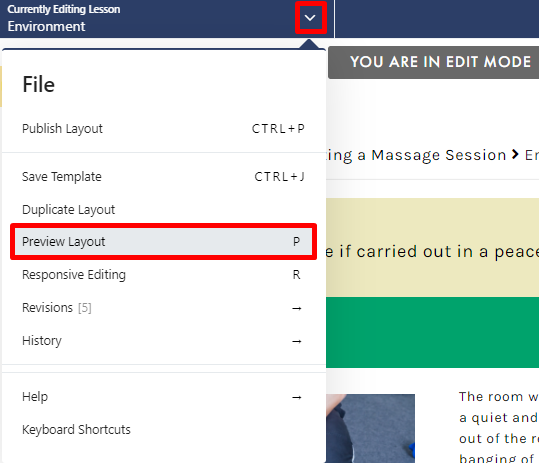
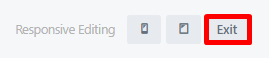
RESPONSIVE EDITING
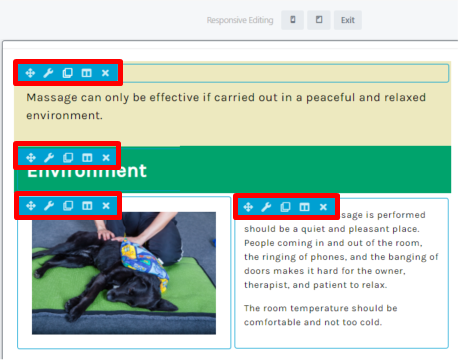
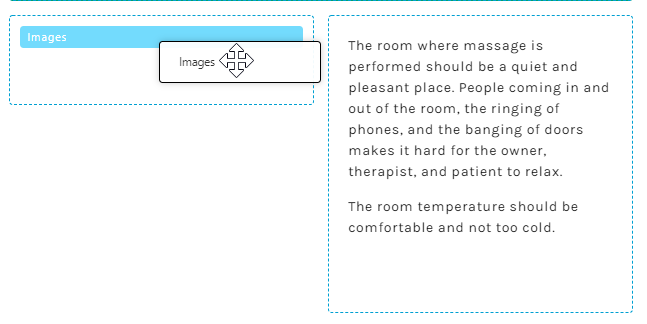
The RESPONSIVE EDITING option on the File menu allows you to edit the appearance of your lesson page. Though the Lesson Editor is fully web responsive without requiring additional coding (ensuring your content is responsive on any device size), Responsive Editing is a helpful tool for those needing their pages to follow a specific format (allowing their containers to respond responsively). To access this option, select RESPONSIVE EDITING from the File menu (or use the keyboard shortcut: R):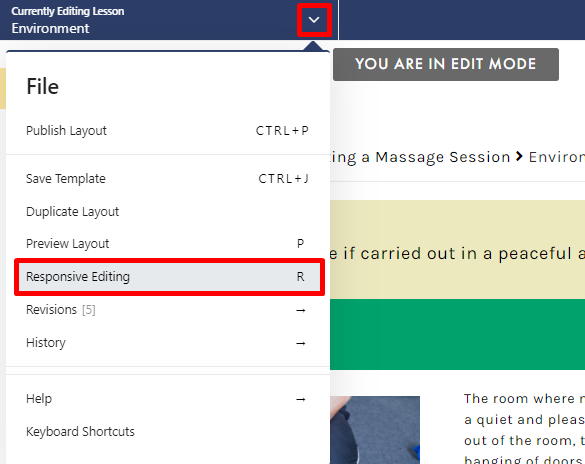

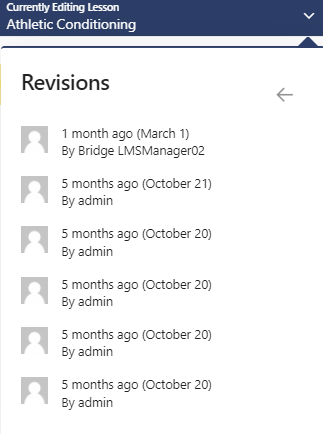
REVISIONS
The REVISIONS option on the File menu allows you to view any saved lesson revisions and revert to previously published versions if desired: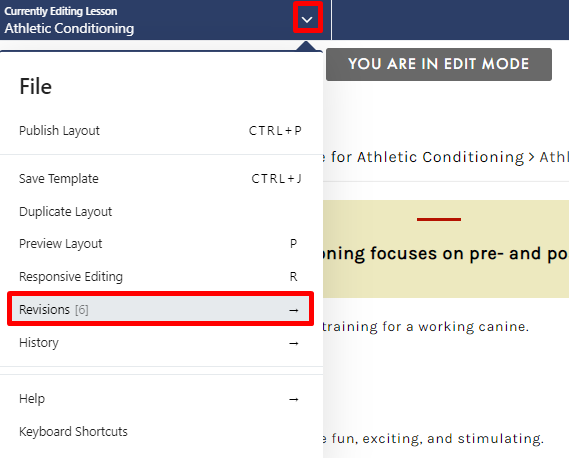

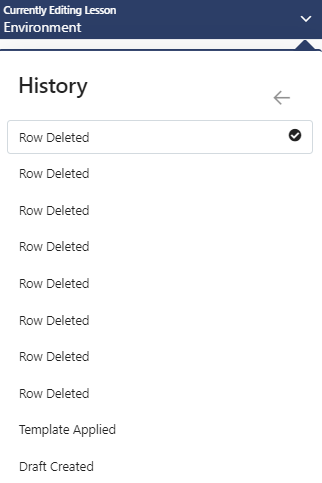
HISTORY
The HISTORY option on the File menu reveals all recorded changes made to your lesson: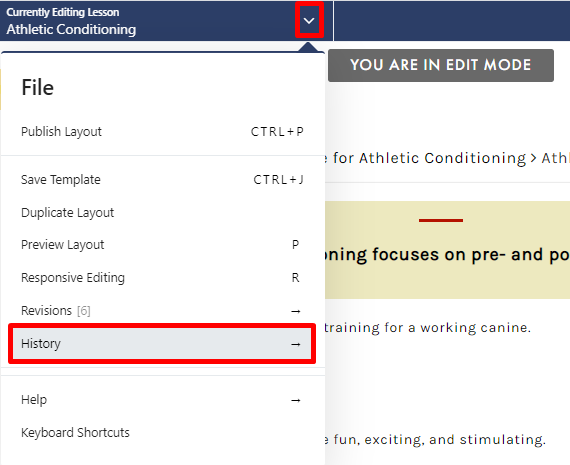
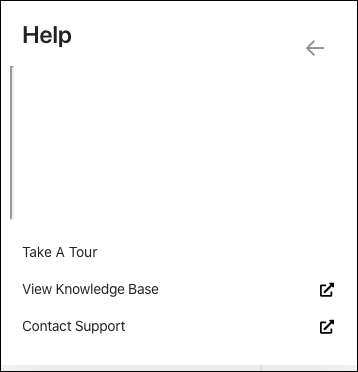
HELP
The HELP option on the File menu provides you with three options: Take a Tour, View Knowledge Base, Contact Support: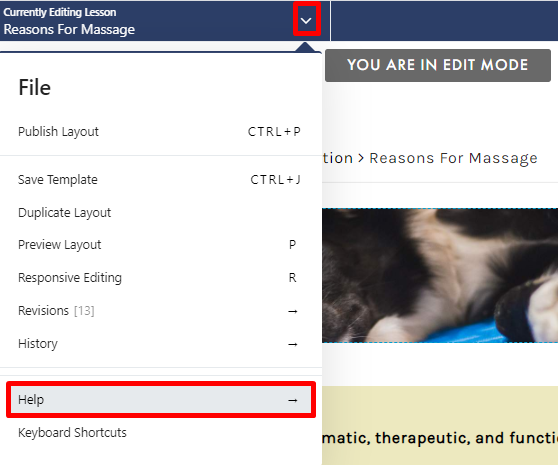

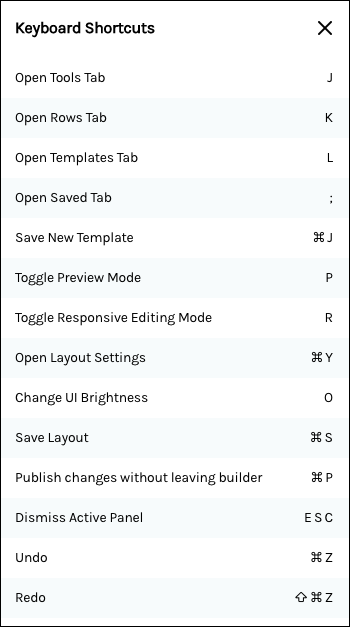
KEYBOARD SHORTCUTS
The KEYBOARD SHORTCUTS option on the File menu allows you to view common keyboard shortcuts: