Tutorials
- USER GUIDES & VIDEO TUTORIALS
- ALL VIDEO TUTORIALS
- OVERVIEW
- ASSETS
- CREATE COURSE
- MANAGE COURSES
- MANAGE TEMPLATES
- MANAGE XAPI
- ADMIN
- Getting Started with Administrative Tasks
- Reporting
- Vouchers
- Users
- Forums
- Engagements
- Engagements
- All Engagements
- Achievements
- All Achievements
- Certificates
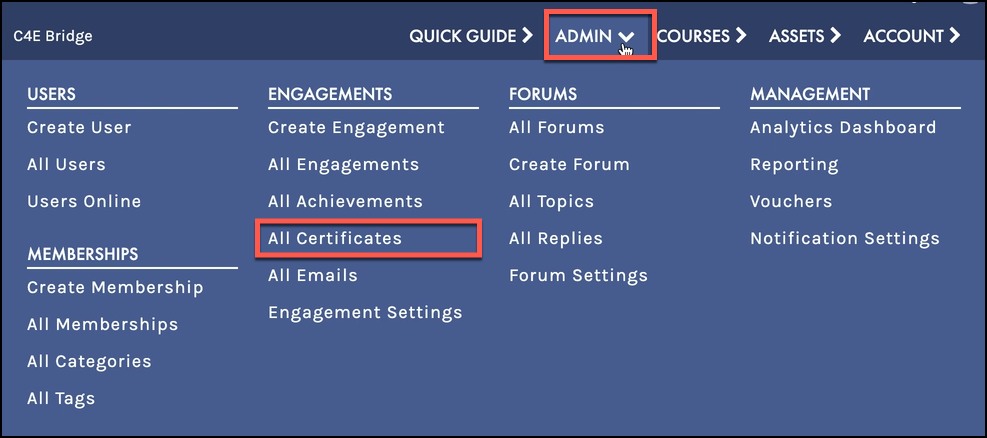
- All Certificates
- Emails
- All Emails
- Memberships
- ACCOUNT
Certificates
Table of Contents
CERTIFICATES
OVERVIEW
 Certificates are for Premier and Enterprise account holders.
SCREEN OPTIONS
Use the Screen Options menu to tailor your display on the Engagement pages, choosing to hide/display specific columns or set your number of items per screen: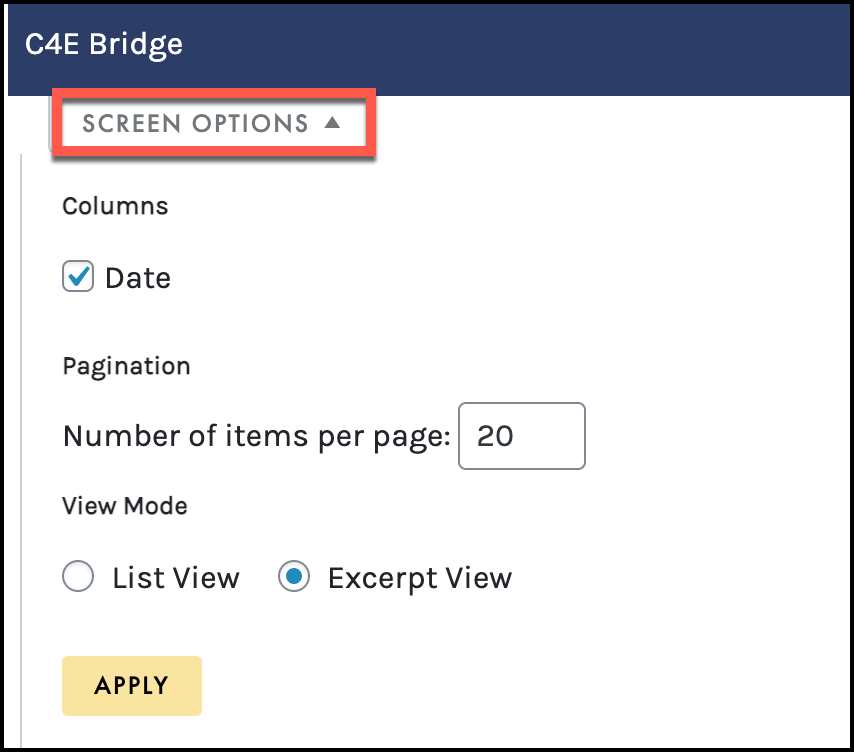
CREATE NEW CERTIFICATES
To create a new certificate, from the ALL CERTIFICATES page, select the Create New Certificate button.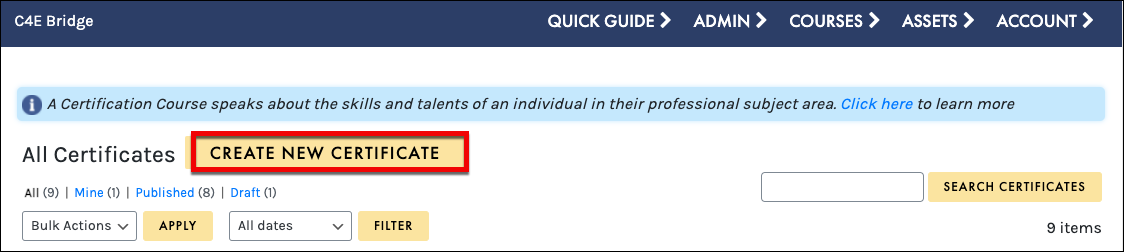

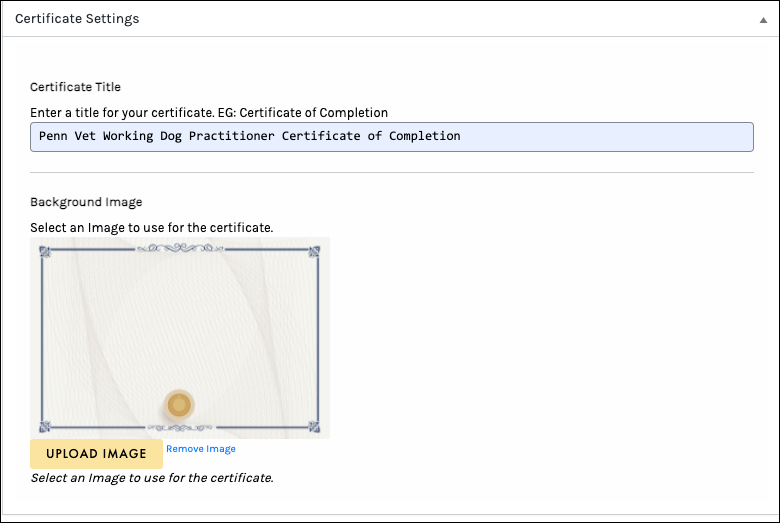
The name of the certificate, however, is not the title!

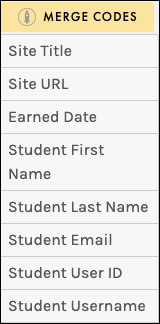
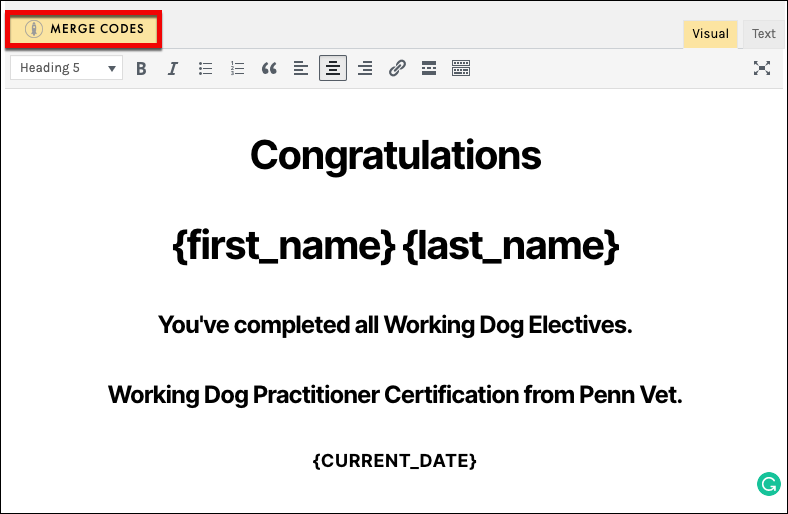
Select Merge Codes to add the codes such as Site Title, Site URL, Earned Date, Student First, Last Name, Student Email, Student User ID, and/or Student Username:
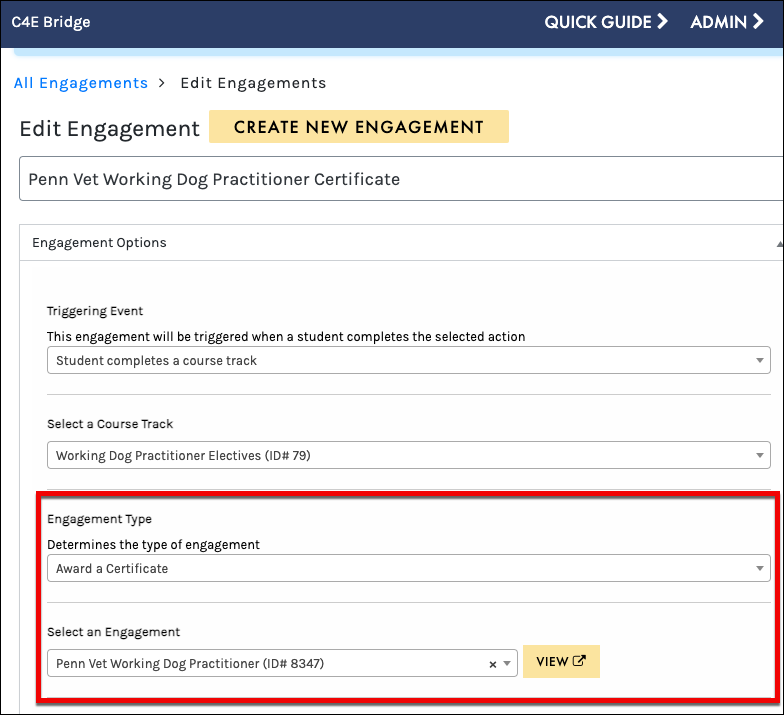
ATTACH THE CERTIFICATE TO AN ENGAGEMENT
Next, you must apply the certificate to an engagement to trigger the event.
For example, you may want the learner to receive the certificate if they complete several courses in a curriculum. In that case, you should apply a Course Track to all the related courses.
Create an engagement (see the Create Engagement article for more information), add the Triggering event and under Engagement Type select ‘Award a Certificate’ and then choose the appropriate certificate:
See the Course Tracks article for more information. The name of the certificate, however, is not the title!
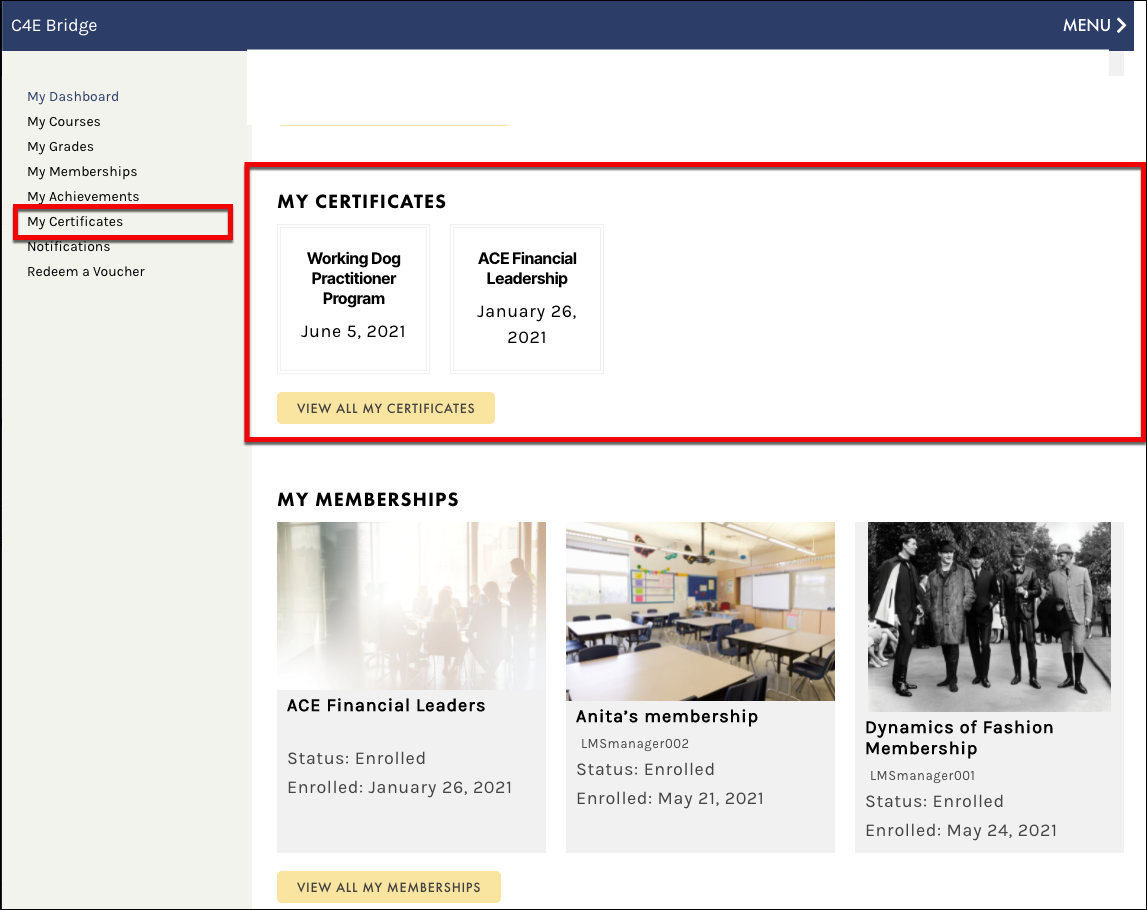
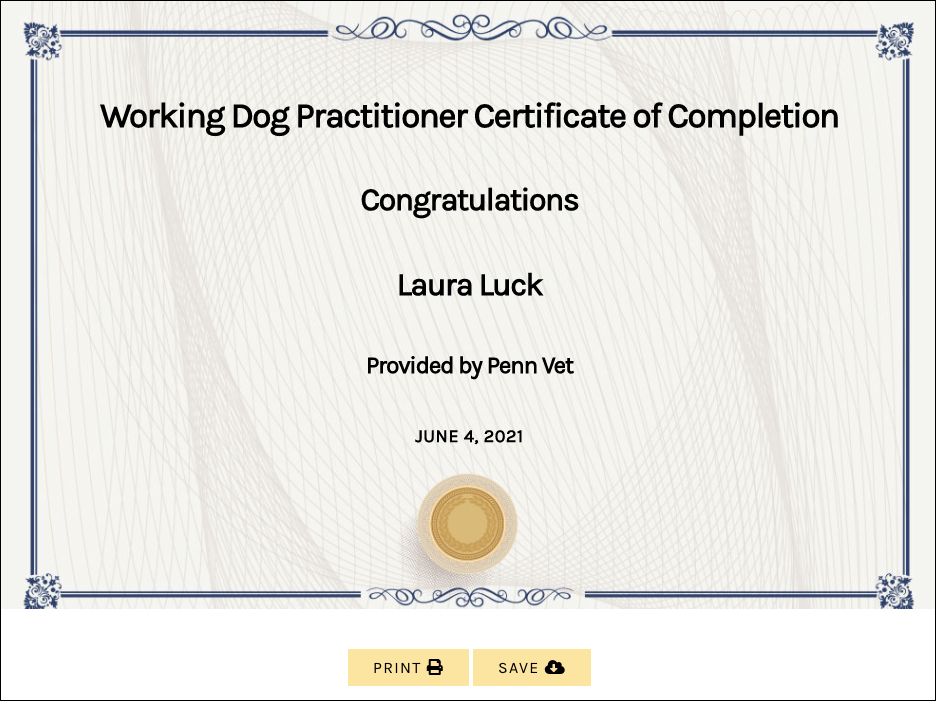
STUDENT VIEW
The student can open their certificates from their student DASHBOARD or the MY CERTIFICATES page: