Tutorials
- USER GUIDES & VIDEO TUTORIALS
- ALL VIDEO TUTORIALS
- OVERVIEW
- ASSETS
- CREATE COURSE
- Getting Started with Creating Courses
- Create Course - Course Settings
- Course Builder (TOC)
- Build Lessons
- Tool Settings
- Row Effects
- MANAGE COURSES
- MANAGE TEMPLATES
- MANAGE XAPI
- ADMIN
- ACCOUNT
Row Shape Overlays
ROW SHAPE OVERLAYS
OVERVIEW
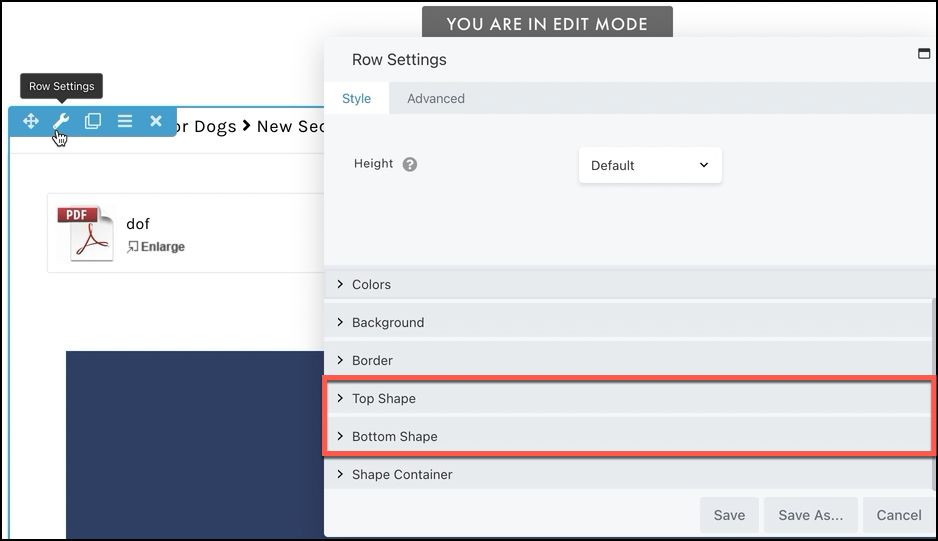
You can add and customize shape layers on rows. By default, rows can be assigned up to two shape layers, which by default are anchored to the top and bottom boundary of rows, so you can start with a top shape or bottom shape, as shown in this screenshot.
Shape settings appear below the Border section on the row’s Style tab.
HOW TO ACCESS ROW EDGE SHAPES
- Open a row for editing
- On the STYLE tab, scroll down to the shape sections, following the BORDER section
-
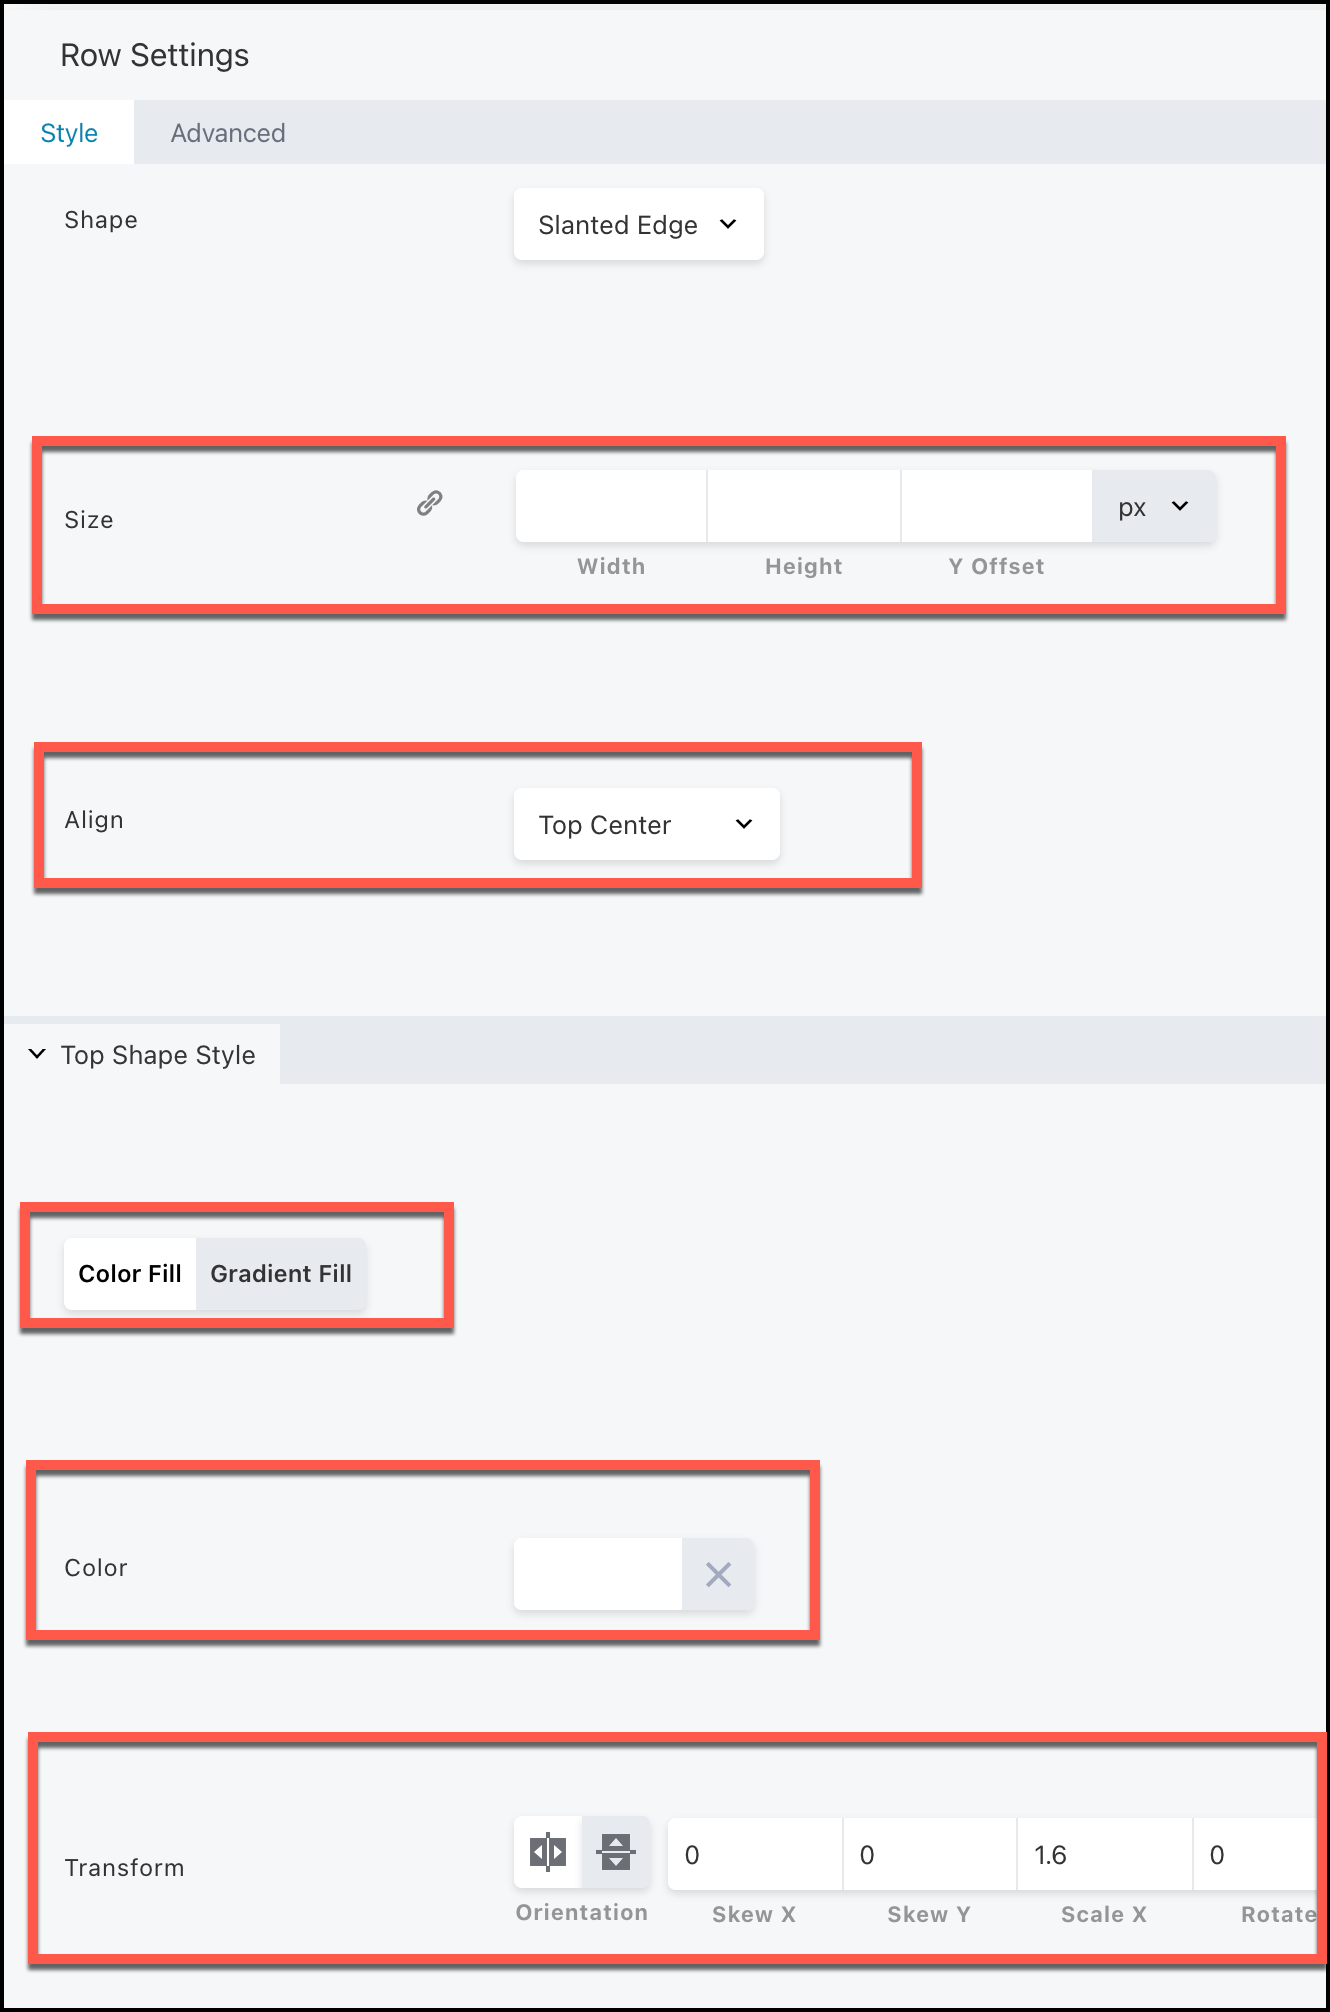
- Width
- Height
- Y offset (vertical position)
- Alignment within the row (top left, center, etc.)
- Color or gradient fill
- Orientation (flipped horizontally or vertically)
- Skew X (horizontally)
- Skew Y (vertically)
- Scale horizontally
- Rotate on a 360-degree axis
- Clip the shape container to the row boundary
Enable this setting if the shape spreads out beyond the row boundary and you want to contain it.
The effect of these settings is that you can move the top and bottom shapes almost anywhere in the row and skew and modify the shapes.
The following sections show examples of each type of shape.
 Be sure to test on various devices and in various browsers to make sure your shape settings work for all.
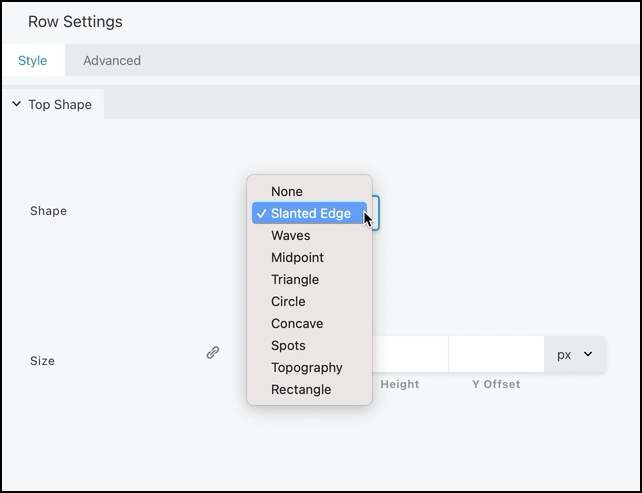
SHAPE CHOICE
SLANTED EDGE
When you select Slanted Shape, another option will appear for Top (or Bottom) Shape Style
Use the Size, Align, Color Fill/Gradient Fill, and Transform settings to make adjustments to the edges of the row.
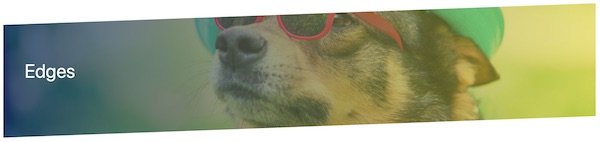
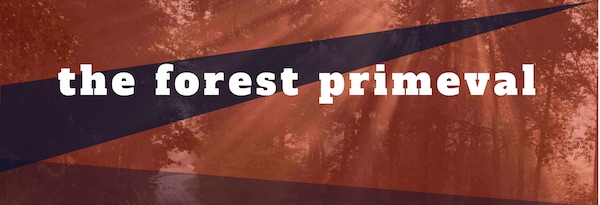
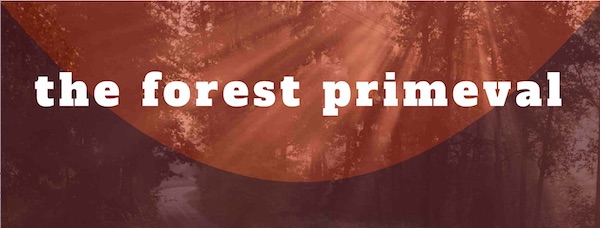
 TIP: To make the shape look clipped, select the same color for the edge as the content background color on your page. If you select a different color from the content background, you’ll see a rectangular row or column with the shape overlaid on it. For example, in the Slanted Edge example in the next section, the first screenshot shows an example in which the shape color matches the content background (white), while the second screenshot shows an example in which the entire shape is visible because the shape color is different from the background.
Tip: Some users have reported seeing a thin horizontal line at the row border when they use a slanted edge. Adjusting the Y offset setting by 1 pixel should solve the issue.
WAVES


MIDPOINT

TRIANGLE

CIRCLE

CONCAVE
SPOTS

TOPOGRAPHY

RECTANGLE


SOME TECHNICAL DETAILS
The shape layers are rendered with a <div> element that covers the entire row, and the SVG shape is positioned somewhere within that.
The fact that the shapes are aligned by default to the top and bottom of the row is just a convenience. In practice, you can flip and align the bottom shape layer and put it anywhere you can put the top shape layer. In fact, when you choose a bottom shape, you’ll notice the shape is automatically flipped top to bottom. This means with a bottom row; a positive Y offset will move the row up rather than down:
FIX FOR INTERNET EXPLORER 11
Row shapes use SVG art, which won’t work on IE11. If you want to use row shapes and block them only on IE11, use the following CSS code.
body.fl-builder-ie-11 div.fl-builder-shape-layer { display:none; }