Tutorials
- USER GUIDES & VIDEO TUTORIALS
- ALL VIDEO TUTORIALS
- OVERVIEW
- ASSETS
- CREATE COURSE
- Getting Started with Creating Courses
- Create Course - Course Settings
- Course Builder (TOC)
- Get Started with Course Builder
- Sections and Lessons
- Add an Assignment
- Grading Assignments
- Create a Quiz
- Types of Quiz Questions
- Build Lessons
- Tool Settings
- Row Effects
- MANAGE COURSES
- MANAGE TEMPLATES
- MANAGE XAPI
- ADMIN
- ACCOUNT
Create a Quiz
Table of Contents
QUICK START VIDEO TUTORIAL – ADD QUIZ
Watch this short video, and start mastering adding a quiz to your lesson:
Add Quiz
2.27
CREATE A QUIZ
OVERVIEW
Now that you have learned about the various types of quiz questions available, this section will outline the process of creating quizzes, adding questions, and adjusting your quiz settings. In C4EBridge you can add assignments and quizzes to your courses to help enrich your course content and ensure reinforcement of learning.
Associated with specific lessons in a course, assessments are a powerful way to achieve learning outcomes and assure course completion for online courses.
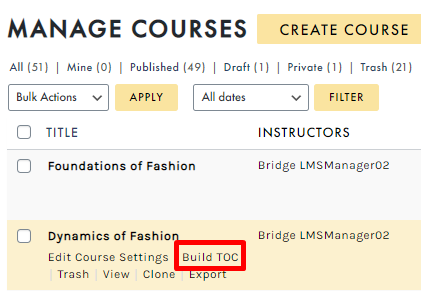
ACCESS THE COURSE BUILDER (TOC)
To create a new quiz, you will need to first access the Course Builder window from the MANAGE COURSES table (COURSES > MANAGE COURSES). Locate your desired course, then hover over the course title and select BUILD TOC to load the Course Builder (TOC):
ADDING A NEW QUIZ
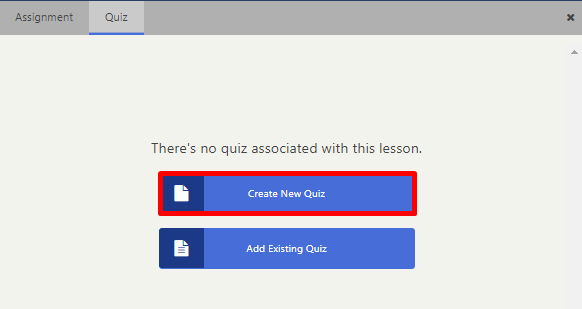
From the Course Builder window, expand the section in which you’d like to add your new quiz:
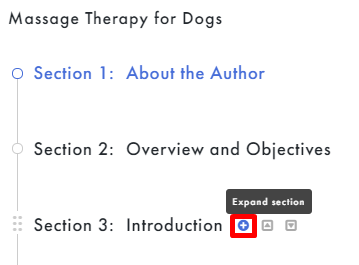

ADDING AN EXISTING QUIZ
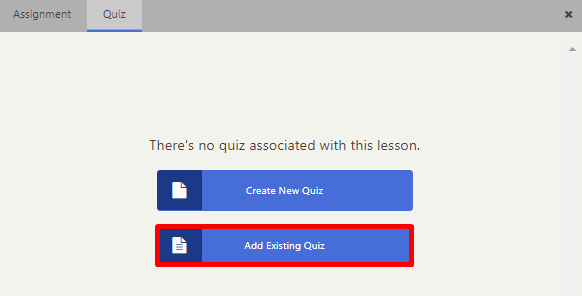
From the Course Builder window, expand the section in which you’d like to add an existing quiz:

QUIZ EDITOR – TOP SECTION PANEL
The Quiz Editor window is comprised of the top section panel, GENERAL SETTINGS panel, and MANAGE THIS QUIZ EXPERIENCE panel, allowing you to modify and manage your quiz settings as needed. The top section panel presents the following options:
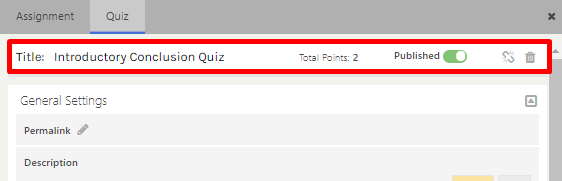
- Title: Allows you to add/edit your quiz title.
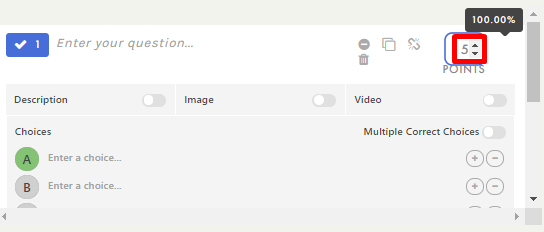
- Total Points: Indicates the cumulative number of points, based on the number of quiz questions available, and the point value of each question.
- Published: Toggles on or off, depending on whether this quiz has been published. To ensure students can access this quiz, be sure to publish your quiz once you have added questions and modified your settings.
- Detach Quiz: Detaches the quiz if you decide not to use it in the current lesson. Once a quiz has been detached, it is saved and can be added to another lesson or course.
- Delete Quiz: Deletes the quiz.
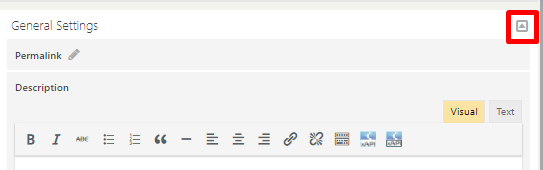
QUIZ EDITOR – GENERAL SETTINGS PANEL
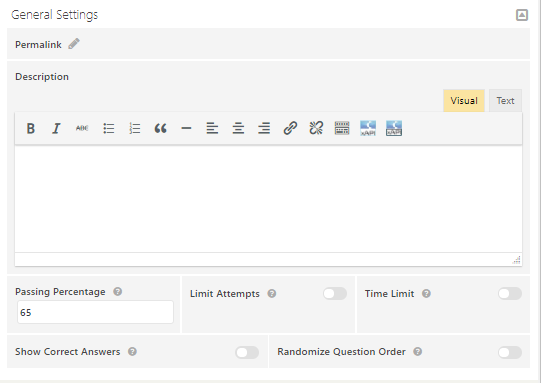
The GENERAL SETTINGS panel on the Quiz Editor window offers access to the following options:
-
- Permalink: Adds a simplified permalink URL.
- Description: Allows you to add a quiz description and/or add an xAPI package as part of the quiz.
 To learn more about xAPI PACKAGES, visit the xAPI section.
- Passing Percentage: Defines the minimum percentage of total points required to pass the quiz.
- Limit Attempts: Limits the number of attempts students have to complete the quiz.
- Time Limit: Enforces a maximum time limit, defining how long students can spend on the quiz.
- Show Correct Answers: When enabled, displays the correct answer for any questions students answer incorrectly.
- Randomize Question Order: Shuffles quiz questions in a random order.
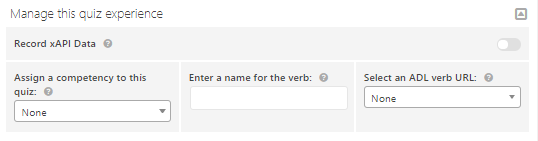
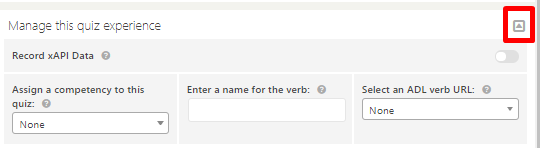
QUIZ EDITOR – GENERAL SETTINGS PANEL
The MANAGE THIS QUIZ EXPERIENCE panel on the Quiz Editor window allows you to:
-
- Record xAPI data:: If you added an xAPI package in the quiz description, use the toggle button to enable recording of the data.
 Go to the Reporting section to learn more.
- Assign a competency to this quiz:: Select a quiz competency from the dropdown menu. If no competency is selected, your xAPI data will be rejected by the LRS. Competencies are created by the LMS Manager under Courses > Manage xAPI > Competencies.
- Enter a name for the verb: Enter an action name or phrase for the verb. This name is displayed in statements (for example, John Doe completed Course 1). You can enter any action you wish.
- Select an ADL verb URL: This is a live ADL verb list. Select an Activity ID URL (you must select a URL from this list). If no URL is selected, your xAPI data will be rejected by the LRS.
- Show Correct Answers: When enabled, displays the correct answer for any questions students answer incorrectly.
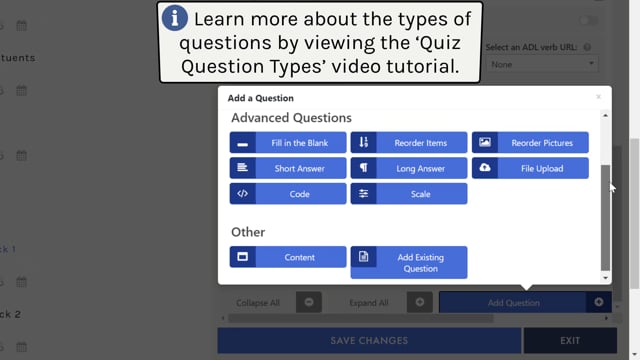
- Add Questions: Select to add from basic, advanced, or other types of questions.
To learn more about adding questions, visit the Add Questions to Your Quiz section.
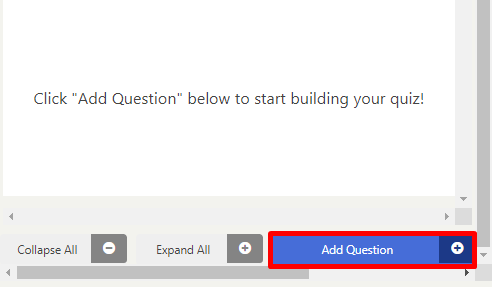
ADD QUESTIONS TO YOUR QUIZ
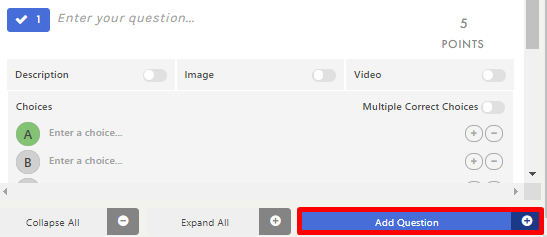
From the Quiz Editor window, click ADD QUESTIONS to start creating quiz questions for your new quiz:

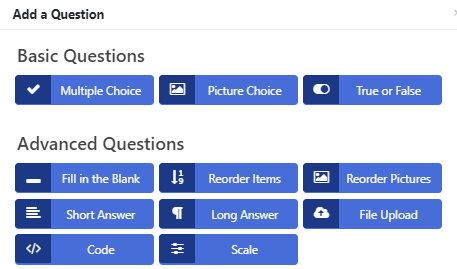
To learn more about the types of quiz questions available, review the Types of Questions section.
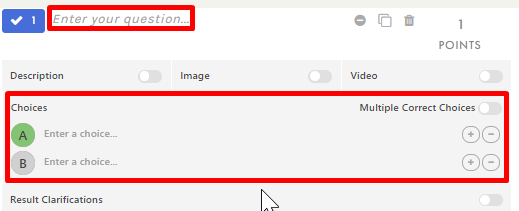

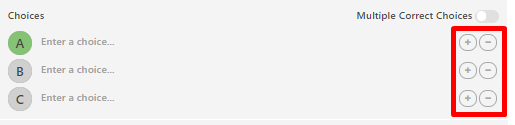
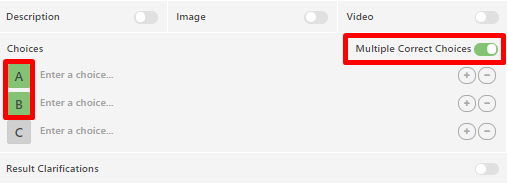
- Adding or removing additional answer choices (i using a multiple choice question type): Select the plus (+) or minus (-) signs to add or remove answer selections:
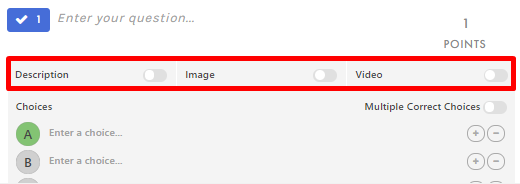
- Adding a description, image, or video: Toggle the description, image, or video buttons on to add items for these fields:
- Setting Several Correct Answers (if using a multiple choice question type): If there is more than one correct answer, toggle the MULTIPLE CORRECT CHOICES option ON and select all of the correct answers:
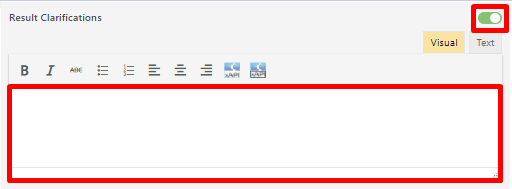
- Adding feedback or a message to your students (if using a multiple choice or true/false question type): The RESULT CLARIFICATIONS option for each question allows you to set a message or feedback to be displayed if students answer this question incorrectly. This could be used as a teaching moment or to convey any message you would like. Toggle the RESULT CLARIFICATIONS setting ON, then use the Visual text field to add your feedback:

Review the Add Quiz Video Tutorial to learn more.
As you make changes to your quiz, be sure to periodically save your progress by clicking SAVE CHANGES on the Quiz Editor window.
FINAL SETTINGS – PUBLISHING AND SAVING
PUBLISH
Once you have added all of your quiz questions and are ready to publish your quiz, be sure PUBLISHED (top right corner of Quiz Editor window) is toggled ON (this will turn green):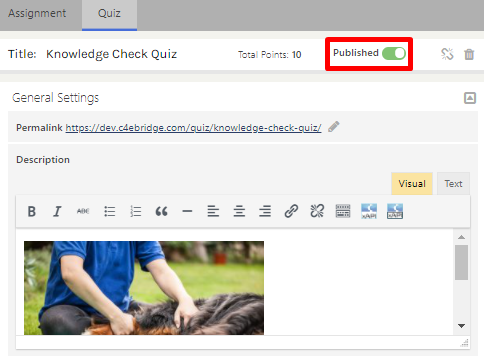
SAVE CHANGES AND EXIT
After publishing your quiz, ensure you select the SAVE CHANGES button at the bottom of the Quiz Editor window: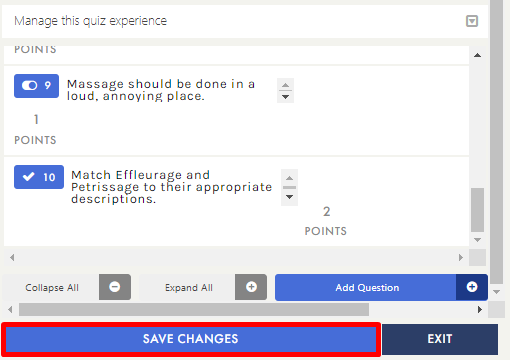
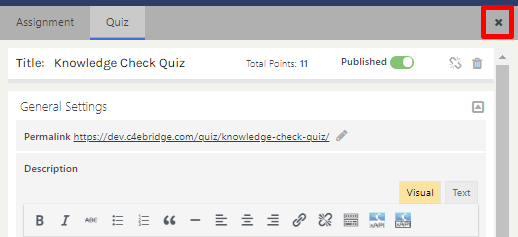
The EXIT Button will take you back to the Manage Courses window.
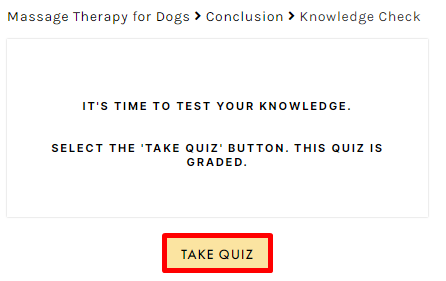
PREVIEWING YOUR NEW QUIZ
Once your quiz has been published and made available to students, it’s a good idea to preview it using a test student account to ensure your quiz settings are configured to your liking. Test student accounts can be created from ADMIN > USERS > ADD USERS AND added to your course using the ENROLL option on the USERS table.To learn more about creating users, see the Add Users section.