Tutorials
- USER GUIDES & VIDEO TUTORIALS
- ALL VIDEO TUTORIALS
- OVERVIEW
- ASSETS
- CREATE COURSE
- Getting Started with Creating Courses
- Create Course - Course Settings
- Course Builder (TOC)
- Build Lessons
- Tool Settings
- Advanced Tab – An Overview
- Typography
- Borders
- Style and Spacing
- Colors
- Advanced Techniques
- Responsive Design
- Move or Resize Settings Panel
- Row Effects
- MANAGE COURSES
- MANAGE TEMPLATES
- MANAGE XAPI
- ADMIN
- ACCOUNT
Borders
BORDERS
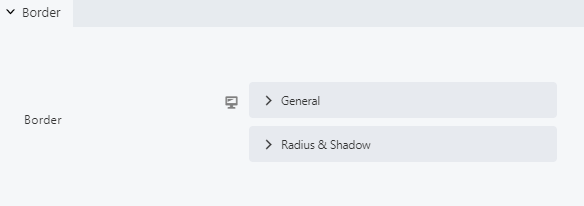
- General
- Radius & Shadow
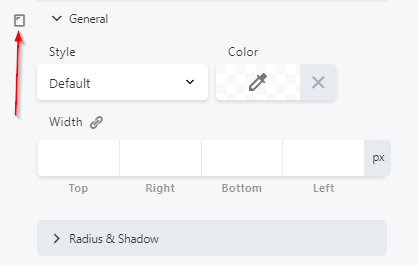
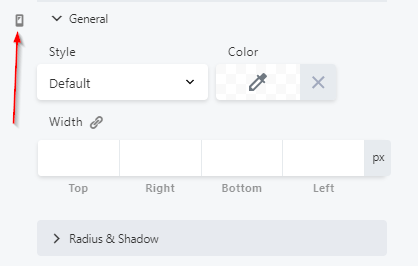
GENERAL SECTION
The General subsection lets you set a border style, color, and width: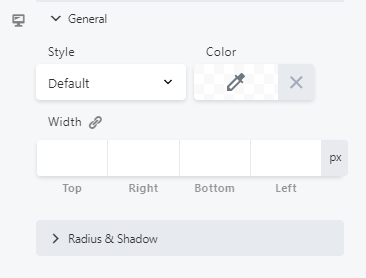
- Style: Set a style for your border, selecting from: Default, None, Solid, Dashed, Dotted, Double.
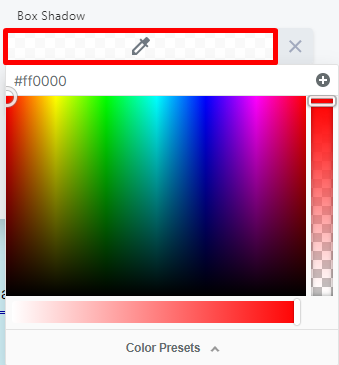
- Color: Use the color dropper to select a color for your border.
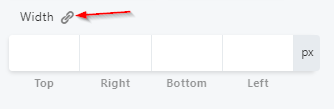
- Width: Set a width for your border, in pixels. You may click the Link Values setting to lock and unlock your border spacing settings:
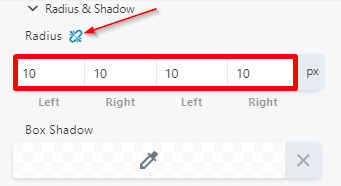
RADIUS & SHADOW SECTION
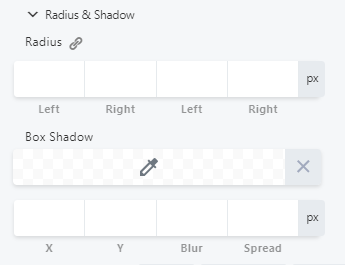
 Radius and shadow effects apply whether or not a border line has been set in the General section.
 When adding images to some of the a callout page element, you can add other effects, such as cropping into circle or square shapes. Look for the Crop setting to adjust this. For example, in the Callout tool, this setting is on the Photo Style section of the Image tab.

To set a uniform radius for all four settings (top left, top right, bottom left, and bottom right), click the Link Values setting, then type or use the slider to select your radius value:
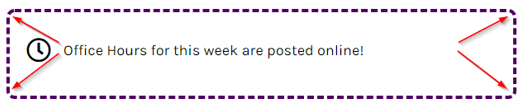


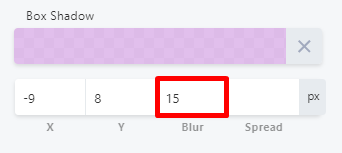

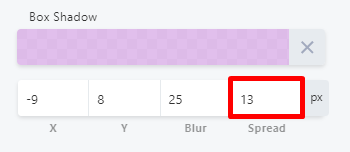

 Box shadows extend outside the row width. This means that for full-width rows with margins set to 0, the shadow will extend outside of the browser window.
BORDER SETTINGS AND DEVICE SIZE
From the Border section, you can also define your border settings for different devices using the device icon:
If no further changes are needed, click SAVE to save your changes or CANCEL to close without saving. Otherwise, you may proceed with any additional adjustments.