Tutorials
- USER GUIDES & VIDEO TUTORIALS
- ALL VIDEO TUTORIALS
- OVERVIEW
- ASSETS
- Getting Started with Assets
- Creating Collections
- Uploading Image Assets
- Upload Audio Assets
- Uploading Document Assets
- Uploading Video Assets
- Bulk Uploading Assets
- Asset Details
- Categories And Tags
- CREATE COURSE
- MANAGE COURSES
- MANAGE TEMPLATES
- MANAGE XAPI
- ADMIN
- ACCOUNT
Getting Started with Assets
Table of Contents
GETTING STARTED ASSETS
OVERVIEW
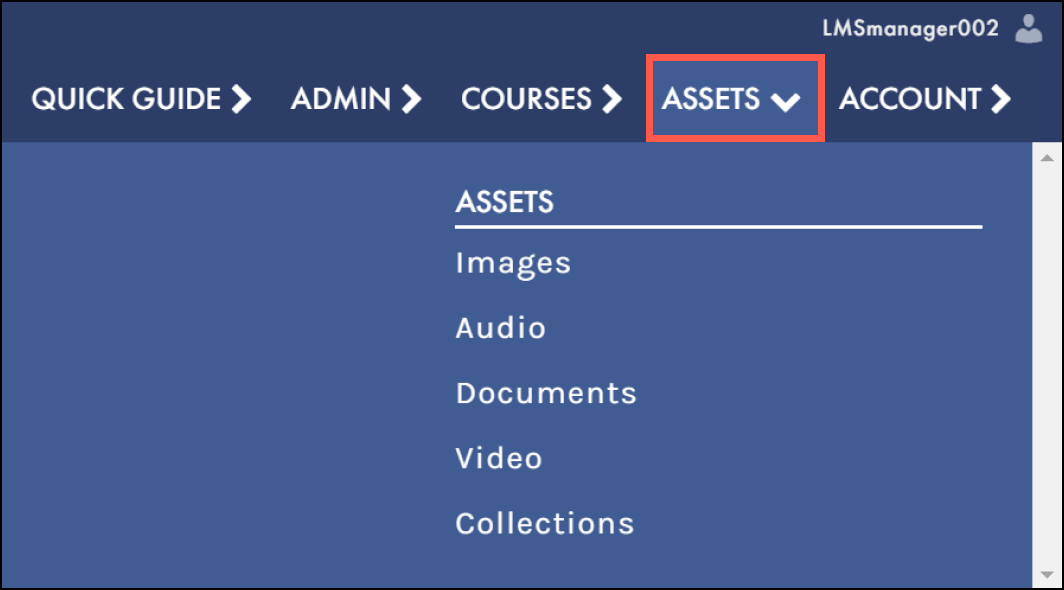
In the top navigation, you’ll notice three dropdowns: Assets, Courses, and Admin. When you start developing courses, you will likely spend start in Assets dropdown adding your images, videos, audio files, and documents into the system and organizing them into Collections. Then you’ll move onto creating your courses using the Courses dropdown. And when you’re ready to distribute your courses and/or view the analytics you’ll spend your time in the Admin dropdown.
WHAT ARE ASSETS?
Assets are images, videos, audio files, and documents (PDF, Word docs, and Excel spreadsheets). C4EBridge offers a robust digital asset repository, so you can quickly access uploaded assets from any device and add them to the course(s) you are developing.WHAT ARE DIGITAL ASSET LIBRARIES?
C4EBridge provides a digital asset repository where you can upload images, audio files, documents, and videos onto a secure cloud. Uploading and organizing your assets is one of the first things you’ll do when you start developing an online course and organizing them is paramount as you create more and more courses. These assets live on a secure cloud so you can access them from anywhere at any time. So let’s start organizing your assets by creating your first collection.CREATE A COLLECTION
We recommend that you organize your assets into collections to make them easily filtered when building your course. It’s good practice to name your collection based on the name of your course.
 Next, let’s upload some assets and add them to your collection.
- Log in to C4EBridge
- Navigate to Assets > Collections
- In the bottom left corner of the Collection screen is a + Create Collection Button, select it.

- Enter your Collection Name and then select Create Collection (Best practice is to name the collection the same name as the course)
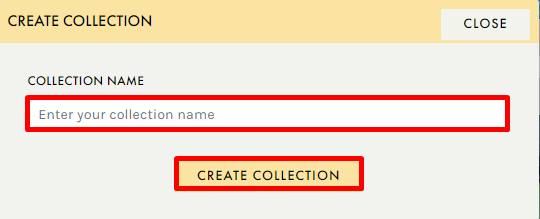
- A green ‘Success’ message appears in the bottom right corner, indicating your Collection has been created.
For more information on collections go to:
ADD ASSETS
Uploading images, videos, audio files, and documents is easy using C4EBridge. You can upload a single asset from your computer (or the web) or bulk upload multiple assets in a single instance.
You are now ready to create your course using our prebuilt templates and layouts and/or editing the sample course that comes with your subscription to C4EBridge.
Single Upload
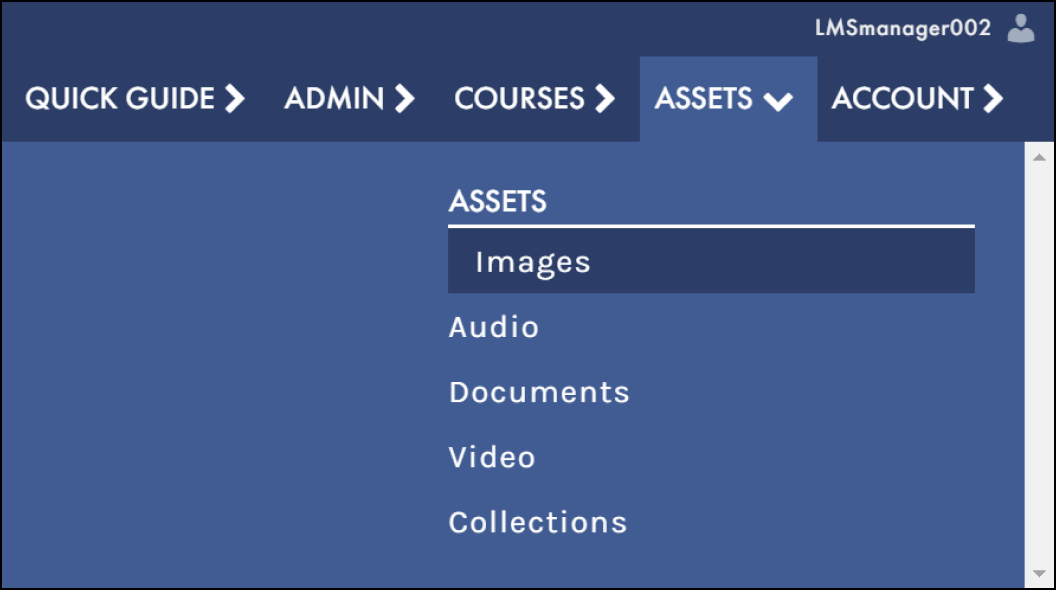
- From the top navigation go to Assets > Images (or Audio, Documents or Video depending on what you want to upload)
- Select the UPLOAD ITEM button (for one asset)
- Add an image
- From the Source dropdown select File if you are uploading an asset from your computer. Alternatively, you can drag it into the hotspot area.
- To find an image from the web, select Web Search or URL
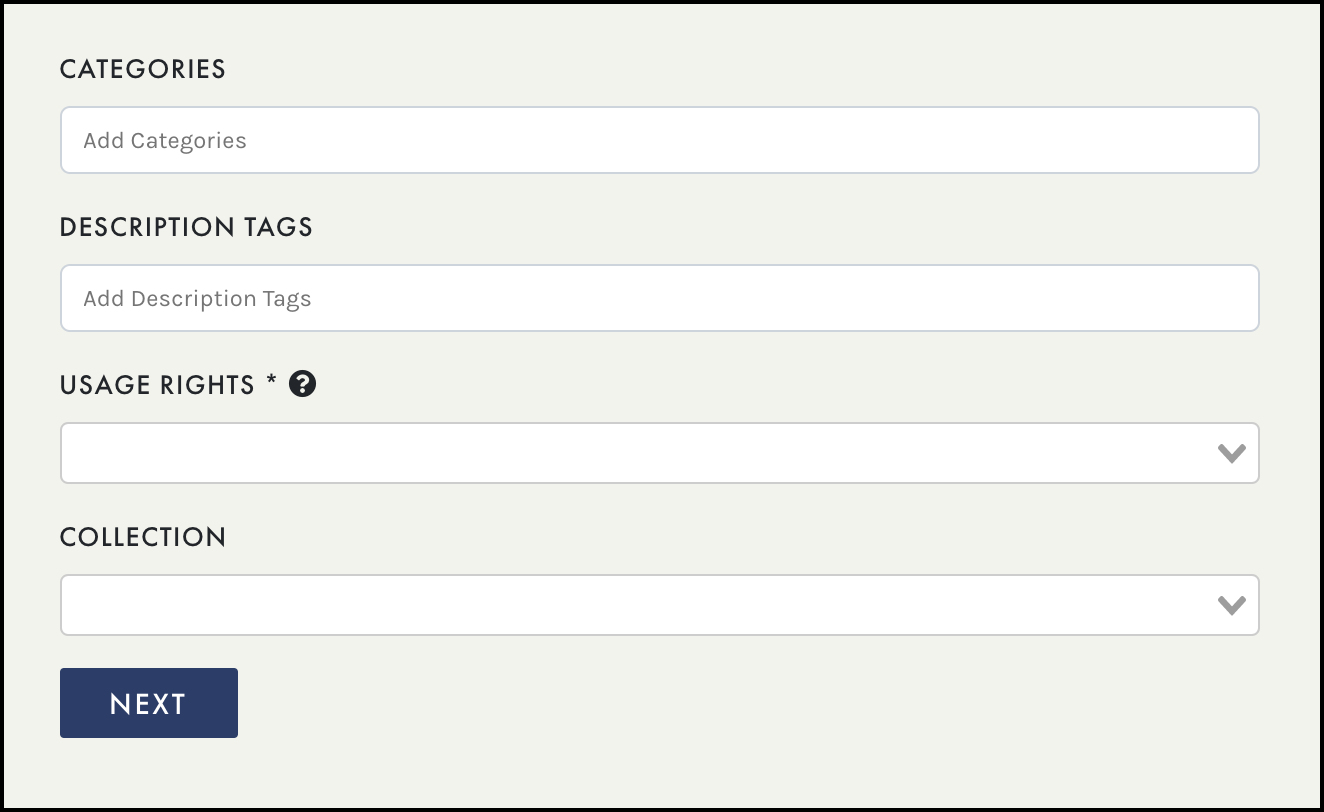
- Add the assets details such as: title and tags etc
- Title and Usage rights are mandatory fields.
 If you are unclear on the Usage rights, select the question mark icon
- Add the asset to your Collection, then select the SAVE button (top right)
To upload a video, select Assets > Videos For videos, you can upload from your computer, YouTube, Vimeo, or a URL without leaving C4EBridge. Then fill out the details and select Save.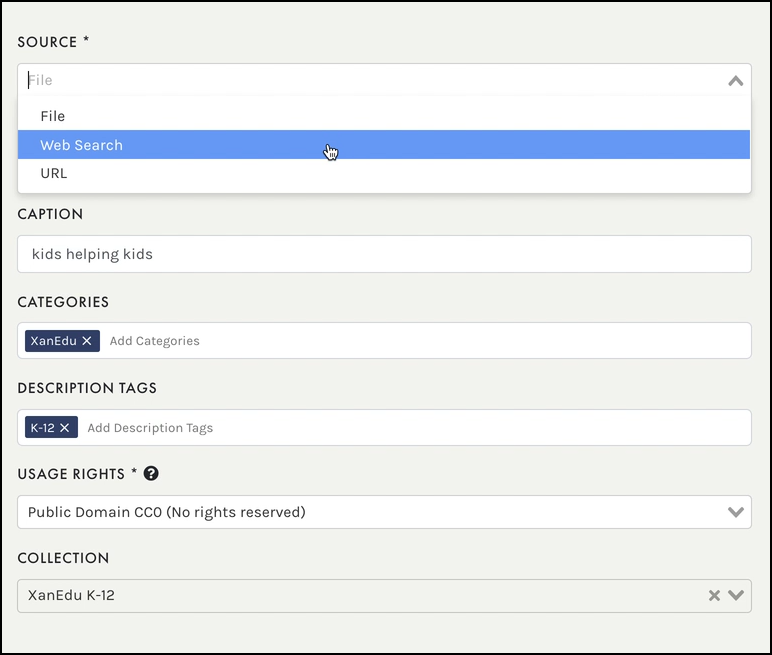
To upload a document (excel spreadsheet, PDF, PowerPoint or Word document) select Assets > Documents To upload an audio file (.mp3 only), select Assets > Audio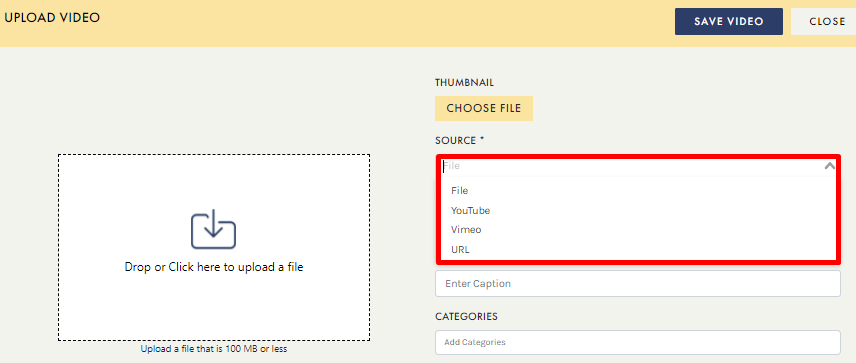
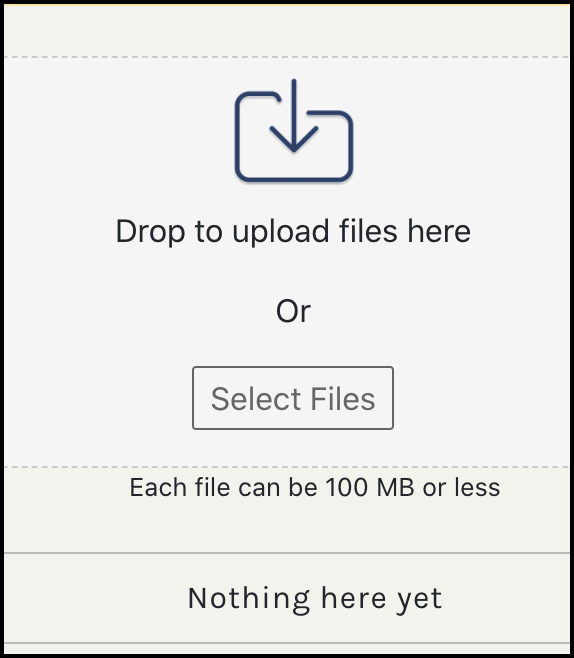
Bulk Upload
Alternatively, you can bulk upload your assets from your computer, add categories, tags, usage rights, and collections that apply to all the assets. From any Asset page select the BULK UPLOAD button
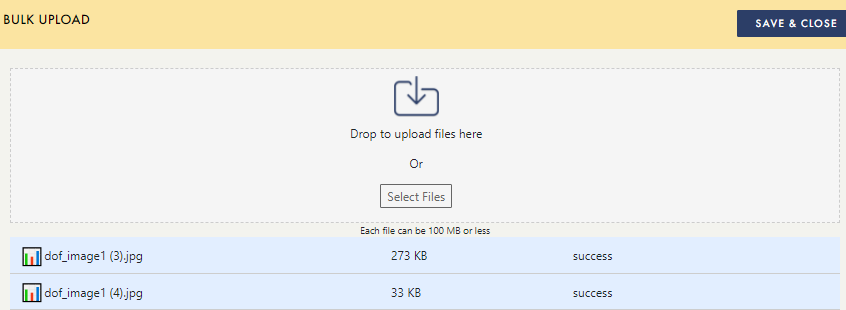
To learn more about bulk uploading visit the bulk uploading article.