Tutorials
- USER GUIDES & VIDEO TUTORIALS
- ALL VIDEO TUTORIALS
- OVERVIEW
- ASSETS
- CREATE COURSE
- Getting Started with Creating Courses
- Create Course - Course Settings
- Course Builder (TOC)
- Build Lessons
- Lesson Settings
- Lesson Page Navigation
- Lesson Editor Overview
- Lesson Editor - File Options
- Add Content - Tools: Assets
- Add Content- Tools: Page Elements
- Add Content - Page Templates
- Add Content - Layout Templates
- Save As a Row, Column, Tool As a Template
- Tool Settings
- Row Effects
- MANAGE COURSES
- MANAGE TEMPLATES
- MANAGE XAPI
- ADMIN
- ACCOUNT
Add Content – Tools: Assets
QUICK START VIDEO TUTORIAL – ADD CONTENT
2.27
ADD CONTENT: TOOLS ASSETS
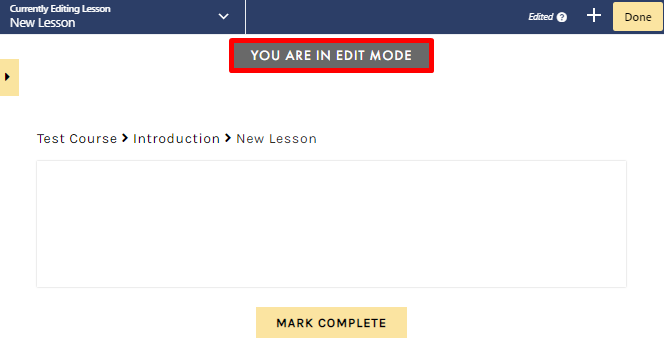
OPEN LESSON EDITOR
 To review how to access the Lesson Editor, visit the Introduction to the Lesson Editor section.

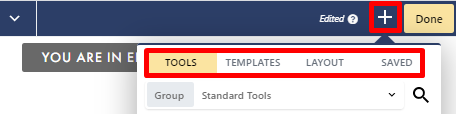
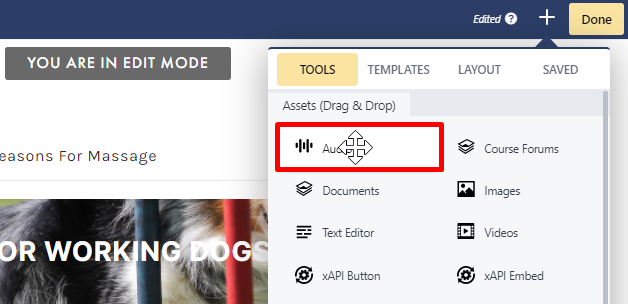
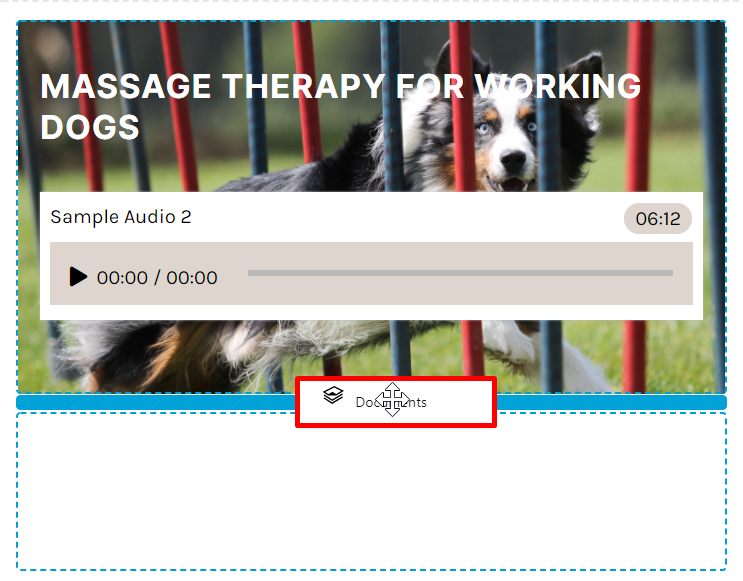
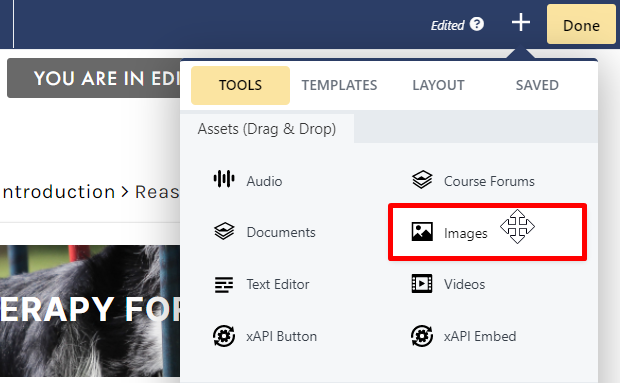
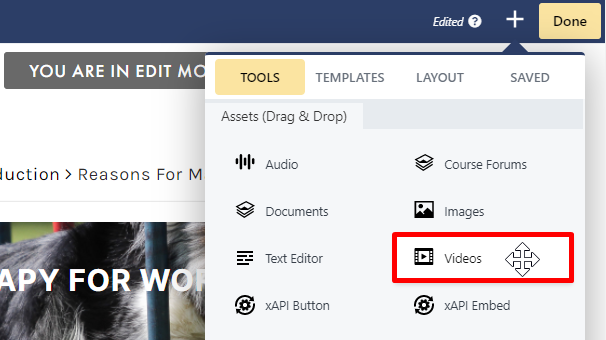
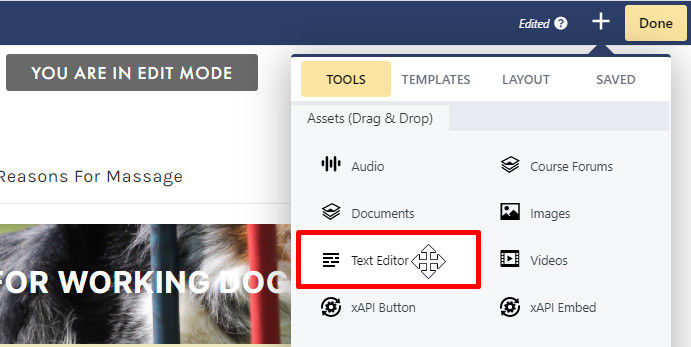
- Tools: Drag and drop assets and elements to your lesson
- Templates: Add prebuilt lesson templates to your lesson
- Layout: Add a variety of layouts to your lesson page
- Saved: Reuse your saved tools, columns, or rows
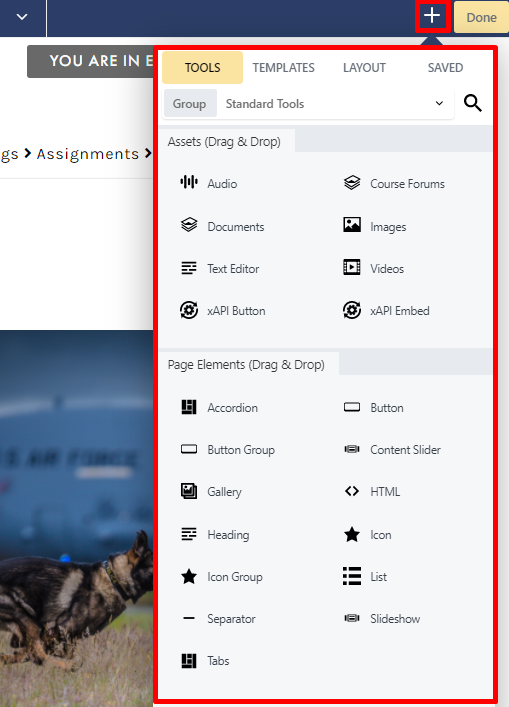
TOOLS OVERVIEW
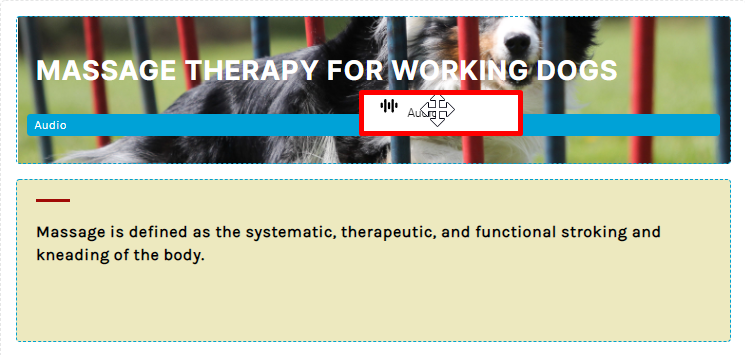
AUDIO
- Library: Open by default, the Library tab shows all audio files uploaded to your Audio library in C4EBridge:
You may scroll to browse all audio files, or type in the search field to search for a specific track.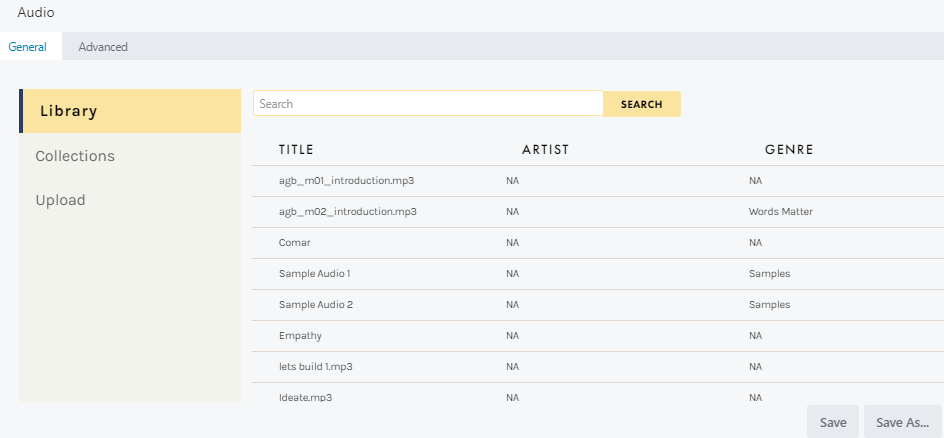
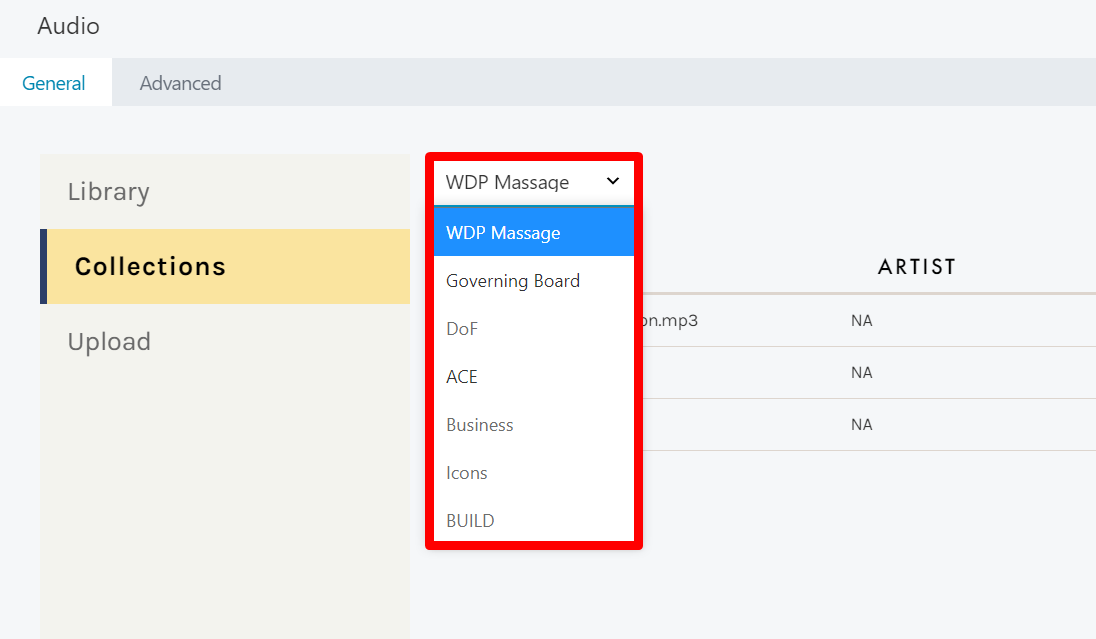
- Collections: The Collections tab lets you browse your created collections to easily locate an uploaded track. Simply select the playlist from the dropdown menu to view all tracks in this collection:
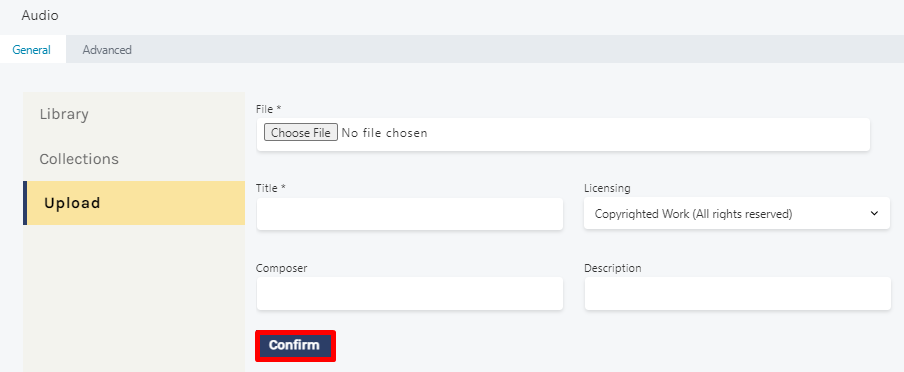
- Upload: The Upload tab allows you to upload a locally saved file not yet in your Audio library. You can select your file, add your title, licensing information, composer, and description, then select CONFIRM:
To learn how to upload an audio file to your Audio library, review the Audio Assets section.
To learn more about Saving as a template, visit the Template Builder section.
Advanced Tab
When uploading assets, the Advanced tab has the following options: Spacing, Visibility, Animation, HTML Element, and Export/Import: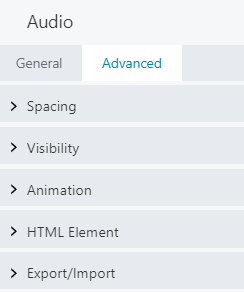
When uploading most assets, the Advanced tab will remain the same. To learn more about the advanced options, visit the Advanced Tab section.
DOCUMENTS
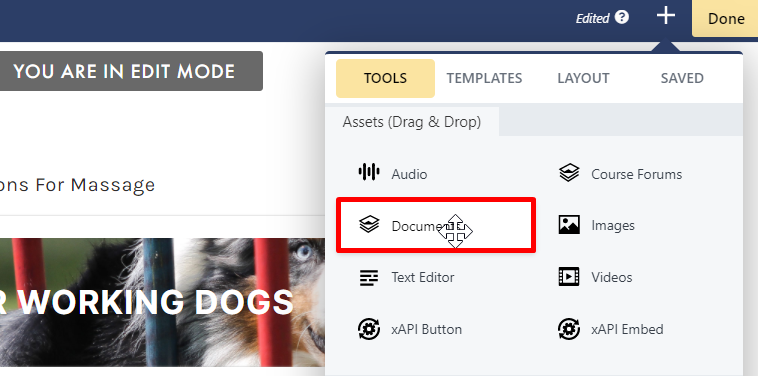
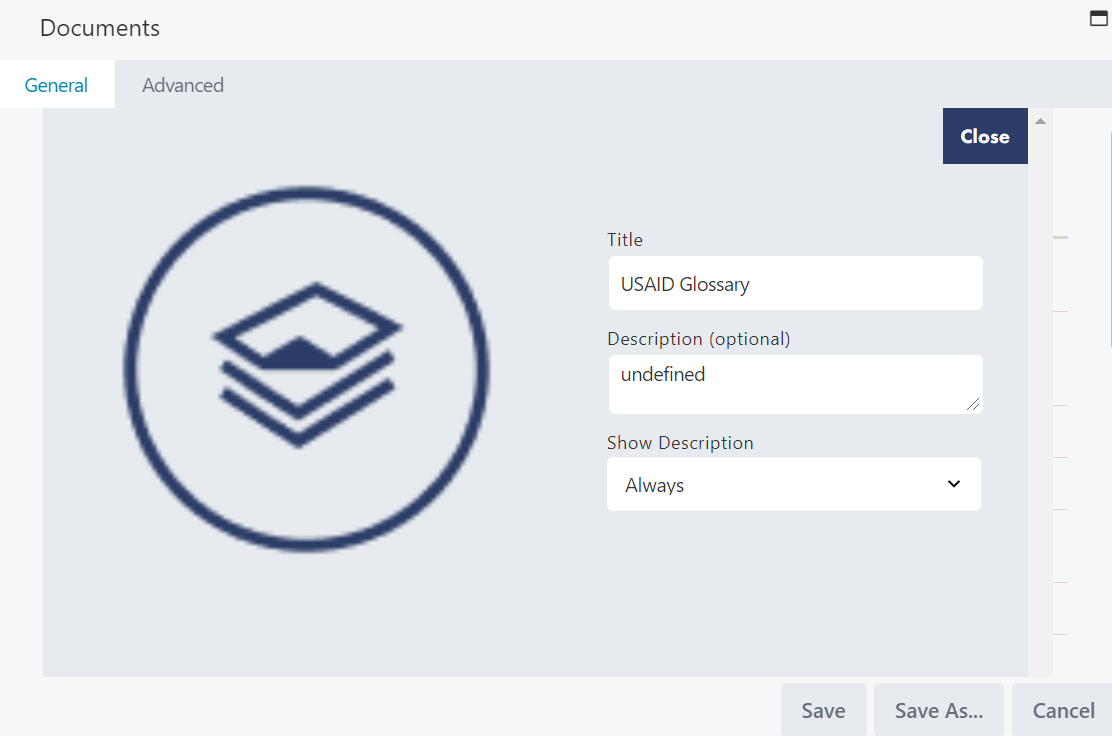
- Library: Open by default, the Library tab shows all documents uploaded to your Documents library in C4EBridge:
You may scroll to browse all document files, or type in the search field to search for a specific document.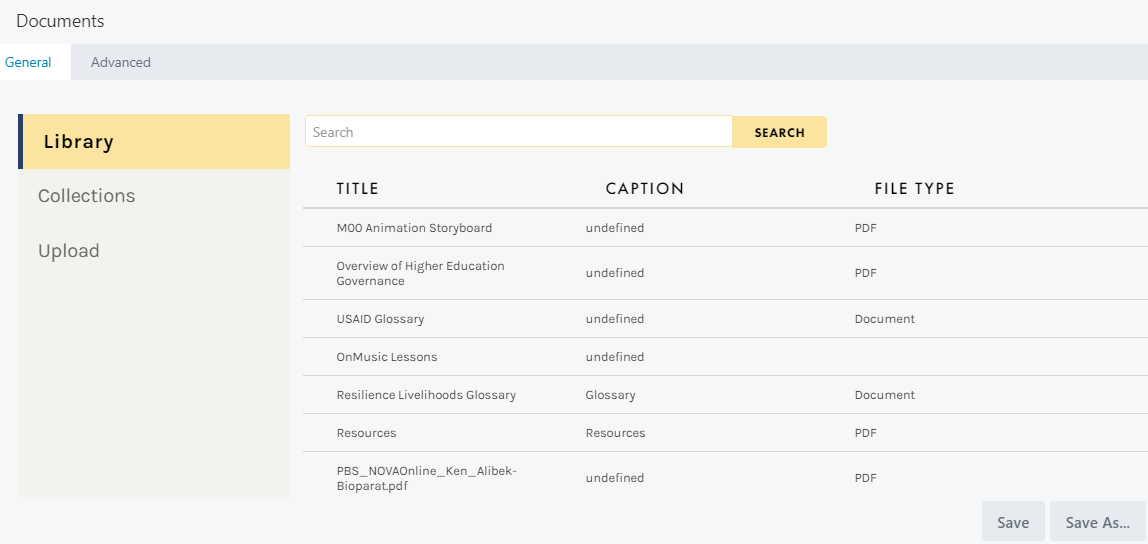 To learn how to upload a document to your Documents library, review the Document Assets section.
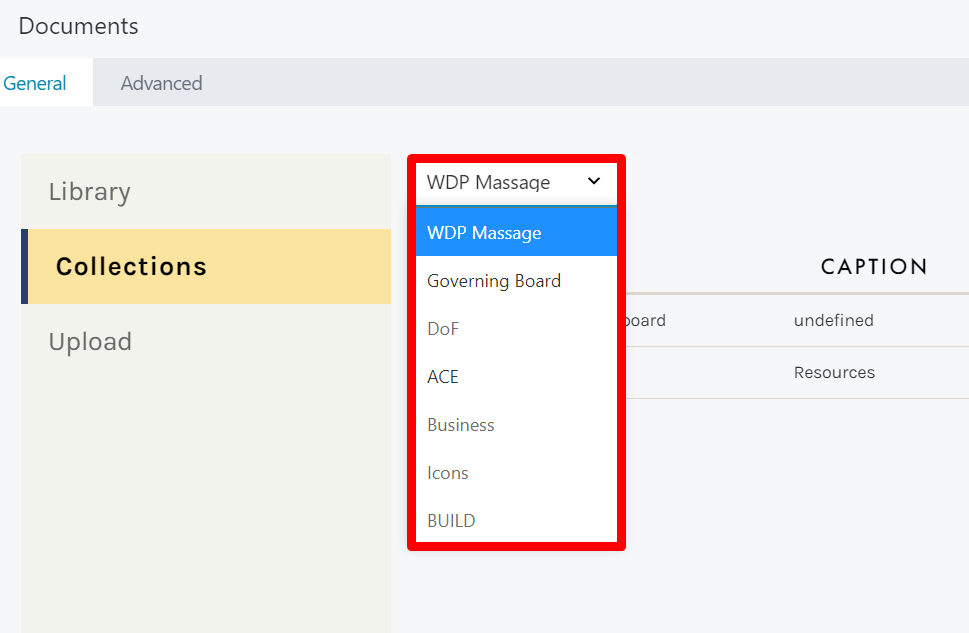
 - Collections: The Collections tab lets you browse your created collections to easily locate an uploaded document. Simply select the collection from the dropdown menu to view all documents in the collection:
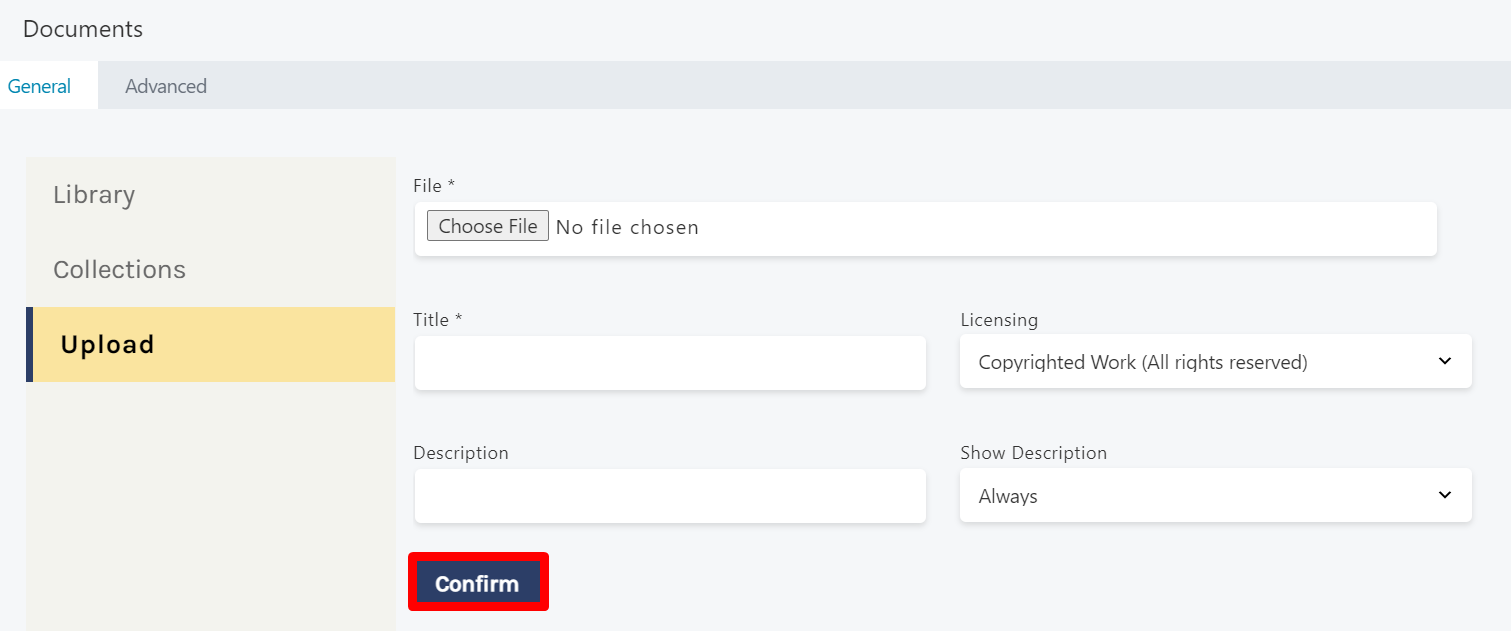
- Upload: The Upload tab allows you to upload a locally-saved file not yet in your Documents library. You can select your file, add your title, licensing information, and description, then select CONFIRM:
To learn more about Saving as a template, visit the Template Builder section.
Advanced Tab
When uploading document assets, the Advanced tab has the following options: Spacing, Visibility, Animation, HTML Element, and Export/Import: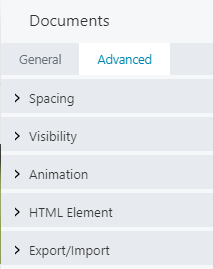
 The system remembers which tab you exit on, so that the next time you open up an Asset Settings window, you will be on the same tab.
IMAGES
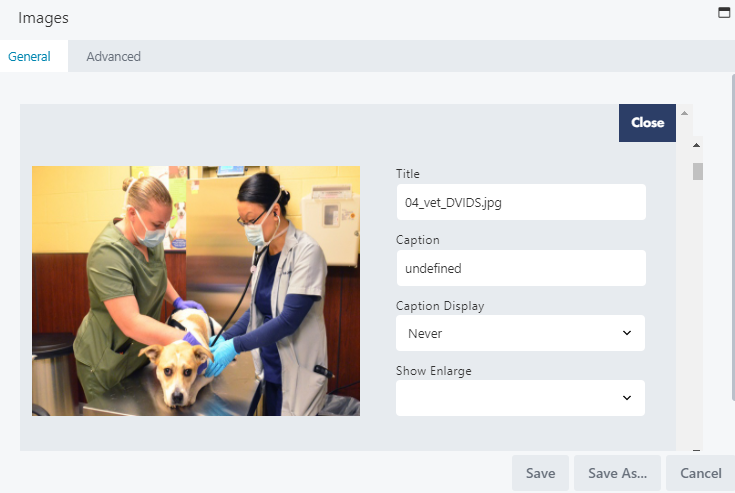
- Library: Open by default, the Library tab shows all image files uploaded to your Images library in C4EBridge:
You may scroll to browse all image files, or type in the search field to search for a specific image. You can also expand this window by clicking the window icon (top-right corner).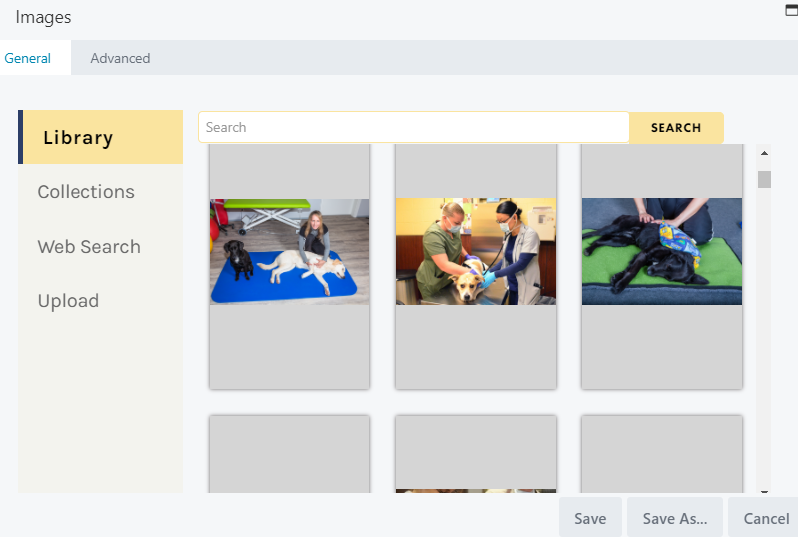 To learn how to upload an image to your Images library, review the Image Assets section.
 - Collections: The Collections tab lets you browse your created collections to easily locate an uploaded image. Simply select the collection from the dropdown menu to view all images in this collection:

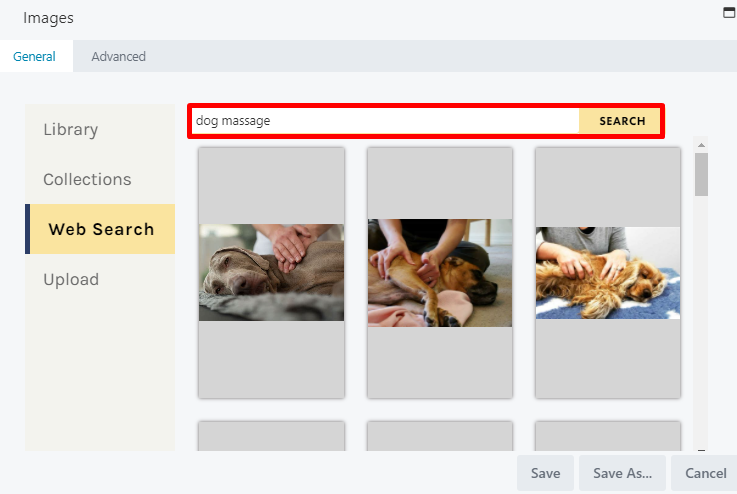
- Web Search: The Web Search tab lets you search and add images from the Web:
- Upload: The Upload tab allows you to upload a locally-saved file not yet in your Images library. You can select your file, add your title, licensing information, and caption, as well as adjust the CAPTION DISPLAY and SHOW ENLARGE settings as necessary, then select UPLOAD:
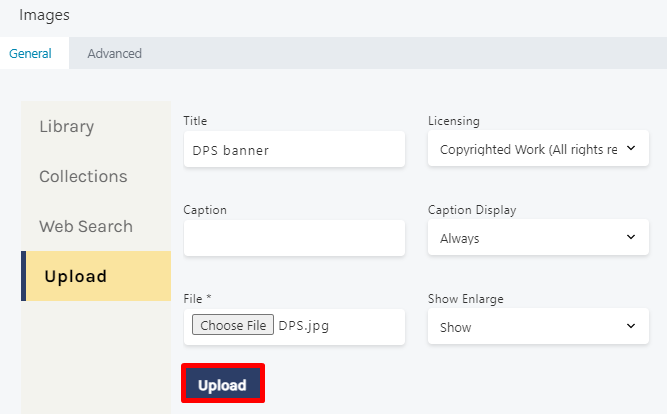
When uploading images from your computer, be sure to select the Upload button, NOT the Save button. This button will only appear after you have selected an image file.
To learn more about Saving as a template, visit the Template Builder section.
Advanced Tab
When uploading image assets, the Advanced tab has the following options: Spacing, Visibility, Animation, HTML Element, and Export/Import: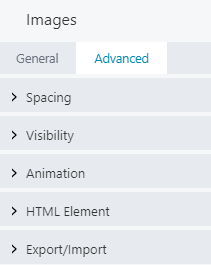
When uploading most assets, the Advanced tab will remain the same. To learn more about the advanced options, visit the Advanced Tab section.
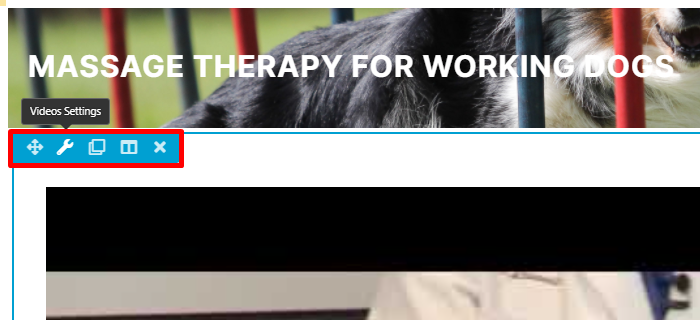
VIDEO
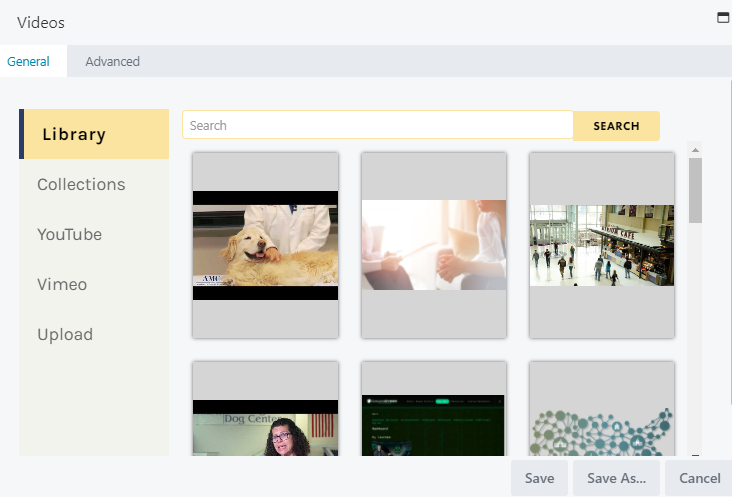
- Library: Open by default, the Library tab shows all videos uploaded to your Video library in C4EBridge:
 To learn how to upload a video to your Video library, review the Video Assets section.
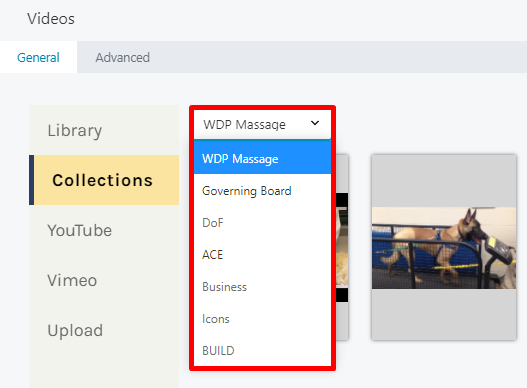
 - Collections: The Collections tab lets you browse your created collections to easily locate an uploaded video. Simply select the collection from the dropdown menu to view all videos in this collection:
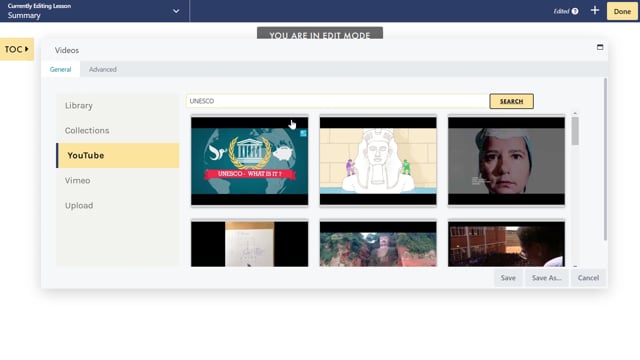
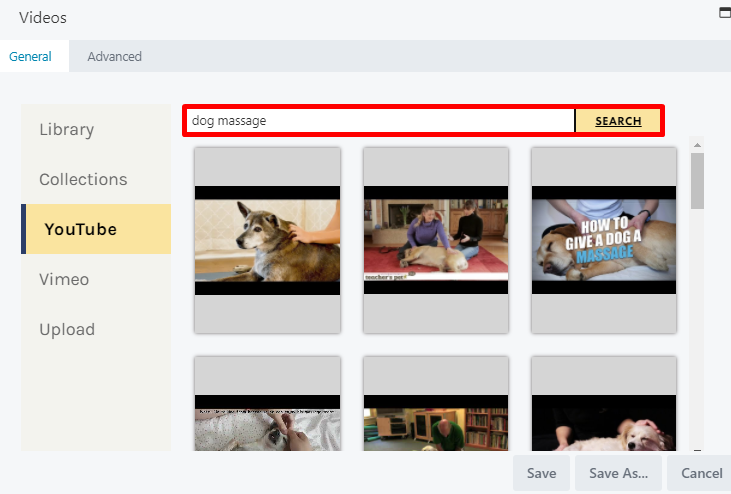
- YouTube/Vimeo: The YouTube and Vimeo tabs allow you to search and locate YouTube and Vimeo videos directly from C4EBridge:
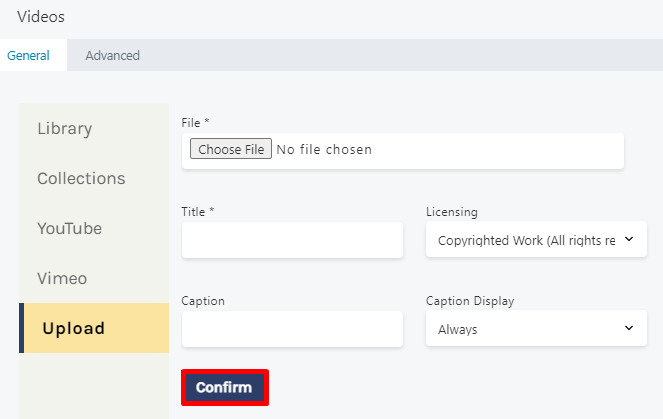
- Upload: The Upload tab allows you to upload locally-saved videos not yet in your Video library. You can select your file and add your title, licensing information, and caption, as well as adjust the CAPTION DISPLAY setting as necessary, then select CONFIRM::

To learn more about Saving as a template, visit the Template Builder section.
Advanced Tab
When uploading video assets, the Advanced tab has the following options: Spacing, Visibility, Animation, HTML Element, and Export/Import: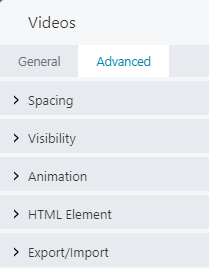
When uploading most assets, the Advanced tab will remain the same. To learn more about the advanced options, visit the Advanced Tab section.
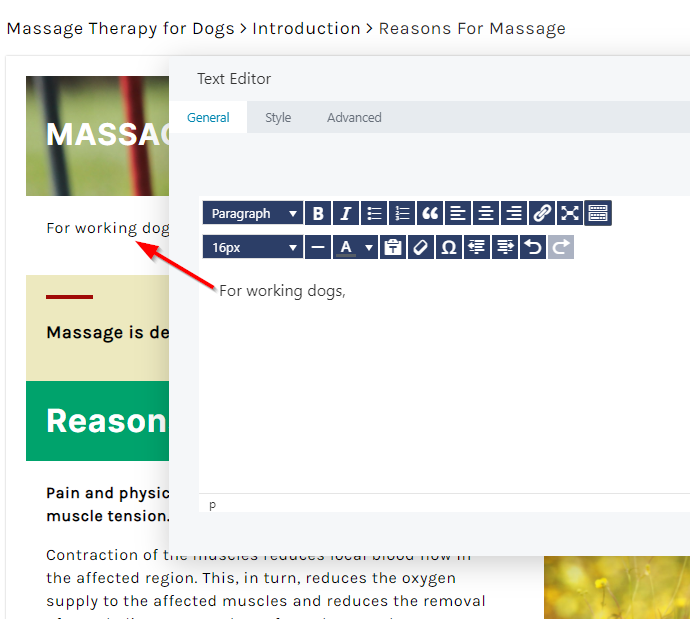
TEXT EDITOR

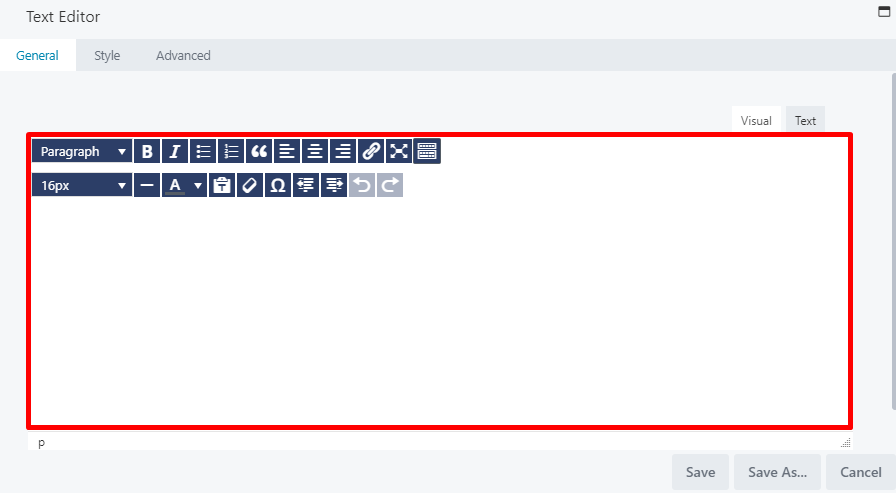
- Type your text in the text box
- Select your heading size
- Toggle to the TEXT tab to add and modify code
- Format your text using the text editor tools
 Adding an image to the Text Editor allows you to wrap text around the image. However, if you want more control over the vertical or columnar spacing and stacking of headings, images, and text, use separate Heading and Photo tools.
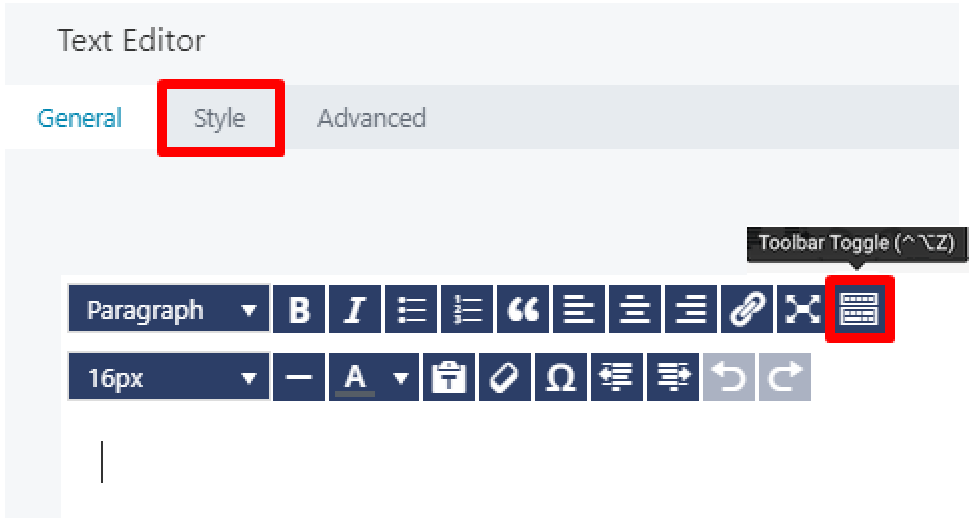
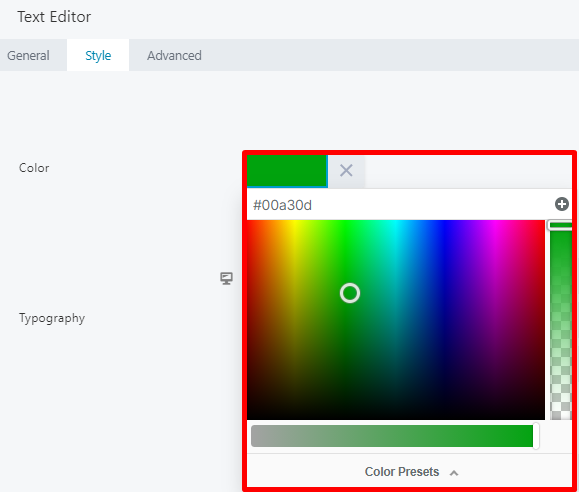
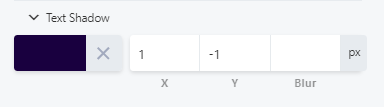
Style Tab
While the toolbar tools allow you to make basic changes to your text (such as font size, font color, bulleting and numbering, heading preferences and more), the Style tab on the text editor offers greater ability to modify and adjust your text using the Color and Typography panes: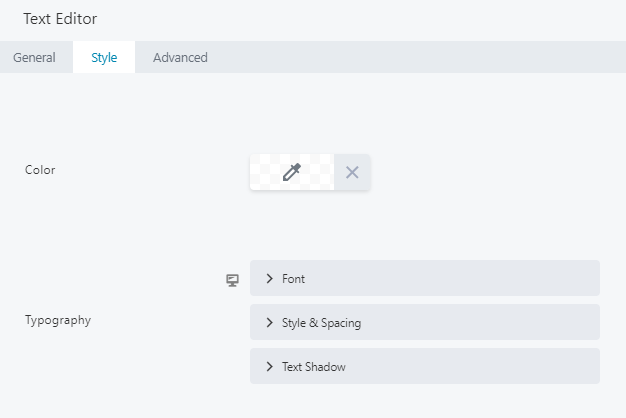
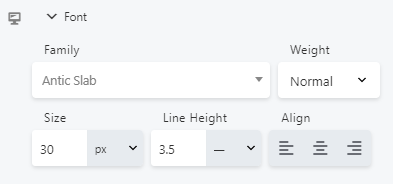
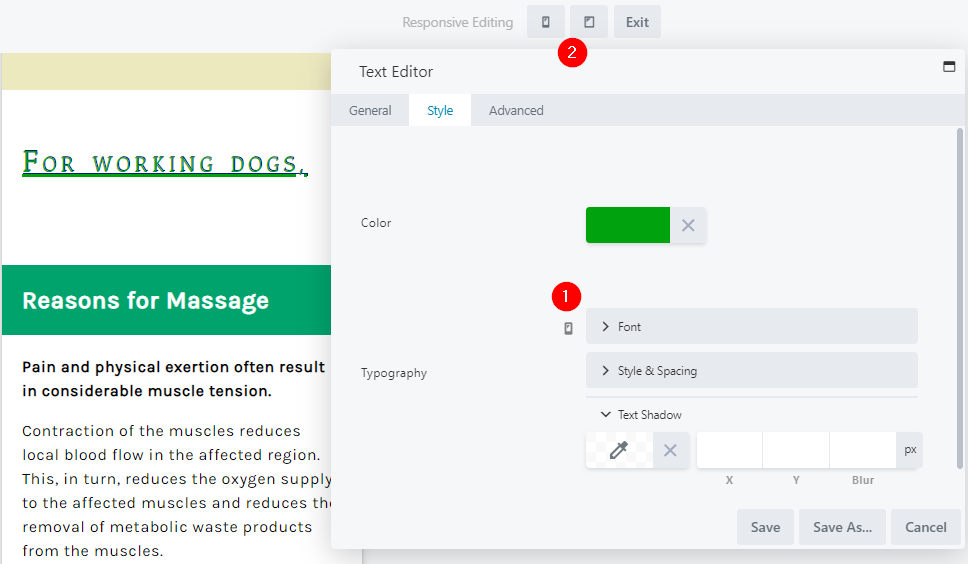
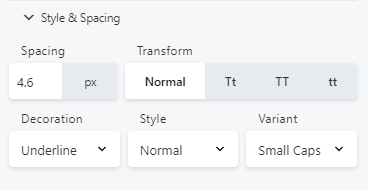
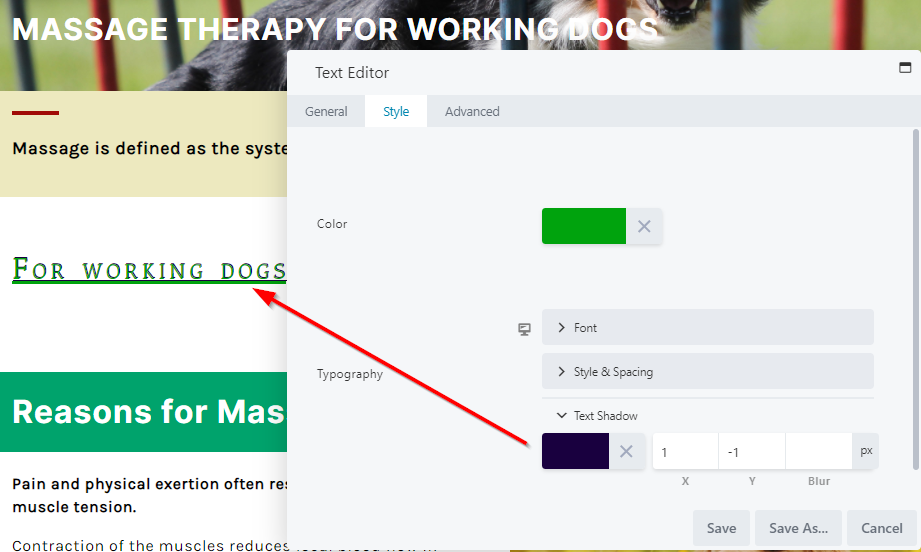
To learn more about the Typography pane, visit the Typography section.
Advanced Tab
From the text editor window,, the Advanced tab has the following options: Spacing, Visibility, Animation, HTML Element, and Export/Import: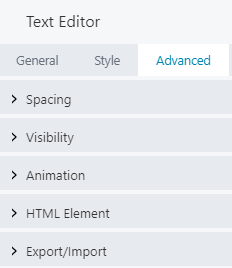
Saving Your Text Editor Changes
Once your textual changes are complete, click SAVE from the General tab to save your changes and add your text to your lesson page, or CANCEL to close without saving. You may also use the SAVE AS button to save this text as a template, to be reused in another lesson or course.To learn more about Saving As a template, visit the Template Builder section.
xAPI BUTTON AND xAPI EMBED (PREMIUM ACCOUNT)
To learn about adding an xAPI package from the Edit Course Settings page, see Edit Course Settings: xAPI Section
To learn about adding an xAPI package to a quiz, visit the Creating Quizzes Section.
To learn more about uploading an xAPI package, visit the Create xAPI section.
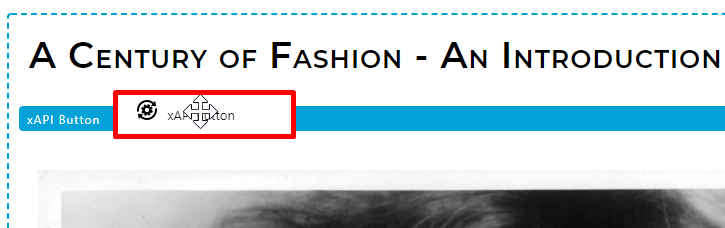
xAPI BUTTON
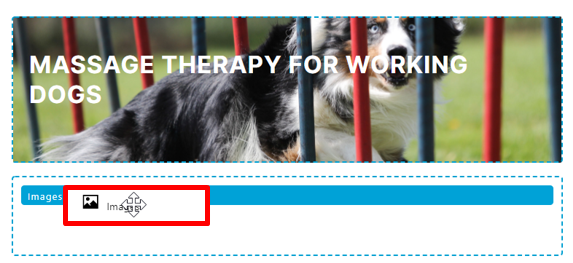
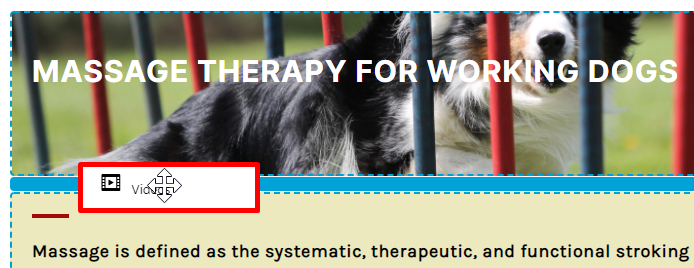
To add an xAPI Button to your lesson page, you may drag the xAPI BUTTON option and drop it to the desired location on your page: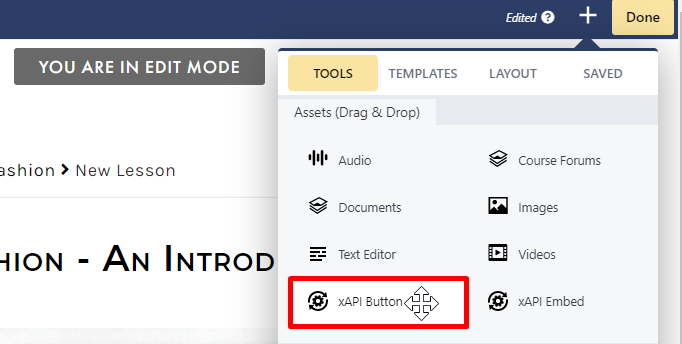
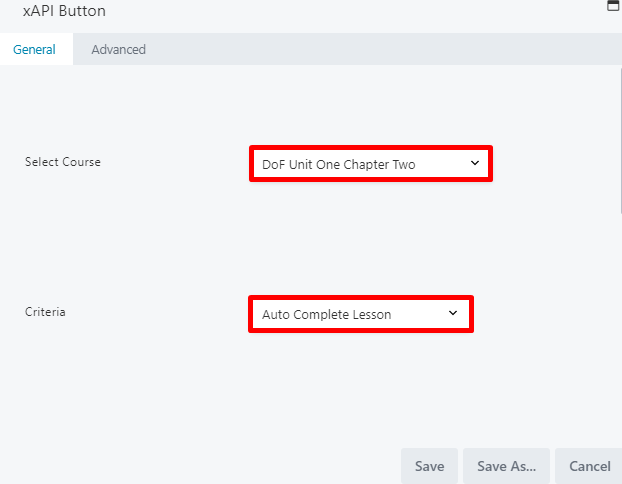
For more precise reporting, select CONTROL MARK COMPLETE BUTTON.
Click SAVE to save your changes and add the xAPI Button to your lesson page.