Tutorials
- USER GUIDES & VIDEO TUTORIALS
- ALL VIDEO TUTORIALS
- OVERVIEW
- ASSETS
- CREATE COURSE
- MANAGE COURSES
- MANAGE TEMPLATES
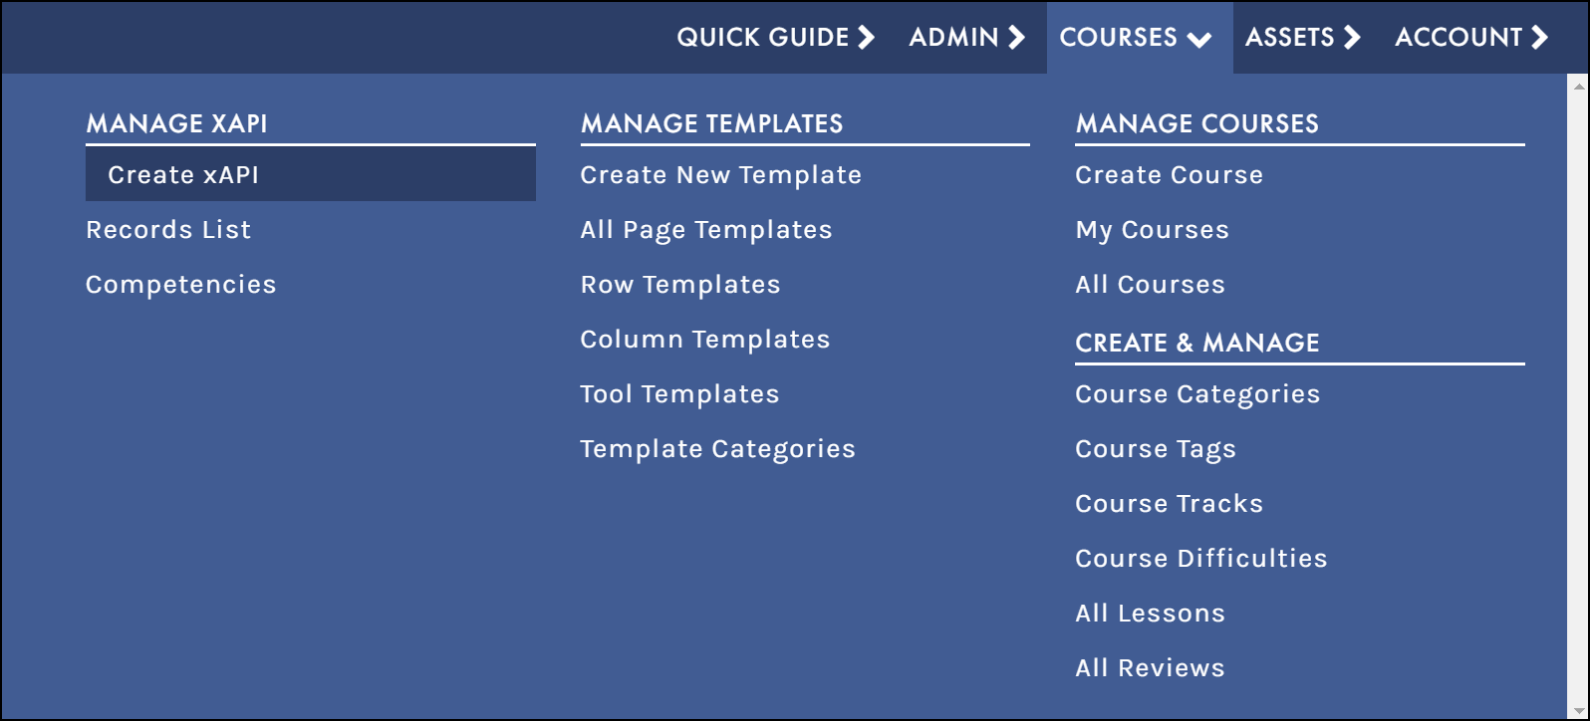
- MANAGE XAPI
- ADMIN
- ACCOUNT
Create xAPI
Table of Contents
CREATE xAPI
OVERVIEW
 Create xAPI is for Premier and Enterprise level account holders only.
Only LMS Managers can upload an xAPI package.

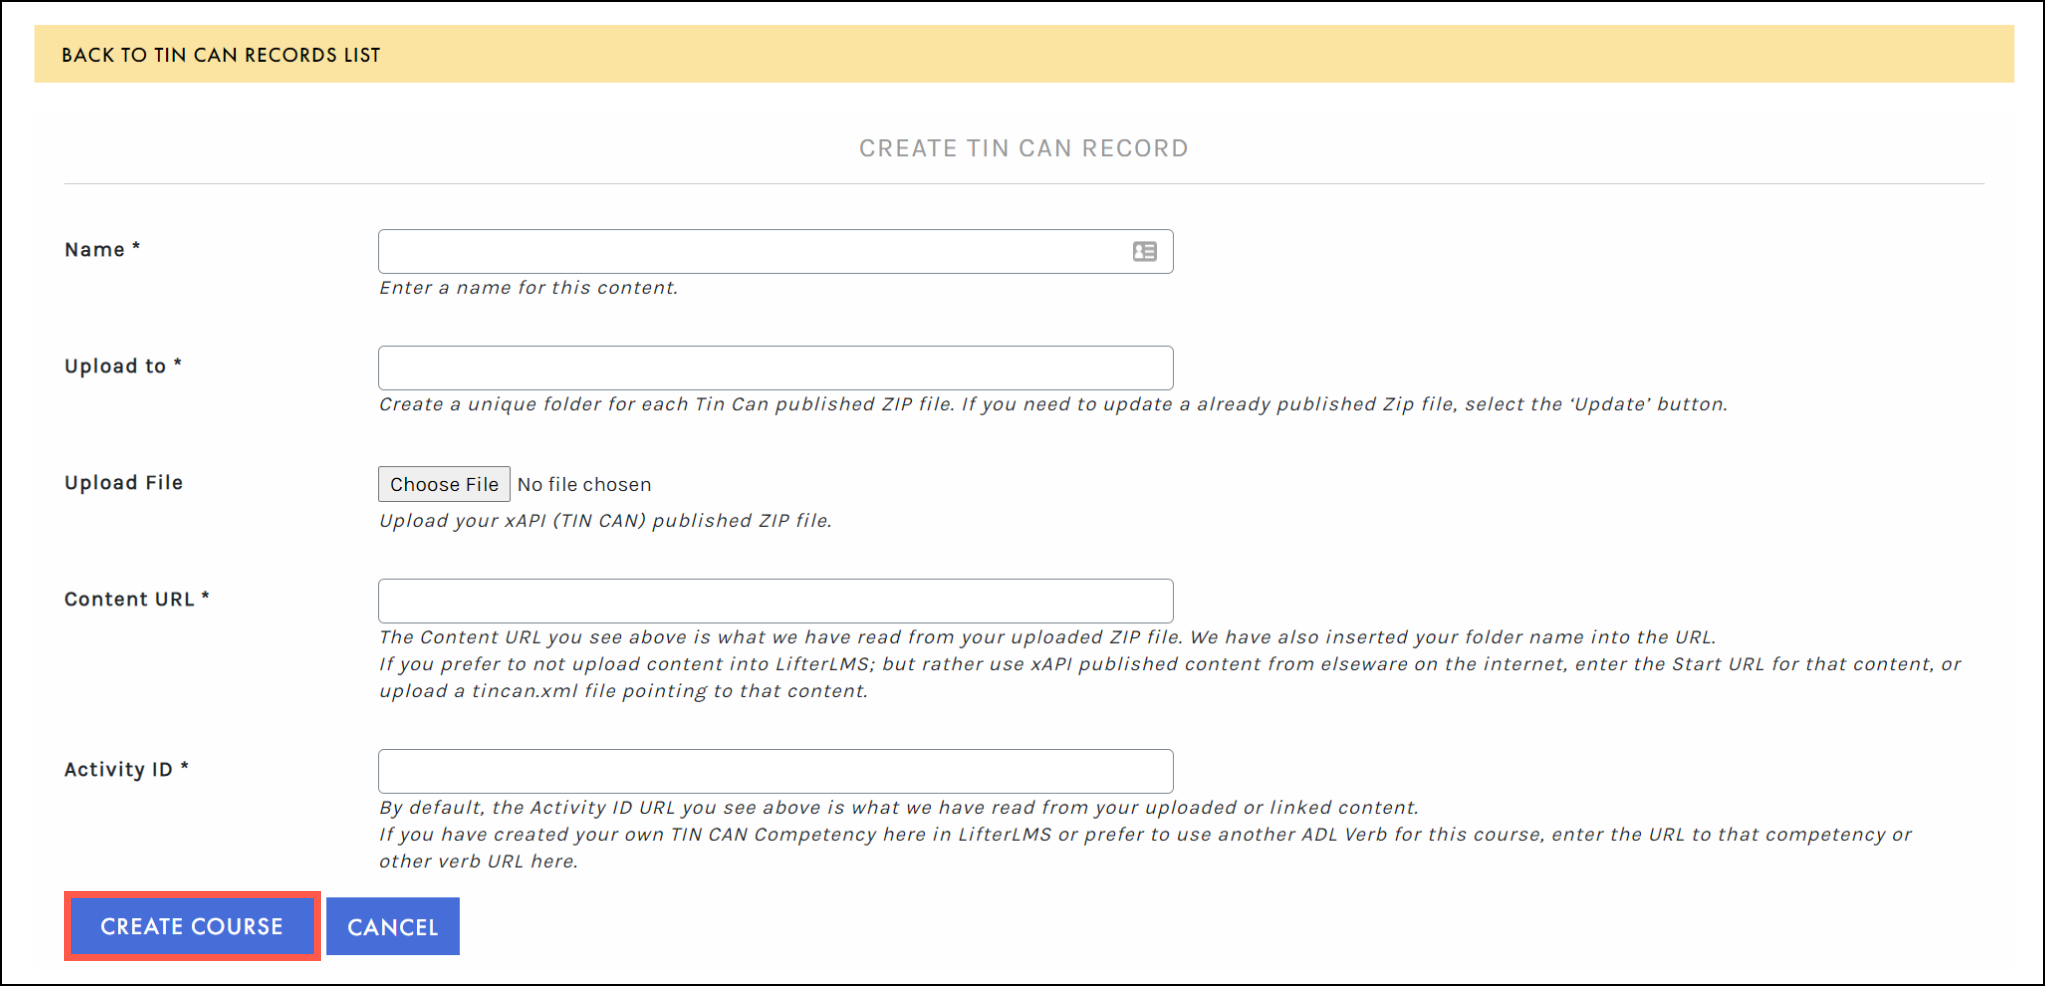
-
- Enter the name for your lesson.
- Create a unique folder for each Tin Can published ZIP file.
- Upload your published xAPI ZIP from your computer.
 Do NOT add text into the Content URL or Activity ID fields. By default, the Content URL and the Activity ID will automatically be read from your uploaded file.
- Select the Create Course button:

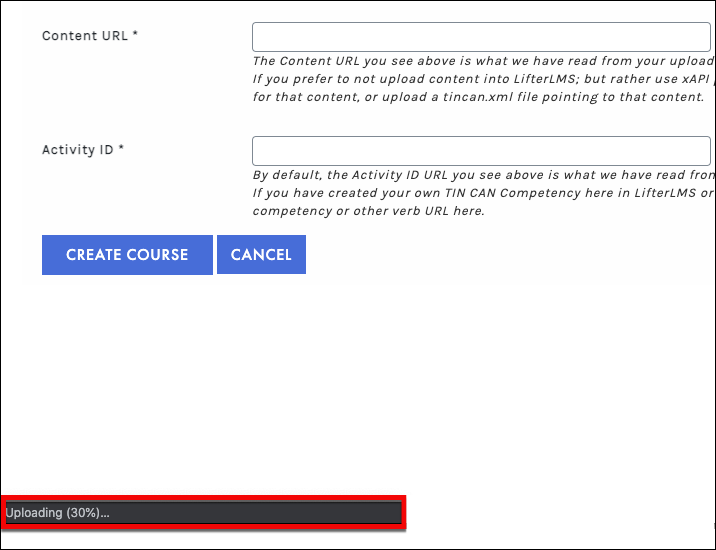
While uploading… Be patient. Depending on how large the xAPI package is, it may take some time to upload. You should notice the % upload in the bottom right corner:

ADD xAPI AS CONTENT
In C4EBridge, Instructors and LMS Managers can add xAPI packages as content in three different areas:
ADD xAPI PACKAGE AS AN IFRAME
- The Course Information/Summary page
- A Quiz
- A Lesson
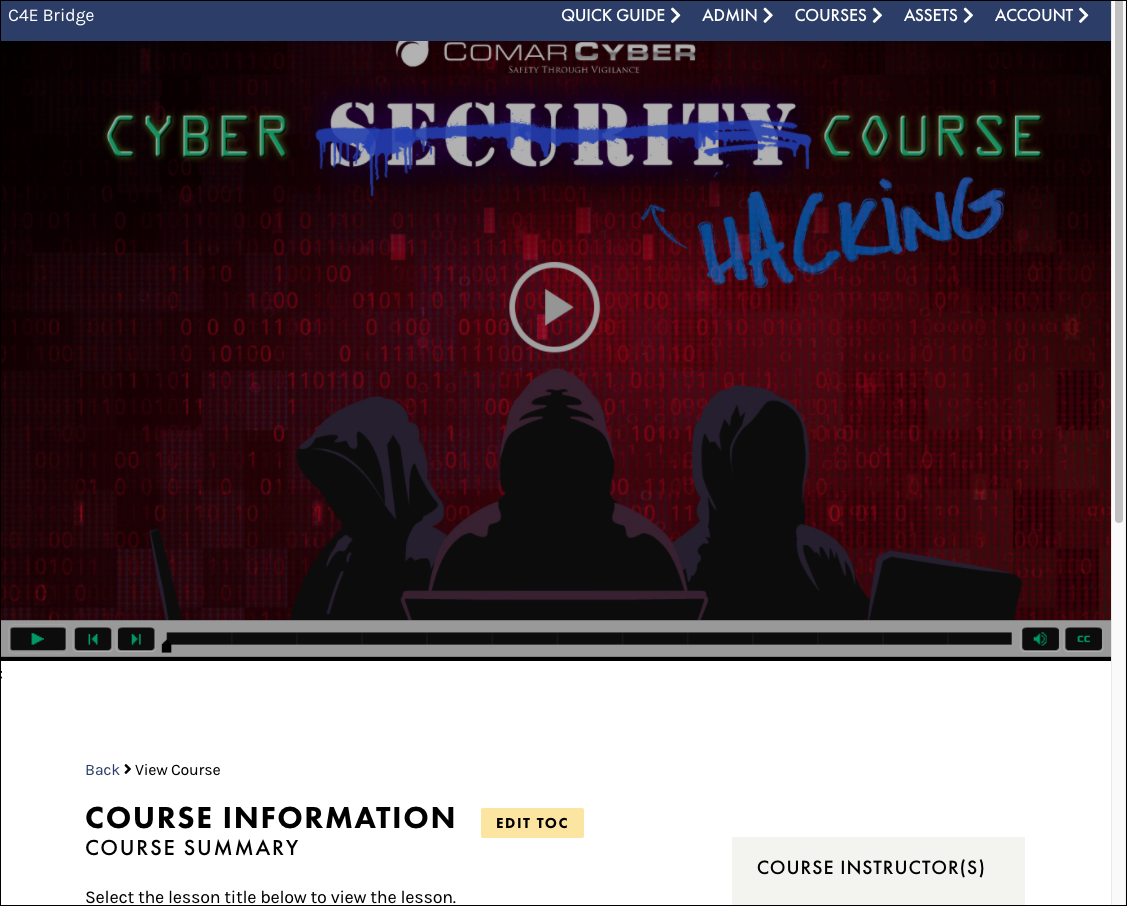
ADD xAPI TO THE COURSE SUMMARY PAGE
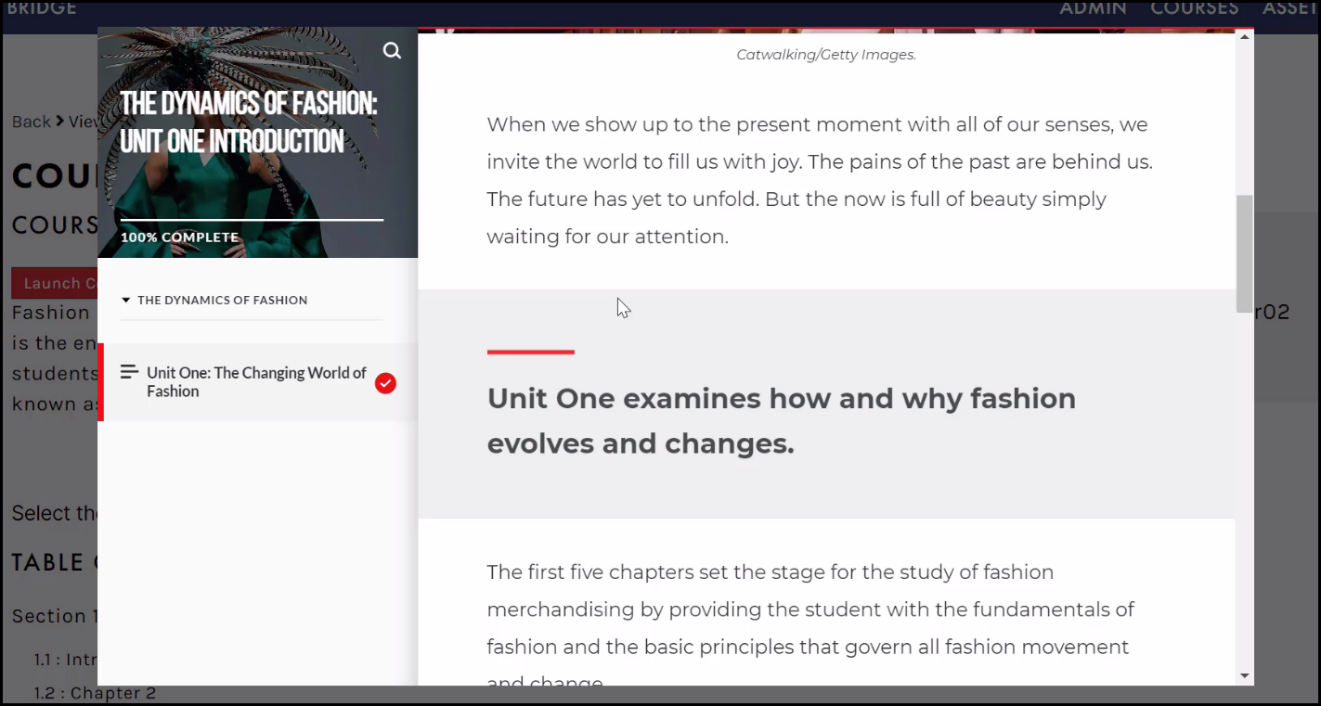
You can easily add xAPI packages on your Course Information page. When uploading an xAPI package from the CREATE COURSE OR EDIT COURSE SETTINGS, the learner will view the xAPI content from the Course Information page. This type of content is usually used as an introduction to the course. After creating a new course, in the Course Description field, you can either insert a button to launch your uploaded xAPI content or insert your course in an iFrame (such as a lightbox).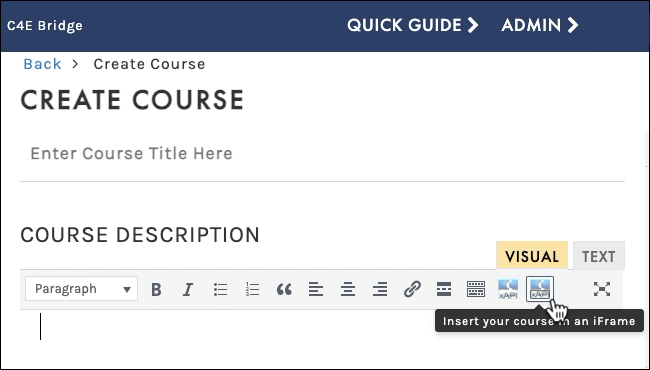
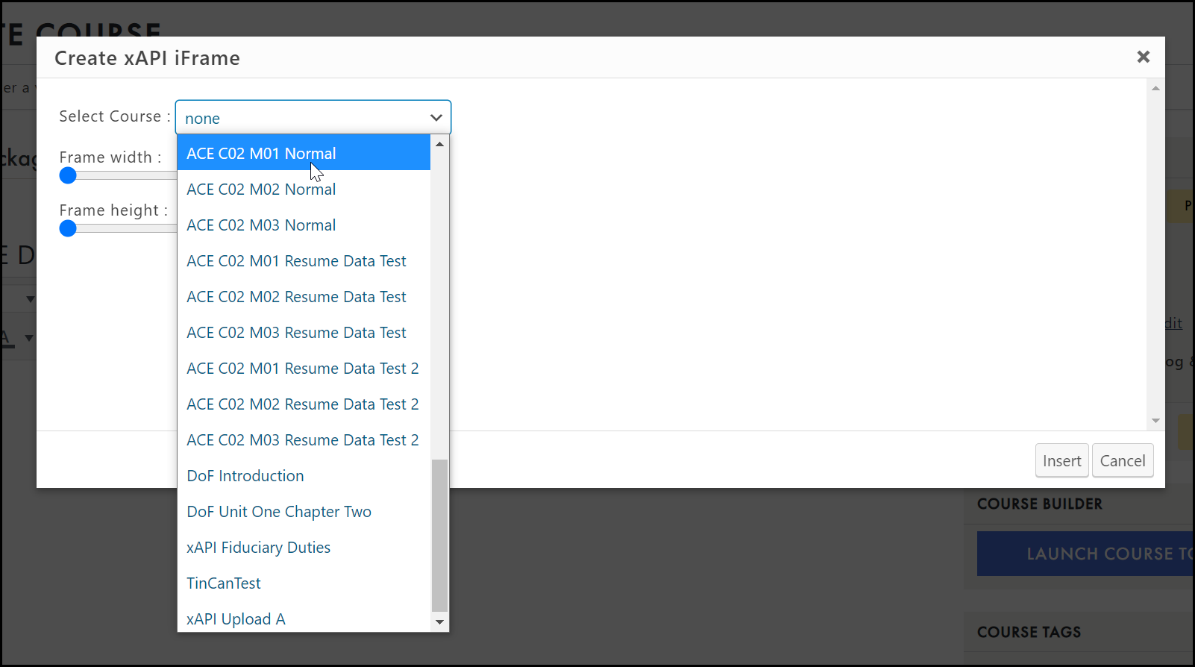
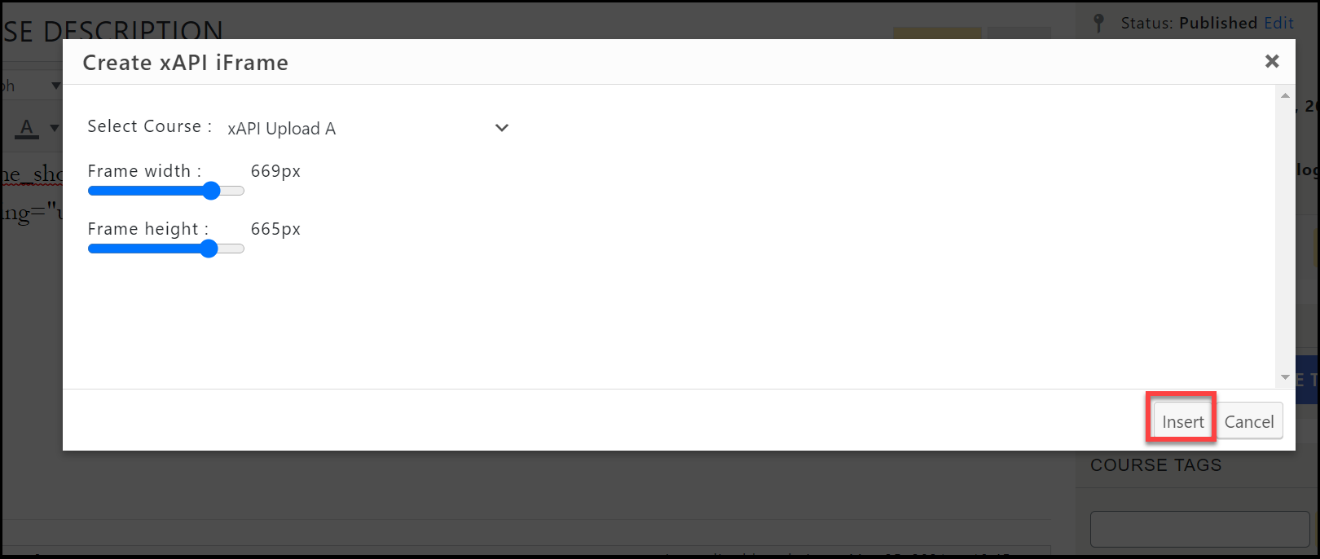
Under the Course Description, select the xAPI button “Insert your course as an iFrame” (see image above). Another window will popup.
From the Select Course dropdown, select your xAPI package from the list.
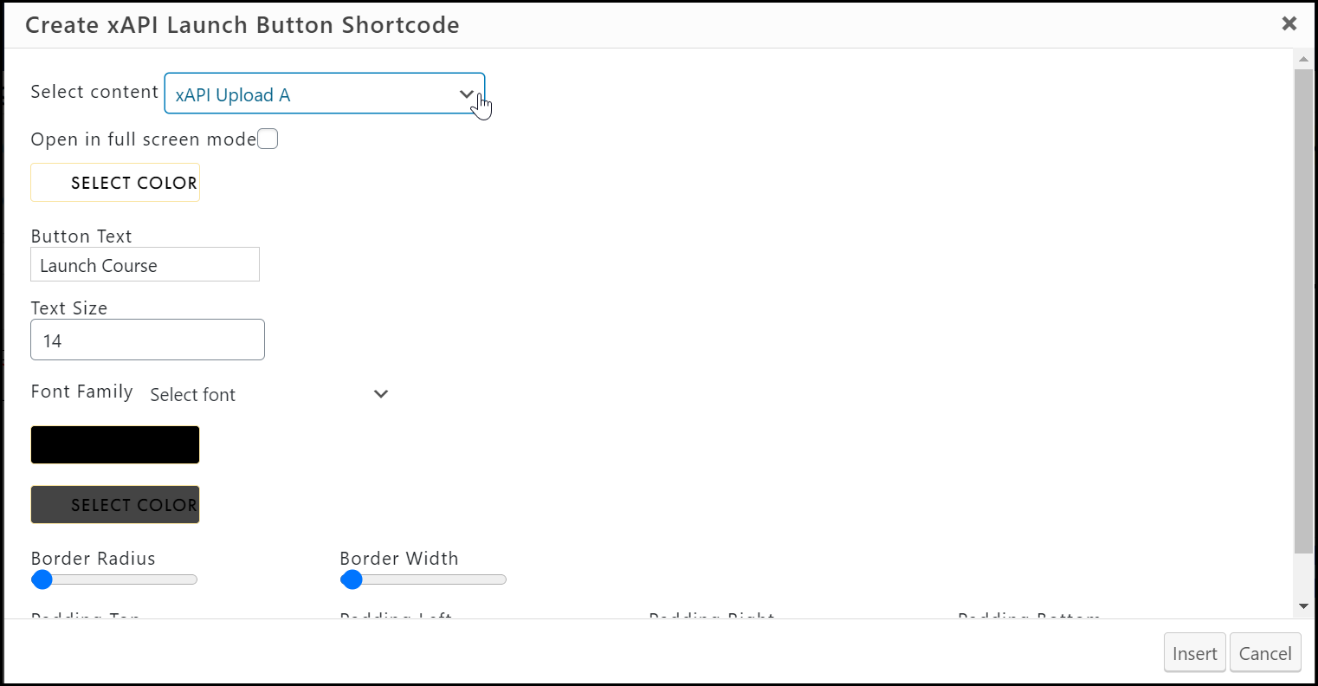
ADD xAPI PACKAGE AS A BUTTON
Only an LMS Manager can upload xAPI packages, but if you are an instructor, you will see the list here.
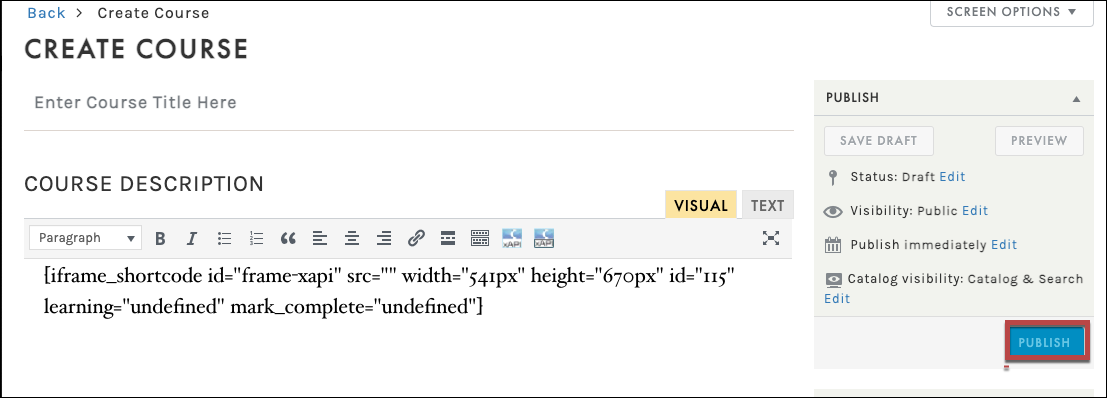
If you want to add the xAPI package into your Course Information page as a button, from the CREATE COURSE page select the xAPI button:


ADD xAPI TO A QUIZ
You may also choose to your xAPI packages to your quiz and quiz question descriptions. After creating a new quiz, in the General Settings options, add your xAPI package:
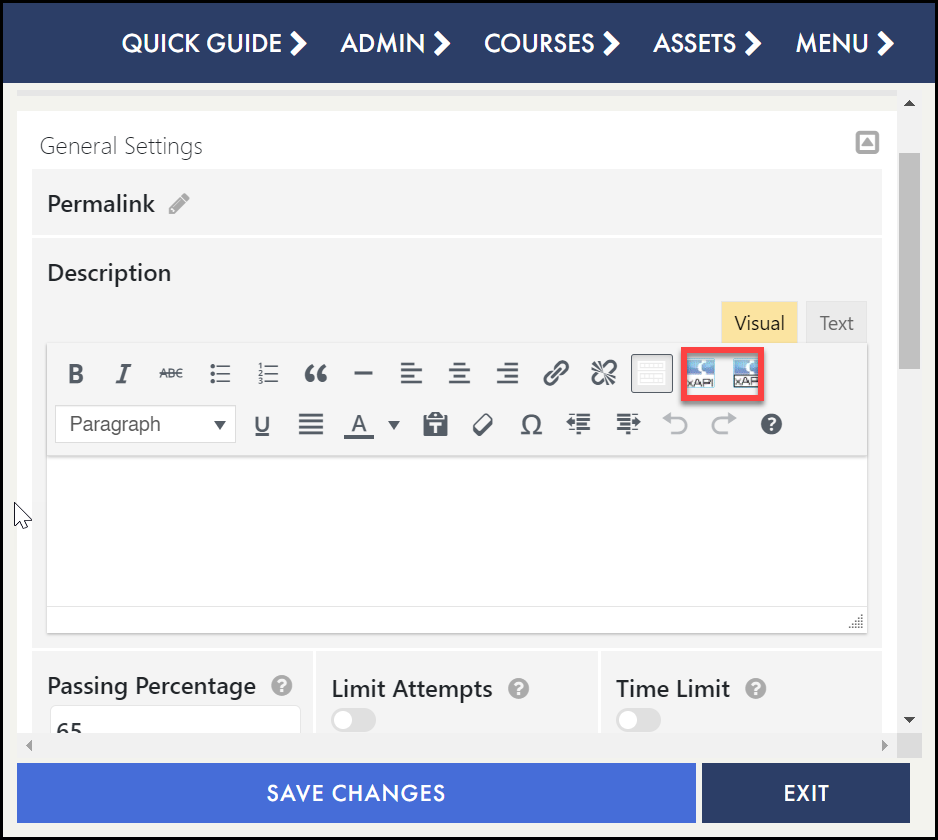

Assign a competency to this quiz: Select a quiz competency from this list. If you do not select a competency your xAPI data will be rejected by the LRS. Competencies are created in Courses > Manage xAPI > Competencies and need to be assigned one or more competency types in the Competencies box.
Select an ADL verb URL: This is a live ADL verb list. Select an Activity ID URL. You must select a URL from this list or your xAPI data will be rejected by the LRS.
ADD xAPI TO A LESSON
You can add an xAPI file to your lessons on the LESSON EDITOR page. While in Lesson Edit mode, select the Add Content (+) button in the top right corner to open the Tools panel.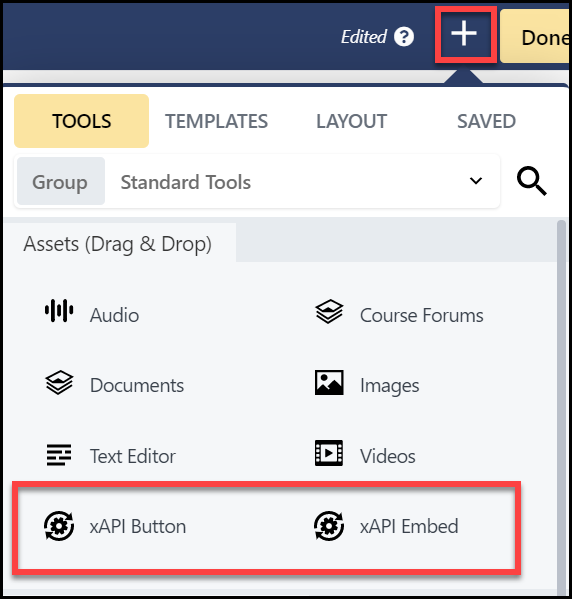
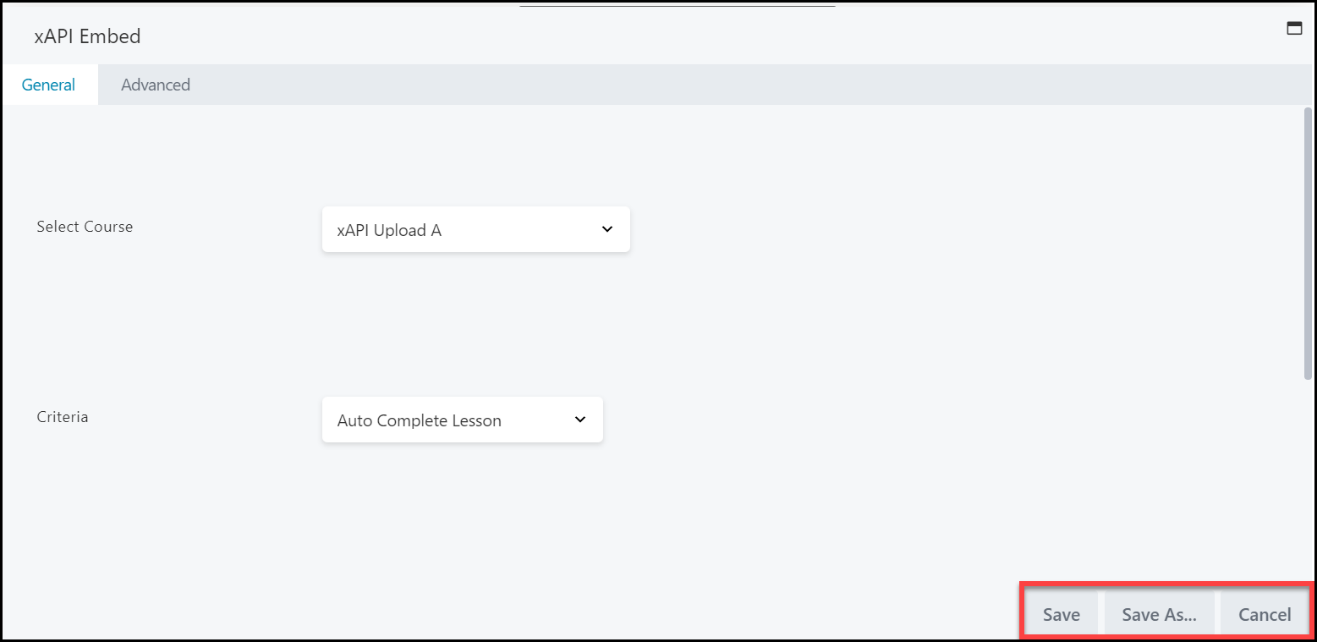
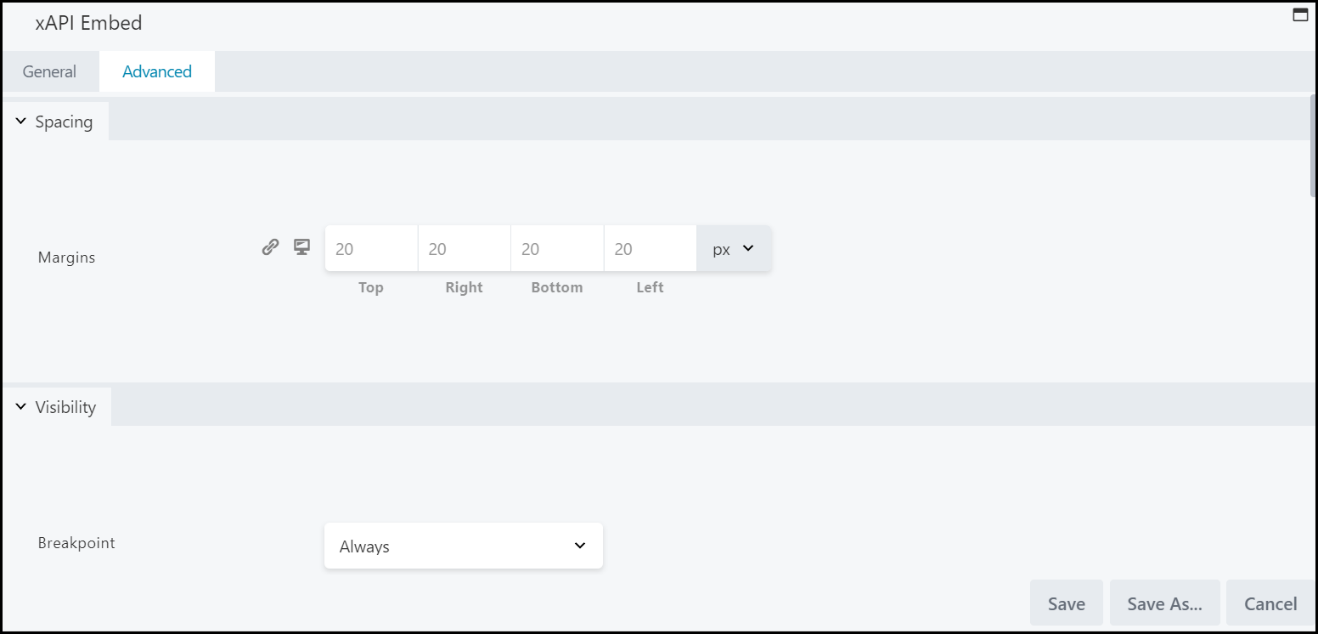
XAPI EMBED SETTINGS:
- Select your course from the dropdown menu. You can also change the criteria to Auto Complete Lesson or to Control Mark Complete Button.
- Adjust your frame width and height
- Select Save when complete.
- Select Save As to save your xAPI Embed as a tool template or Cancel to go back to the Lesson Editor.
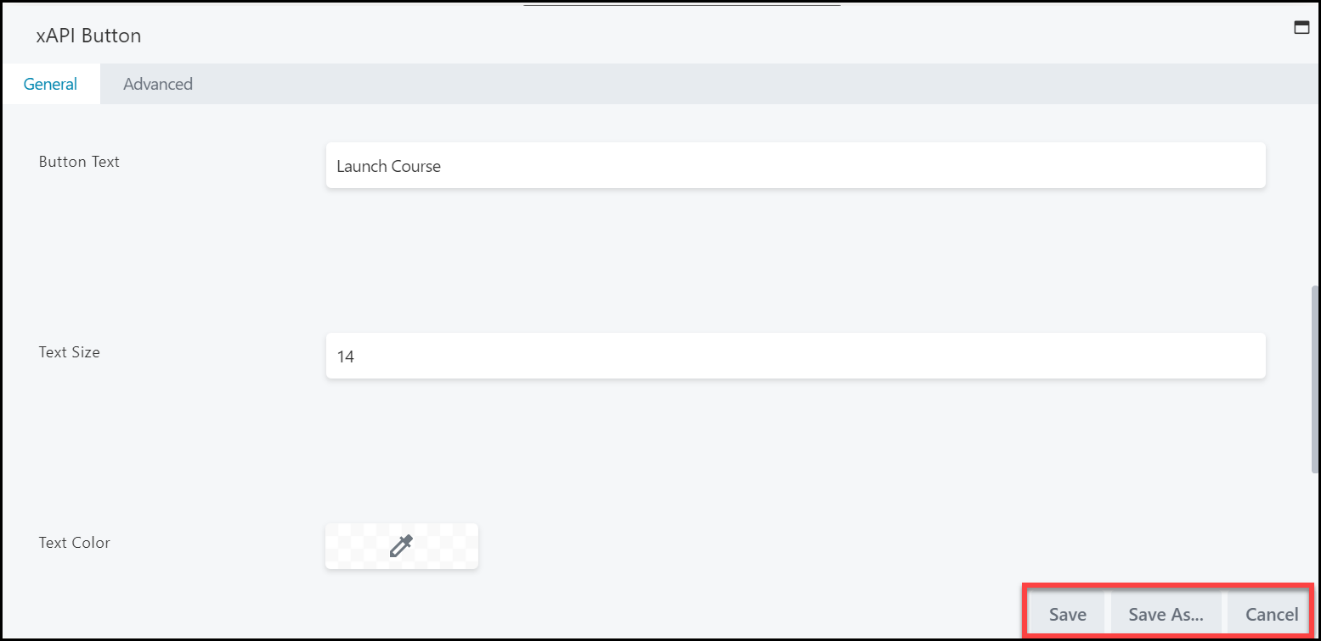
XAPI BUTTON SETTINGS:
- Select your course from the dropdown menu.
- You can also change the criteria to Auto Complete Lesson or to Control Mark Complete Button.
- Adjust the look of your button by making changes to the color, text, and border.
- Select Save when complete.
- Select Save As to save your xAPI Button as a tool template or Cancel to go back to the Lesson Editor.
Auto Complete Lesson: The lesson will automatically complete and go to the next lesson once a student reaches the end.
Control Mark Complete Button: A student must select the Mark Complete button to track lesson completion.