Tutorials
- USER GUIDES & VIDEO TUTORIALS
- ALL VIDEO TUTORIALS
- OVERVIEW
- ASSETS
- CREATE COURSE
- Getting Started with Creating Courses
- Create Course - Course Settings
- Course Builder (TOC)
- Build Lessons
- Tool Settings
- Advanced Tab – An Overview
- Typography
- Borders
- Style and Spacing
- Colors
- Advanced Techniques
- Responsive Design
- Move or Resize Settings Panel
- Row Effects
- MANAGE COURSES
- MANAGE TEMPLATES
- MANAGE XAPI
- ADMIN
- ACCOUNT
Advanced Techniques
Table of Contents
ADVANCED TECHNIQUES
This section covers some of the more advanced options available in C4EBridge, such as adding PDFs and smooth scrolling links or using shortcodes. These routines allow you to enhance your lesson pages and maximize your efficiency when working in C4EBridge!

ADD SMOOTH SCROLLING LINKS
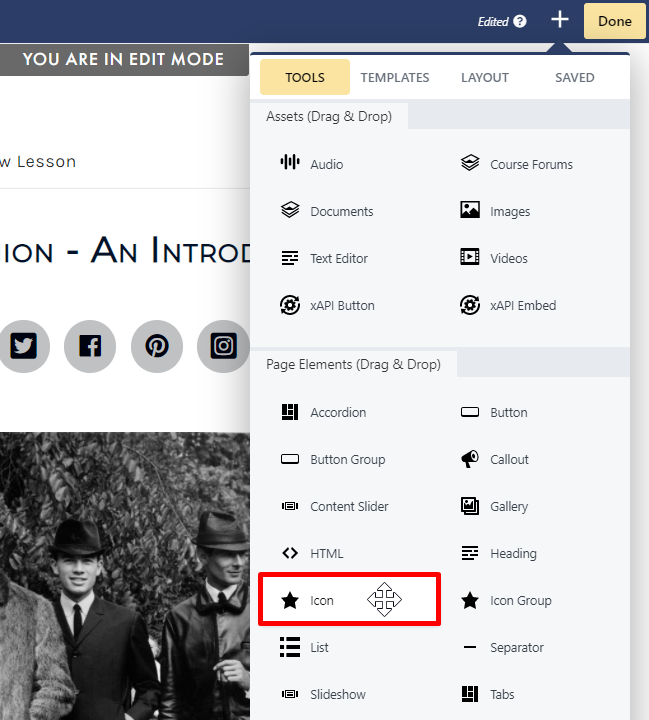
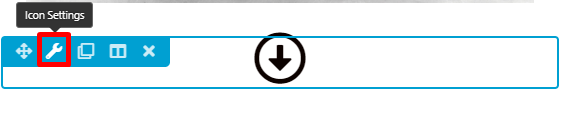
Smooth scrolling links let you add a link and target on your lesson page so that users can quickly navigate to the specific target when the link is clicked. This not only adds visual interest to your lesson page but also allows for more efficient scrolling. In the steps below, we will link an icon to the ‘Sample PDF’ document at the bottom of the lesson page, so that users are navigated to the PDF once they click the icon. To create a smooth scrolling link, you must first define your target (the item that you want to link to) and your link (what must be clicked). From the Lesson Editor, locate your target item. As, in this example, our target item is the ‘Sample PDF’ document, we will need to access the target item’s settings panel by selecting the Document Settings option: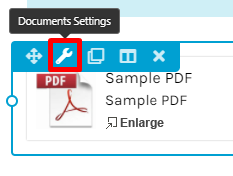
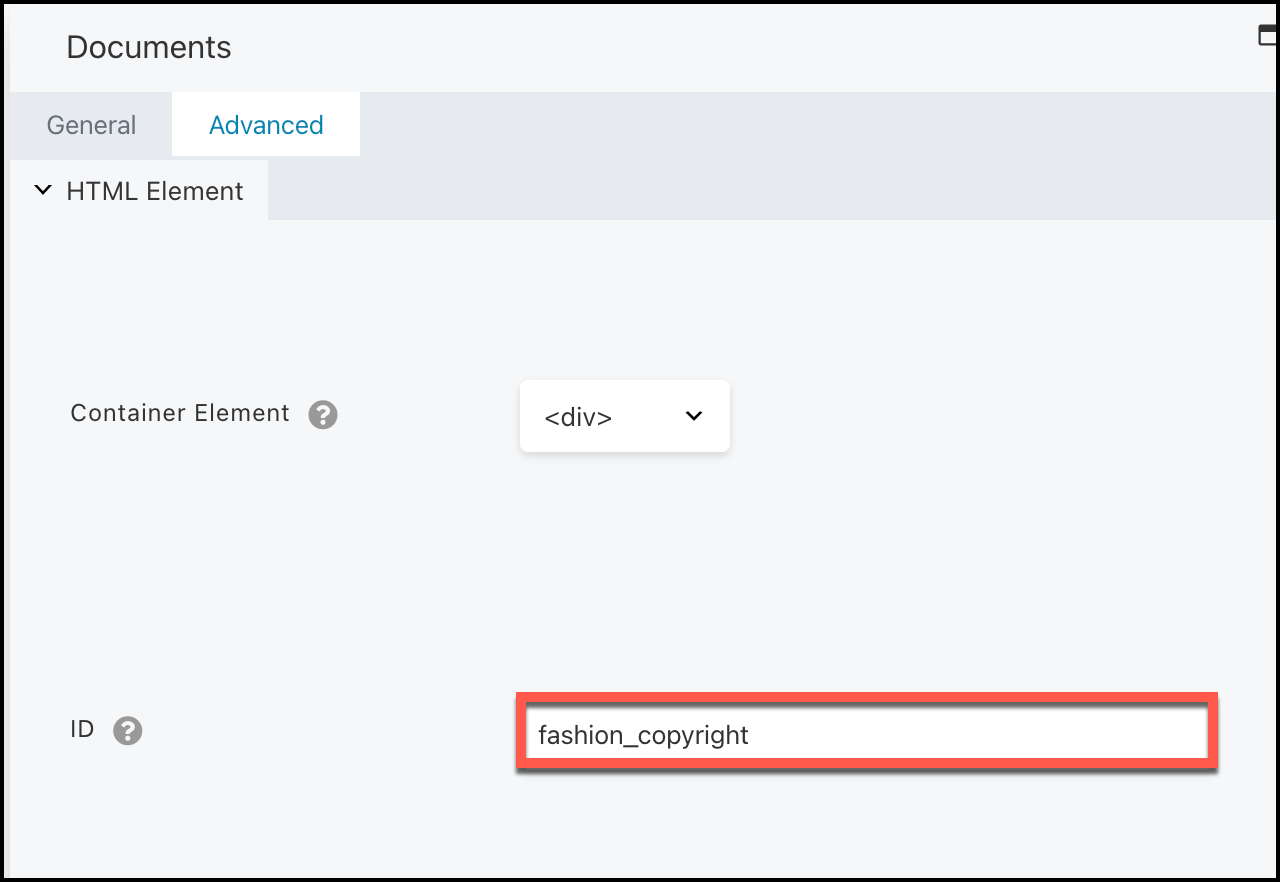
Your unique ID must start with a letter and can contain dashes, underscores, letters, or numbers. No spaces are allowed.
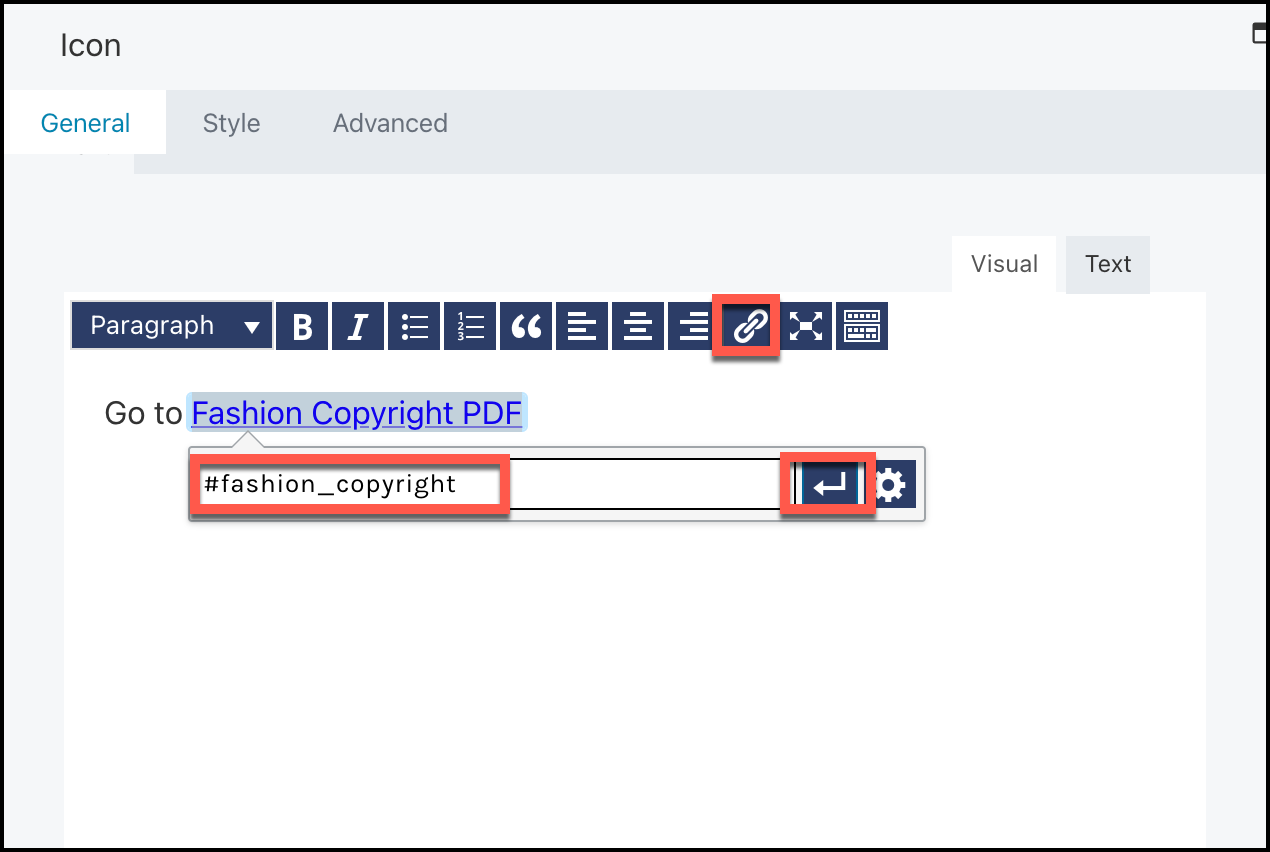
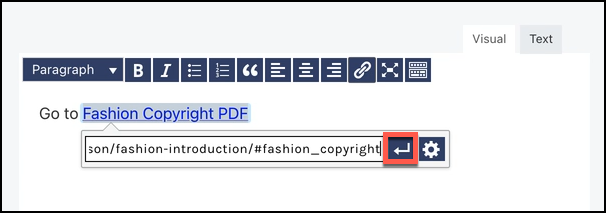
If the link is to a target in another lesson, the link should be the full URL or you can find the lesson by selecting the link in the text editor and either start typing the name of the lesson in the field and the lessons will automatically populate…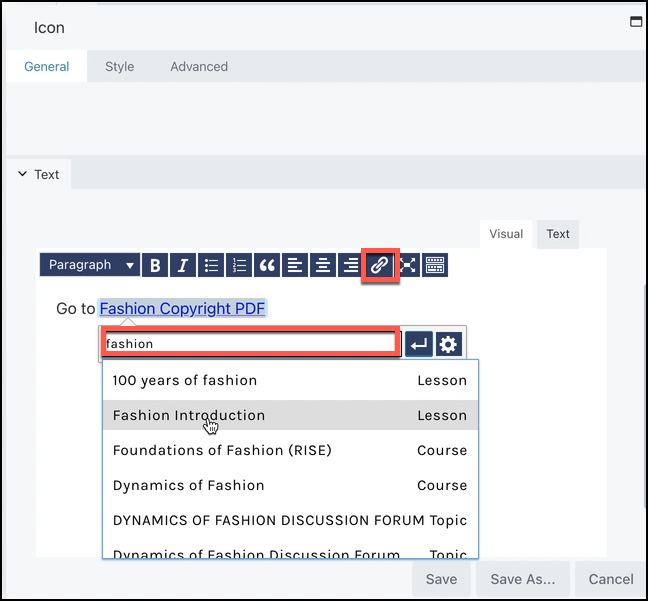 …or select the Settings wheel and search for the existing lesson in the dropdown, select it and then add your unique ID to the end of the URL for example:
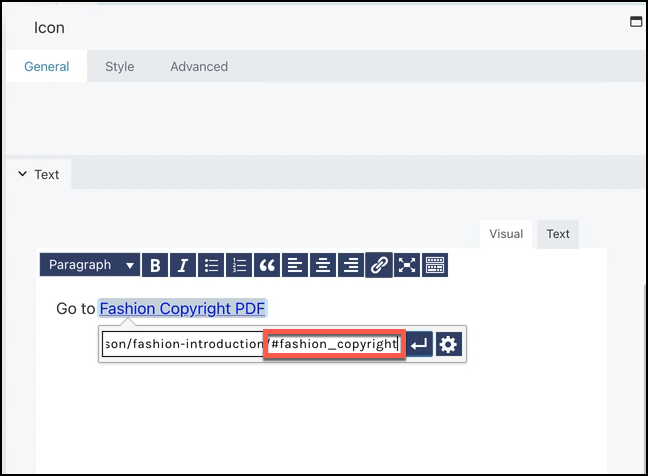 Ensure you select the arrow to for the URL to stick
 Then select Save
Select Done > Publish and test it.
Then select Save
Select Done > Publish and test it.
…or select the Settings wheel and search for the existing lesson in the dropdown, select it and then add your unique ID to the end of the URL for example:
Ensure you select the arrow to for the URL to stick
Then select Save
Select Done > Publish and test it.
SHORTCODES
Shortcodes can be added to any text editor across C4EBridge, allowing you to insert saved items (i.e., saved tools) or layouts (i.e., saved columns) into other modules and layouts in the Lesson Editor. Shortcodes are typically reserved for when needing to easily add more complex items into a page (for example, when needing to add a form into a page) or in areas where only text can be entered. Shortcodes can be created for all Lesson Editor items that have IDs, including layouts, rows, columns, and pages.
Before an item can be added via a shortcode, this item must FIRST be saved as a reusable item “template” using the Save As feature. To learn more this feature, visit the Save As a Row, Column, or Tool for Reuse section.
- Obtain the item slug or ID. To do so, you can access COURSES > MANAGE TEMPLATES and select the appropriate category for your saved item (i.e., Tools):
Locate the saved item you wish to create a shortcode for and click EDIT SETTINGS (in this example, we are going to create a shortcode for an icon group):
From the Edit Saved Tool window, access the Screen Options menu and ensure SLUG is checked:
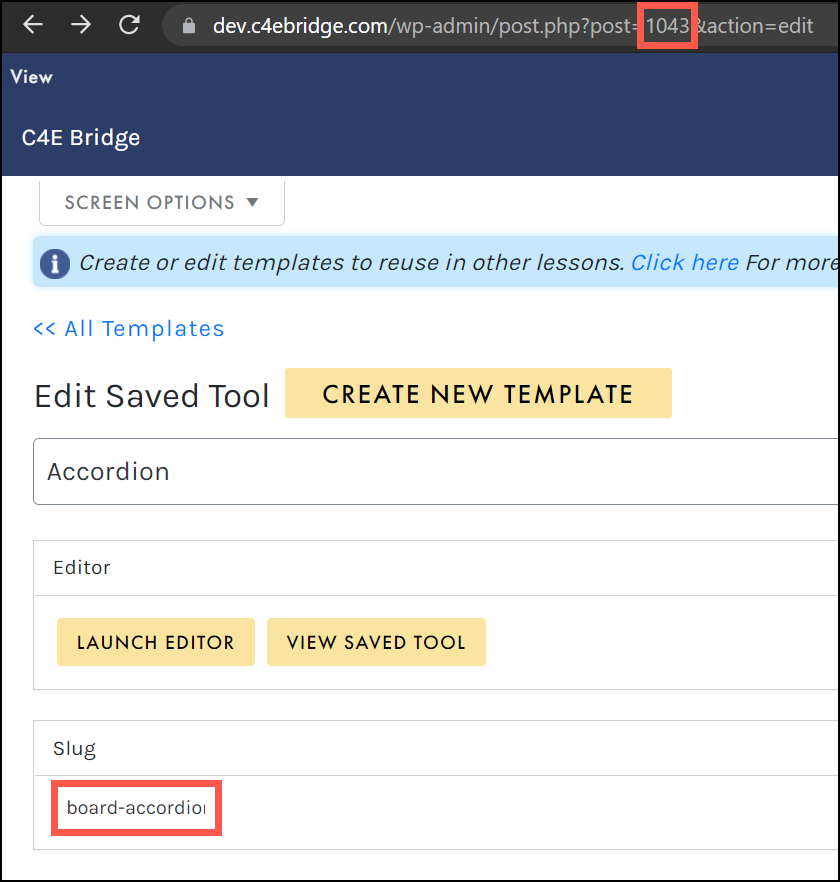
Once SLUG has been checked, click SCREEN OPTIONS again to collapse this menu. Copy the item slug, OR locate the item ID in the URL (this appears after ‘post=’):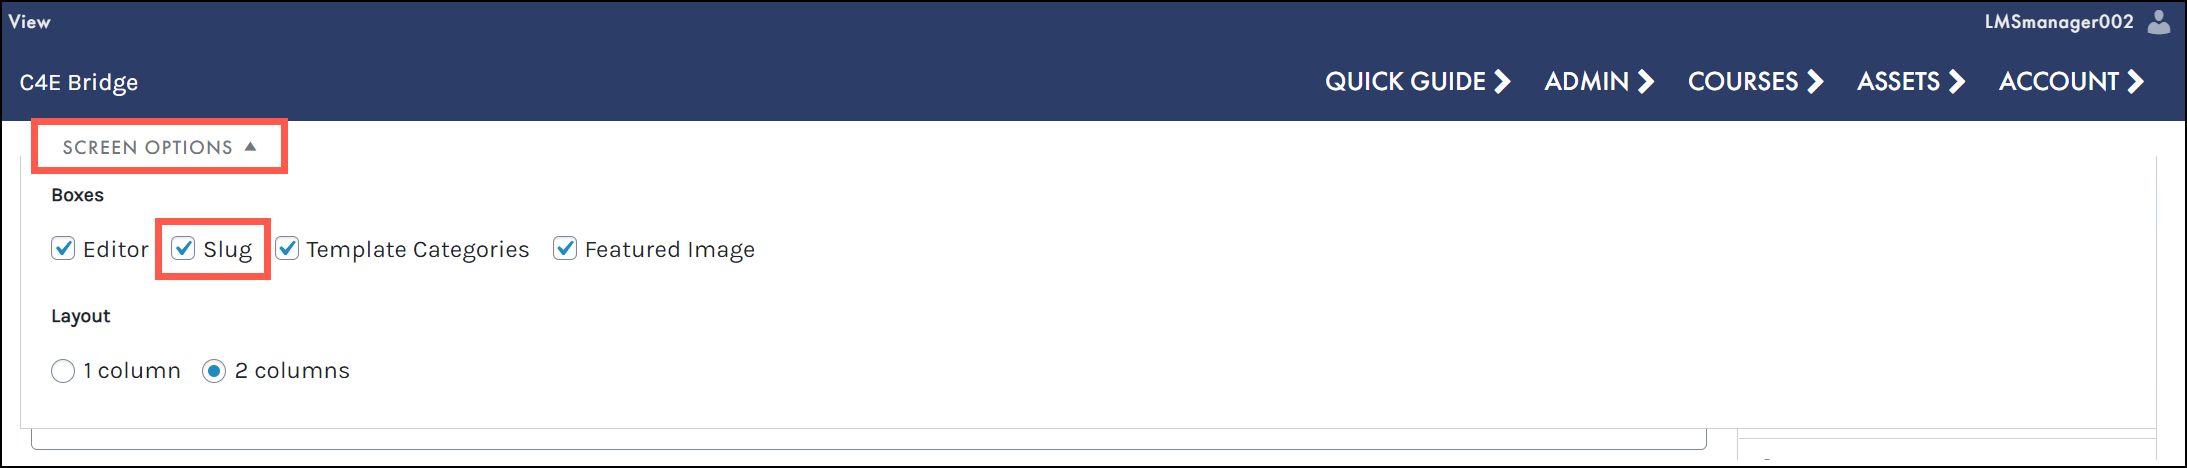
- Add the item shortcode to the text editor. Once you have the item slug or ID, access the Lesson Editor window (with editing on), and locate where you want to add the item shortcode. For example, if you wish to add the saved icon group to a callout tool, locate the tool on your lesson page and access its settings panel:
Add your shortcode to the callout text editor using the following strings: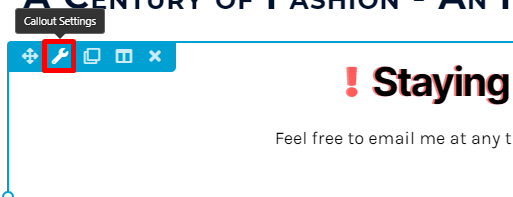
- If using the item slug: {fl_builder_insert_layout slug=”icon-group”}
- If using the item ID: {fl_builder_insert_layout id=”7661″}
Click SAVE to save your changes. Once saved, your item shortcode should now be displayed on your lesson page, as in the screenshot below. Note the addition of the icon group, which we added via shortcode: